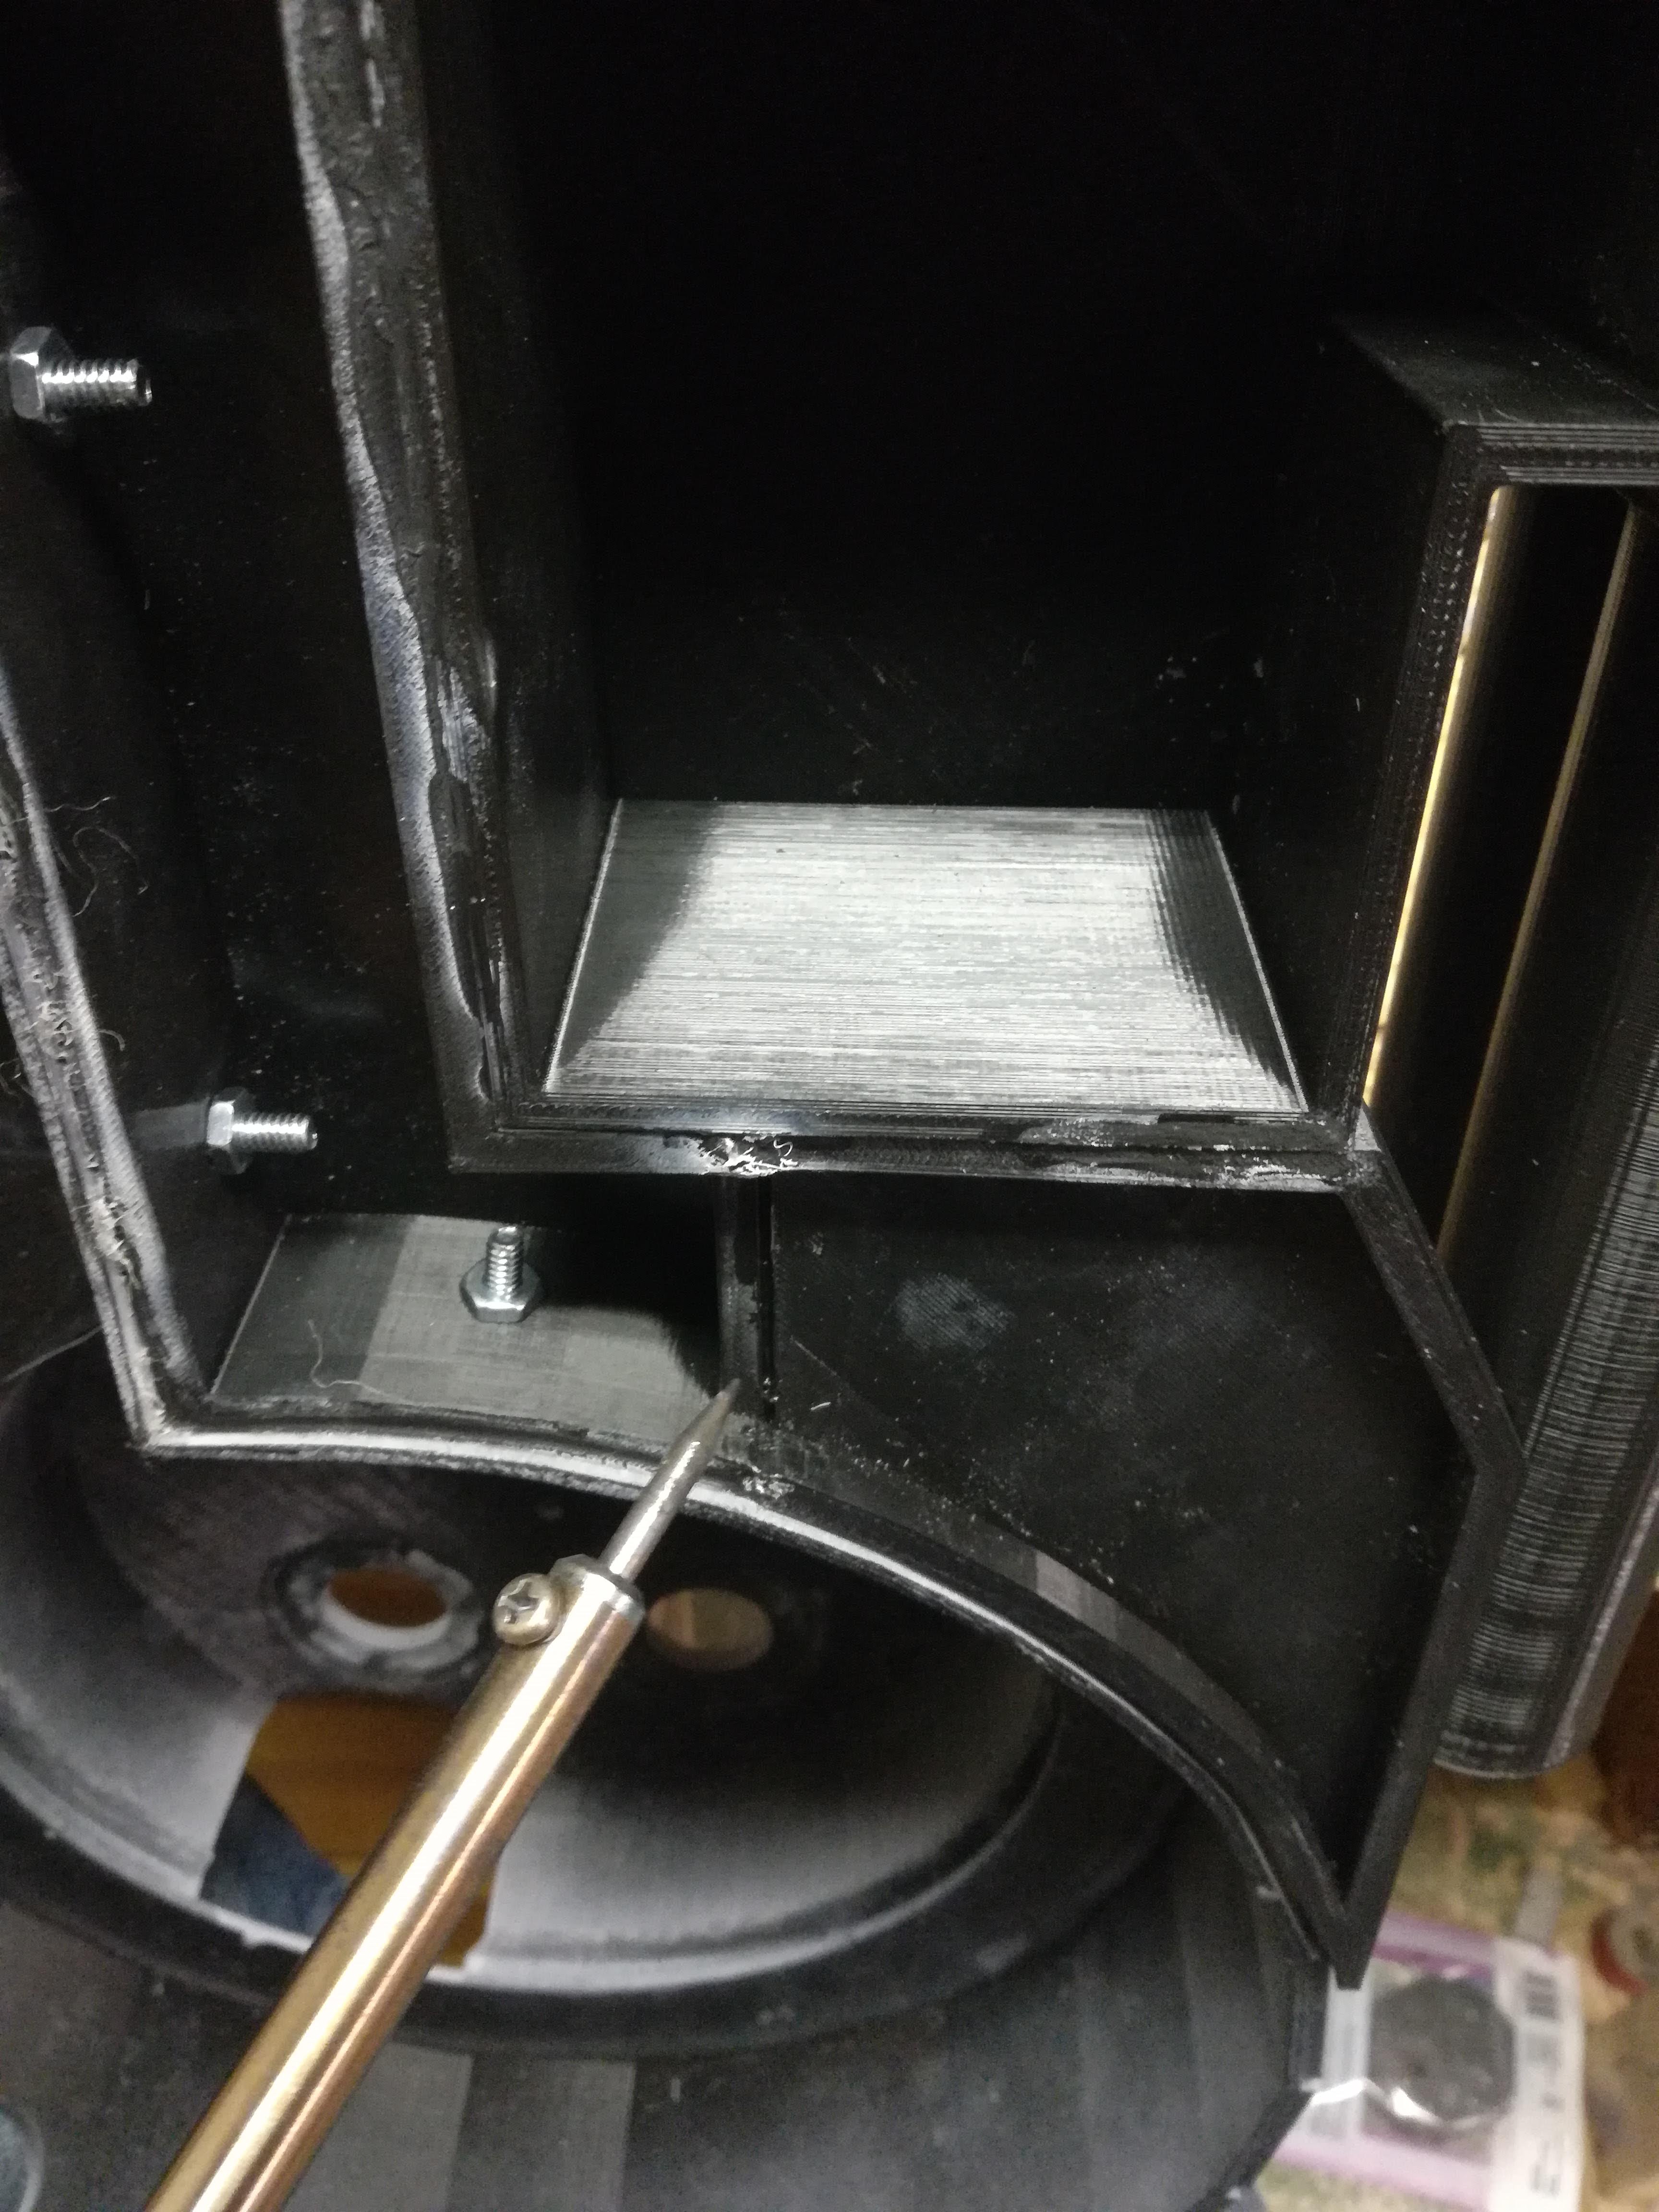
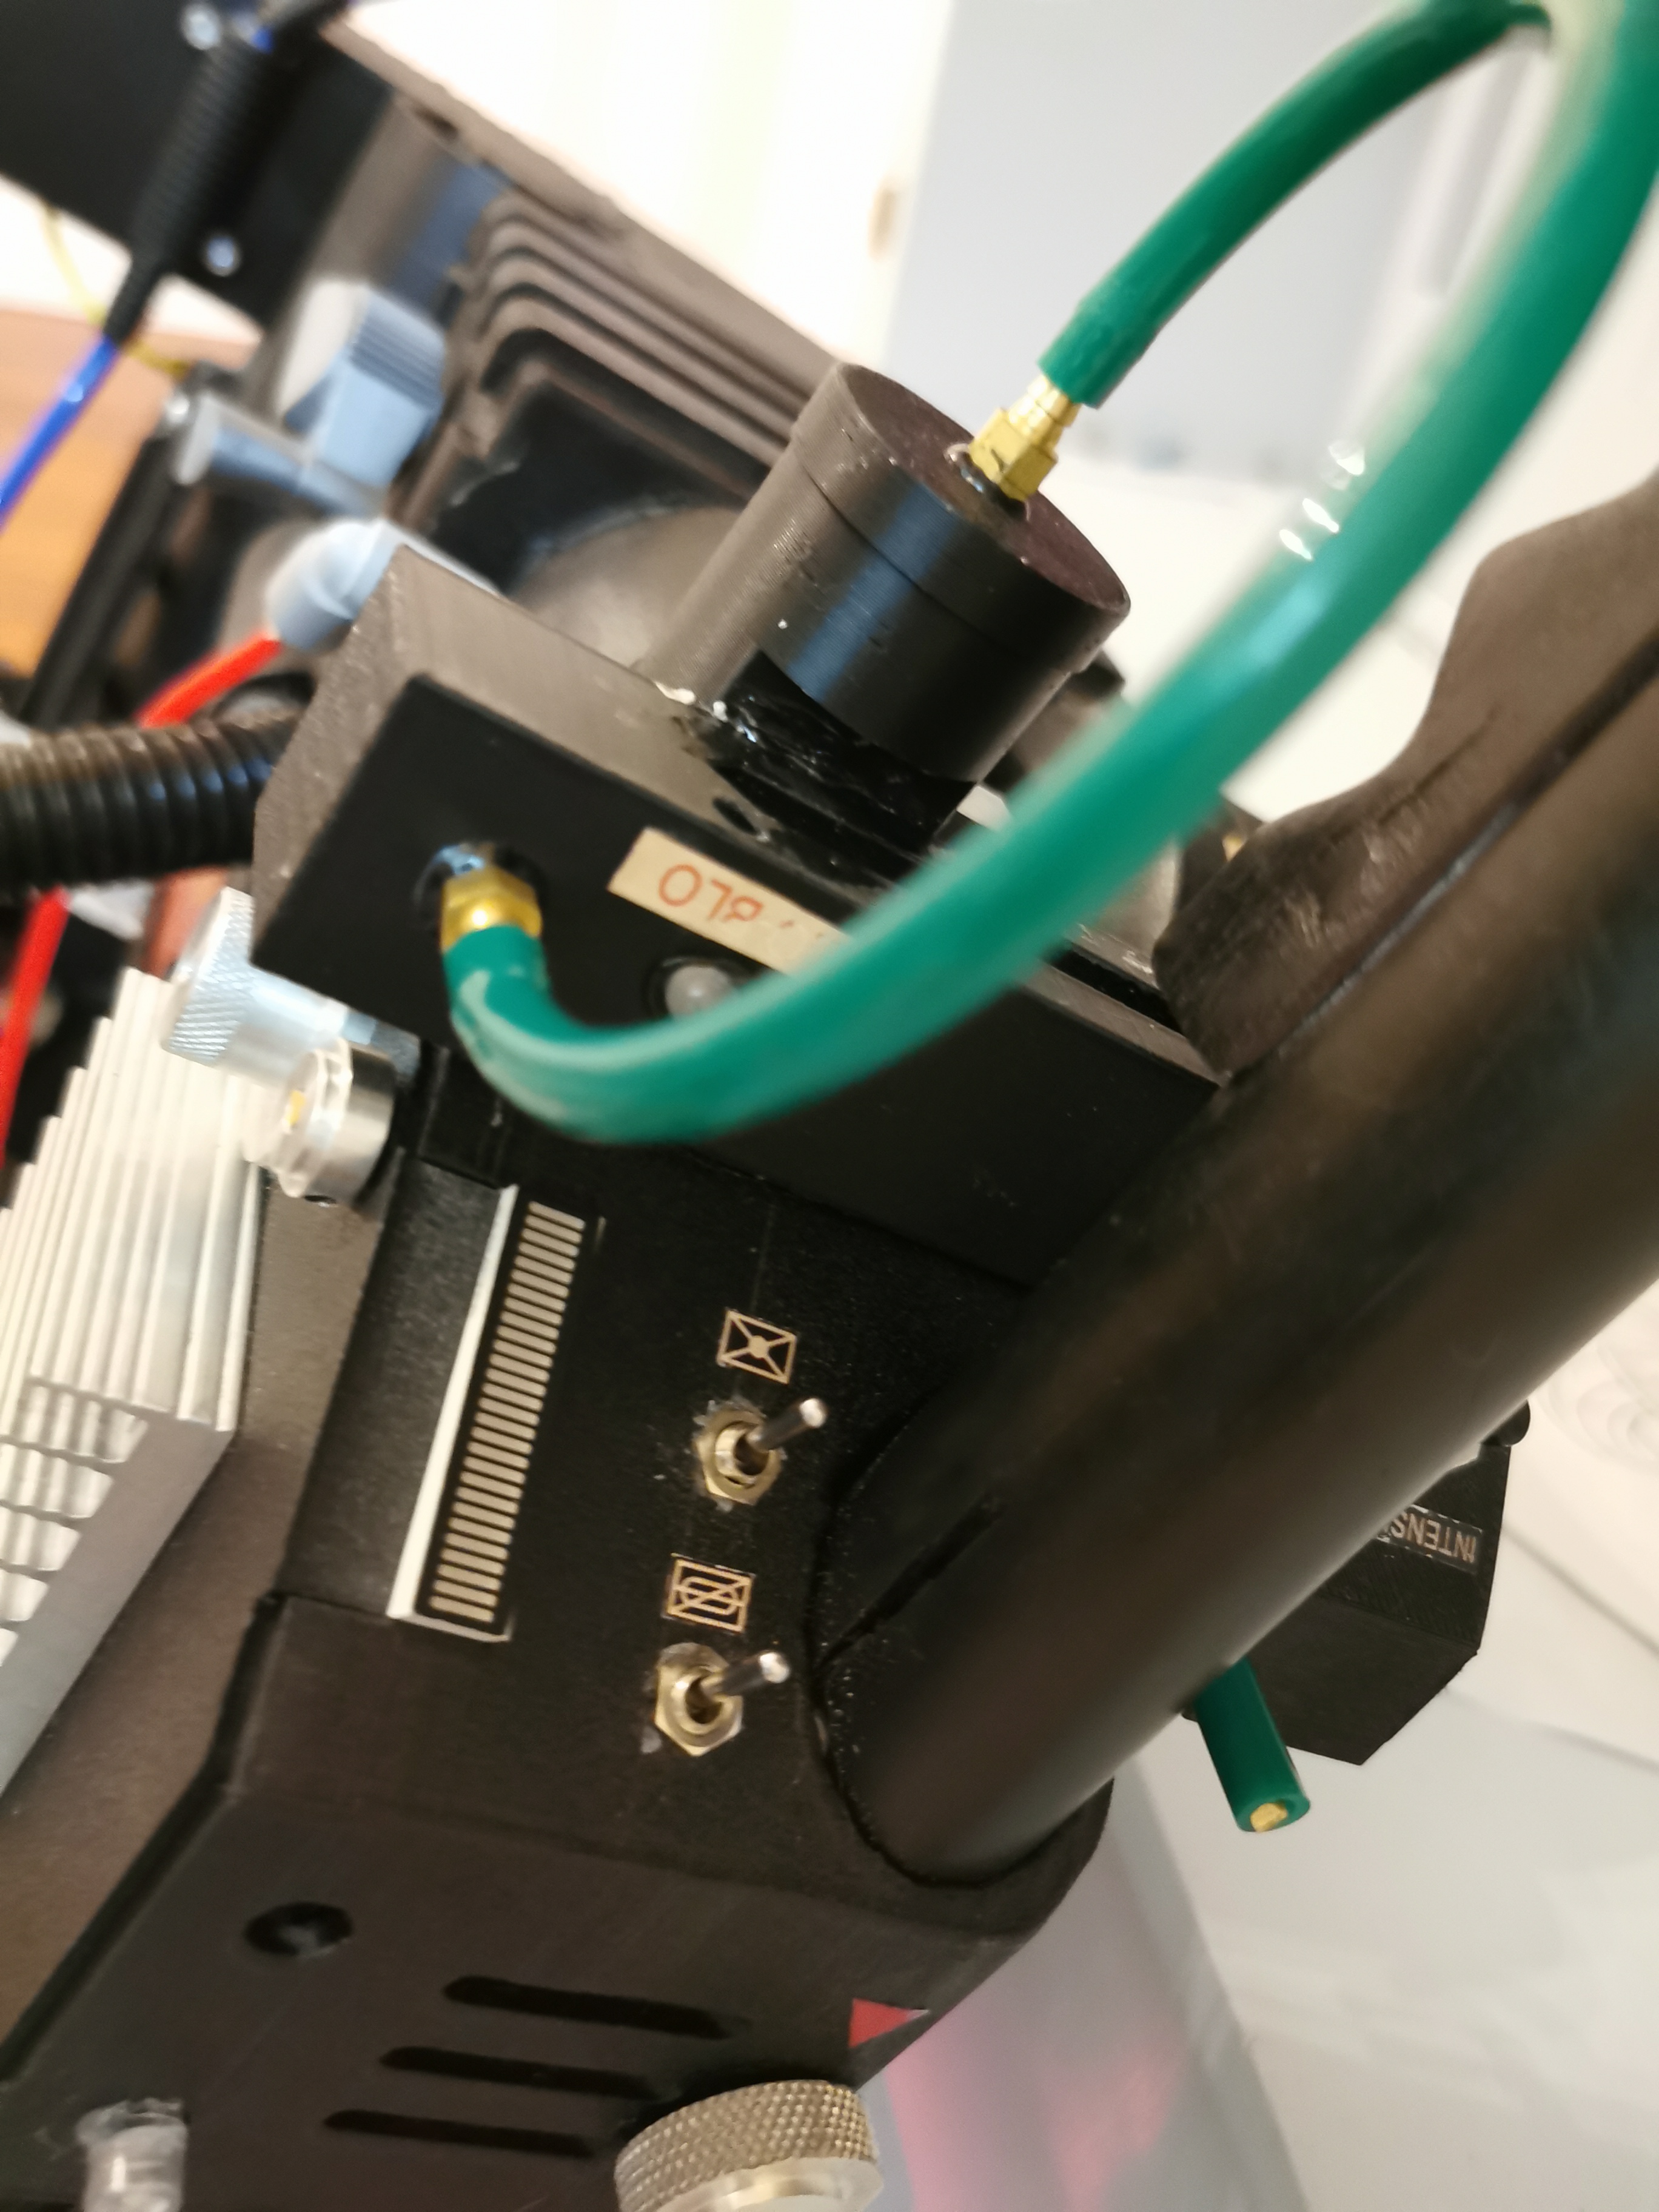
I’ve got most of the 3D printed pieces put together now.
To keep them all together, I’ve glued them and then melted the edges together. For some of the parts that won’t be see on the outside, I’ve melted holes through the sides to join them a little better. The goal here is to minimize movement between pieces.
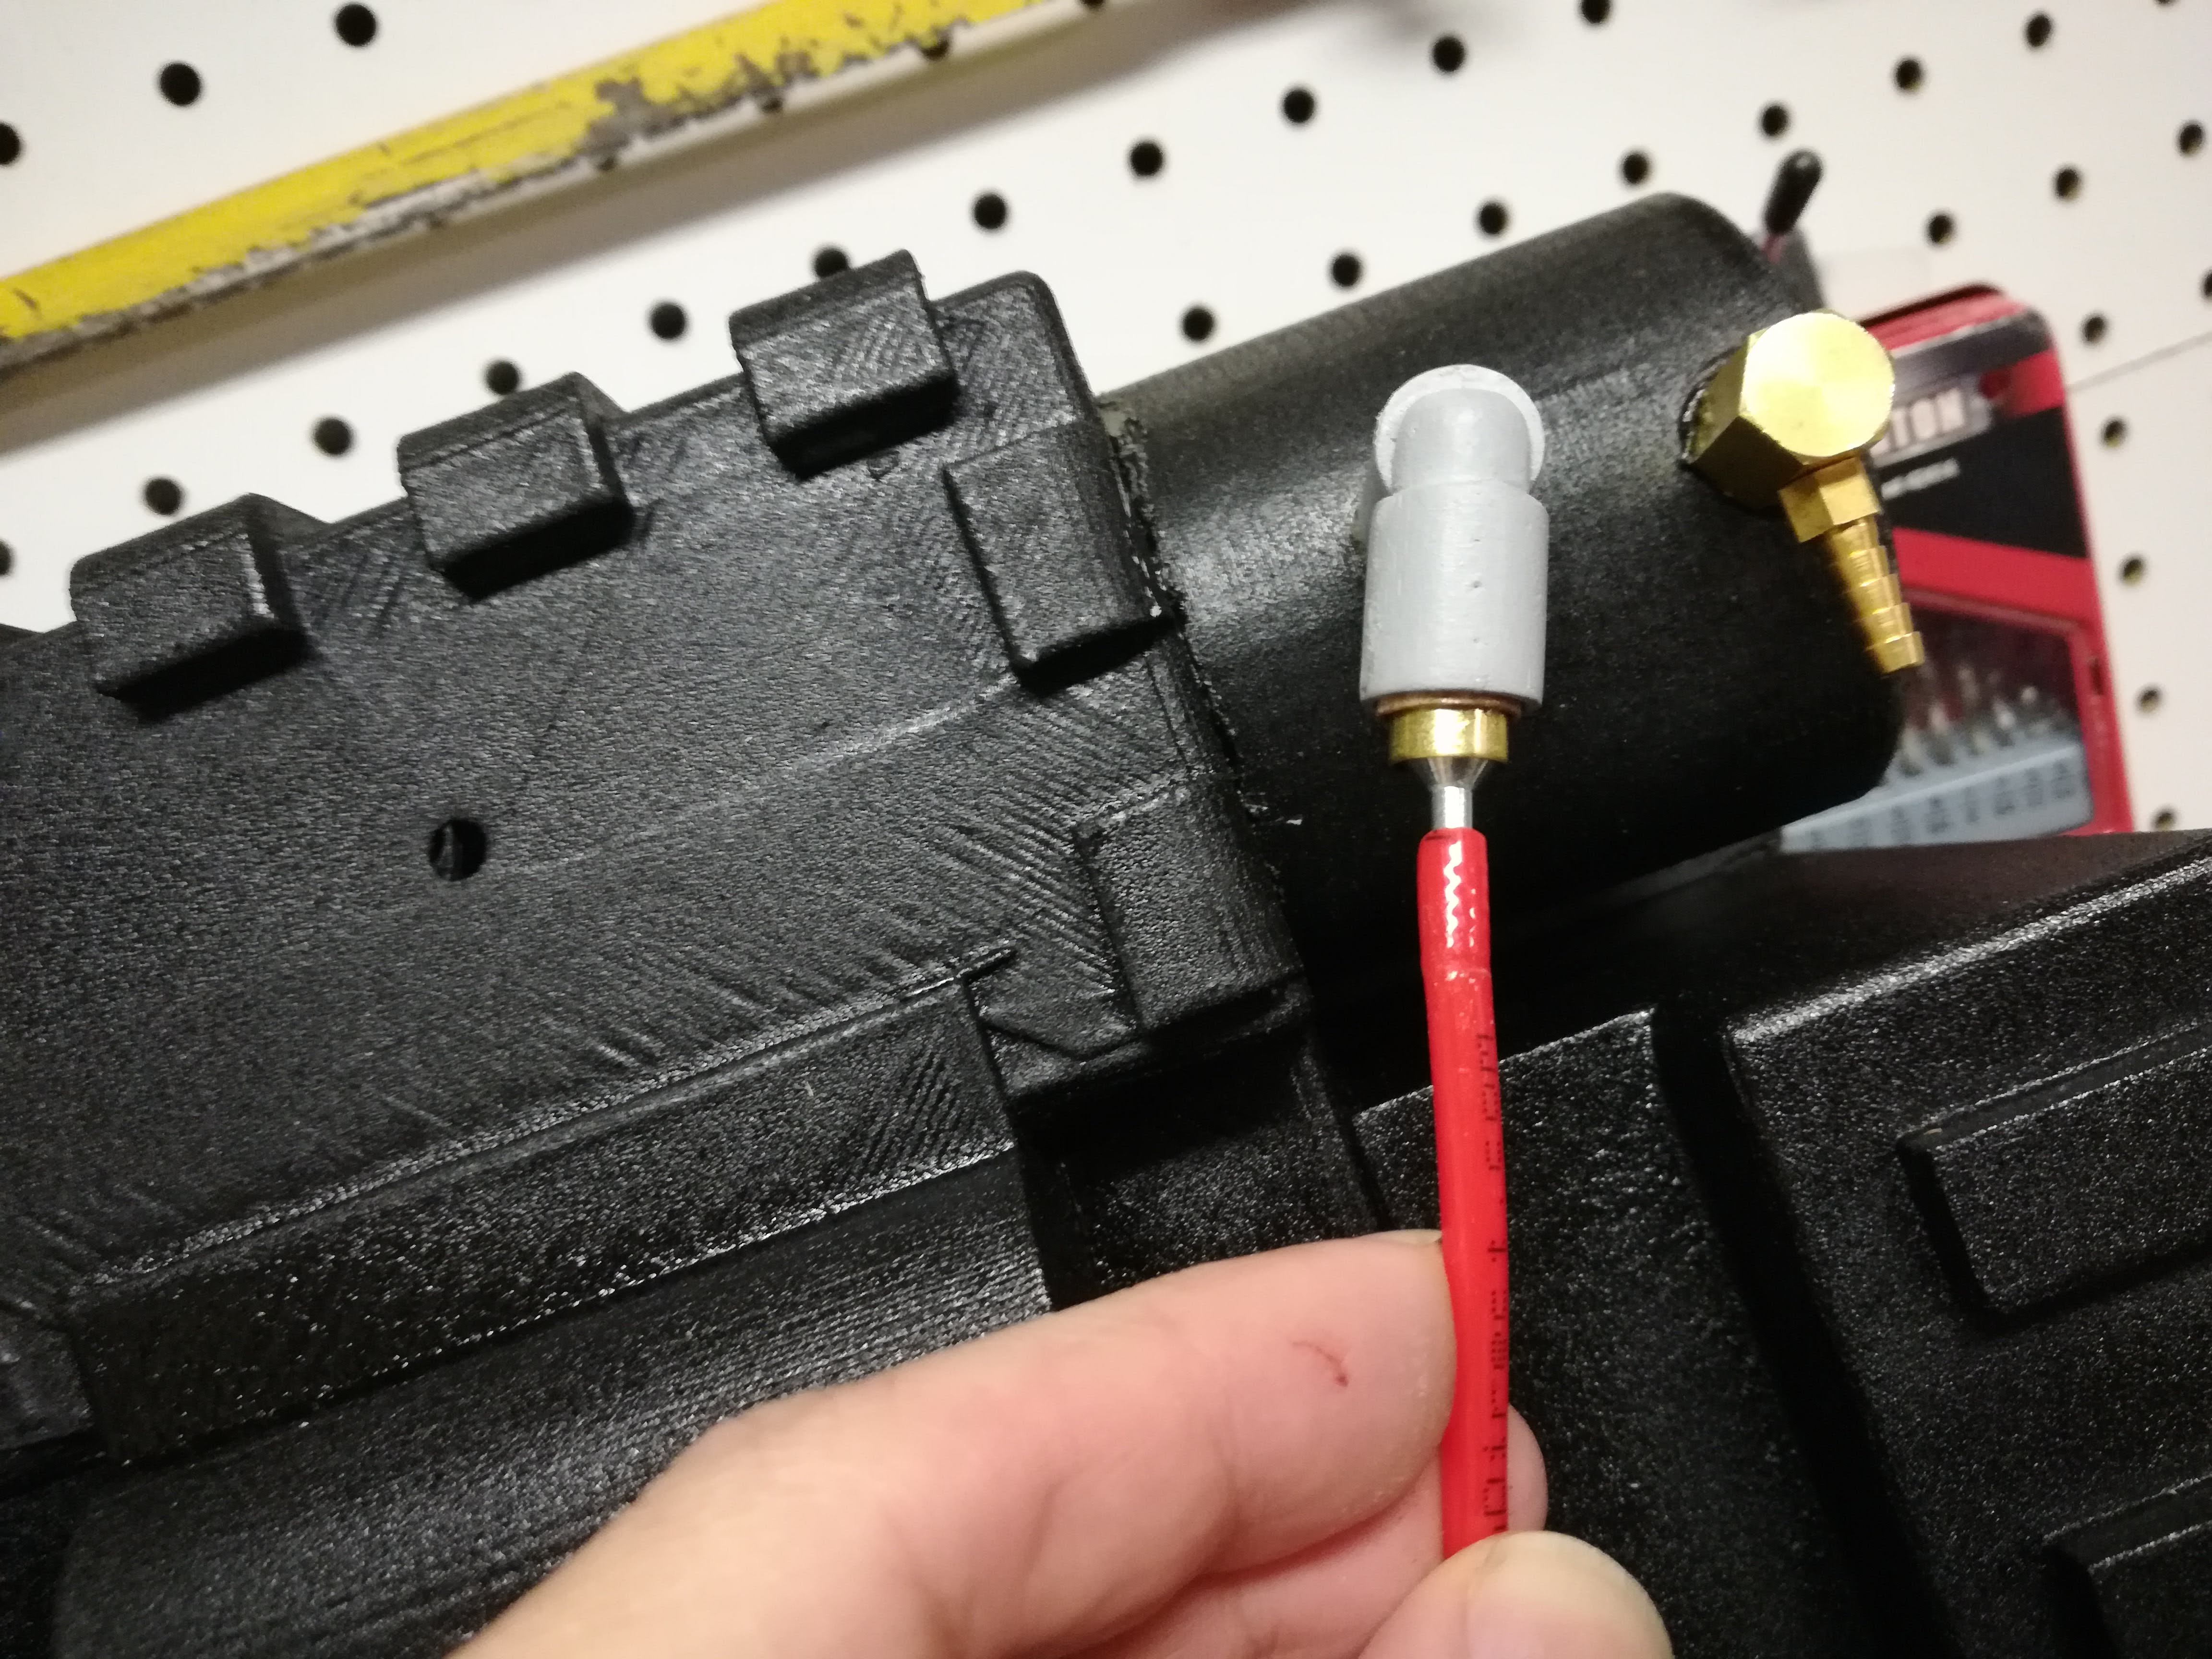
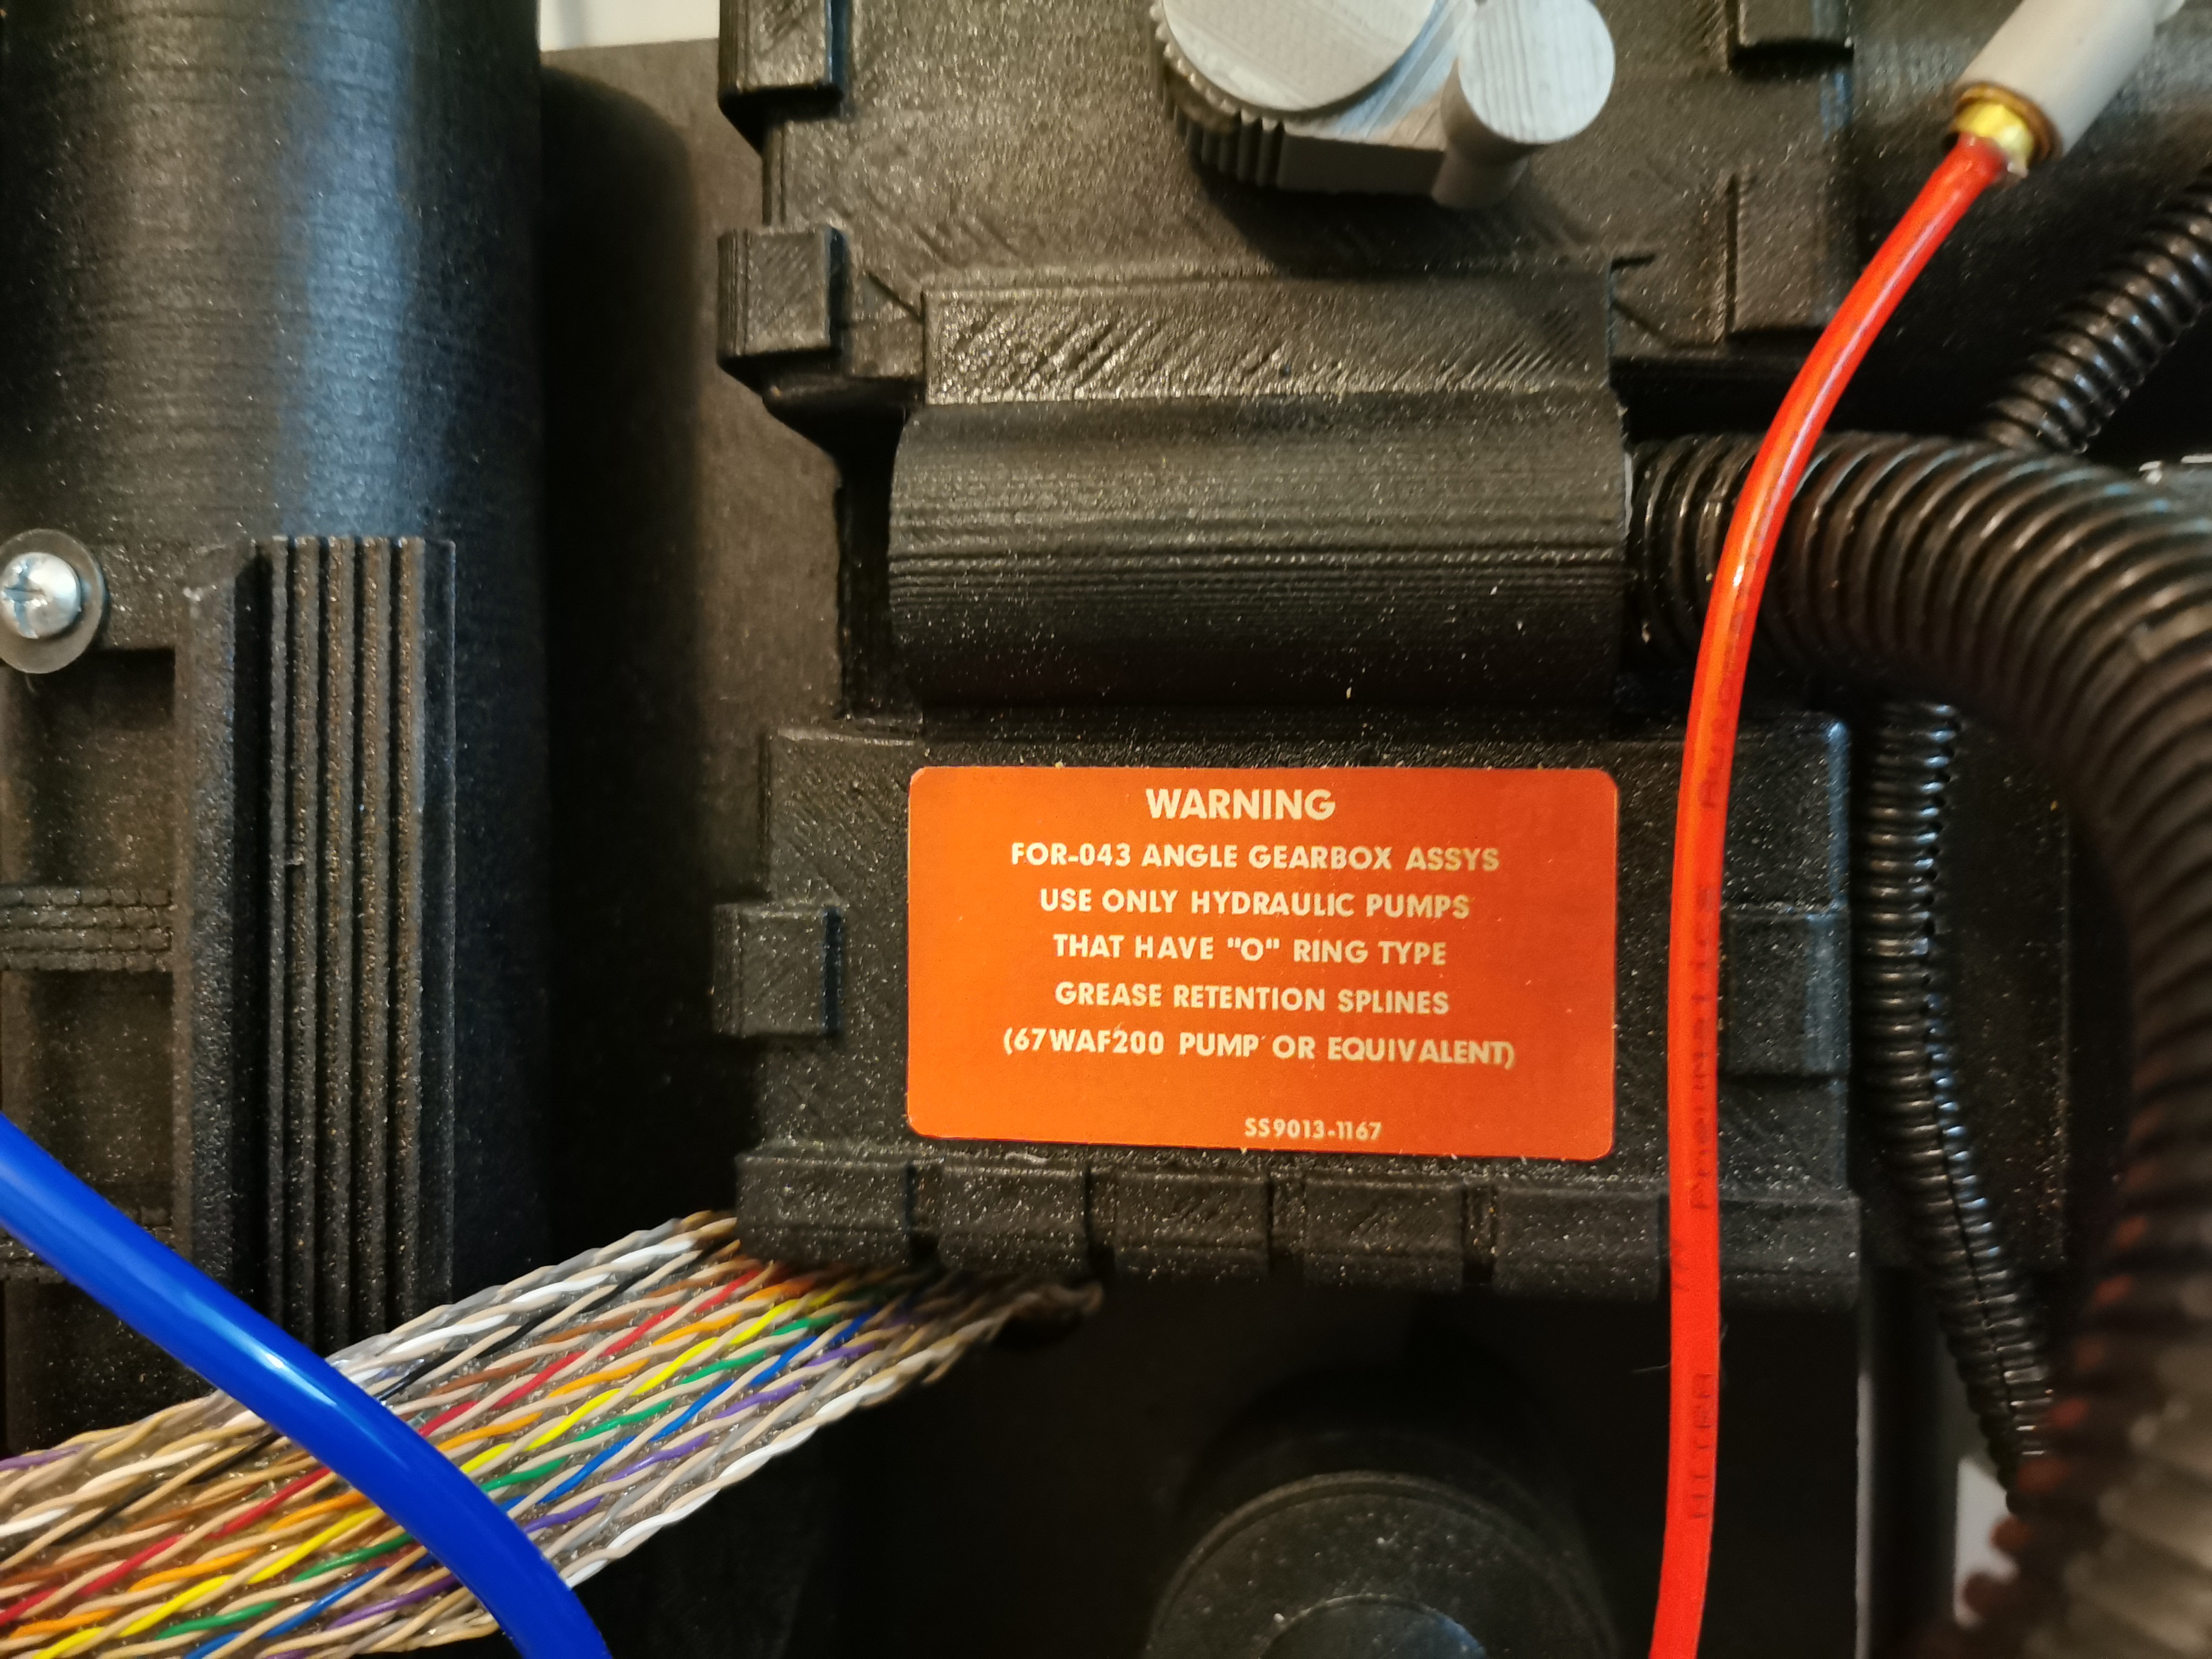
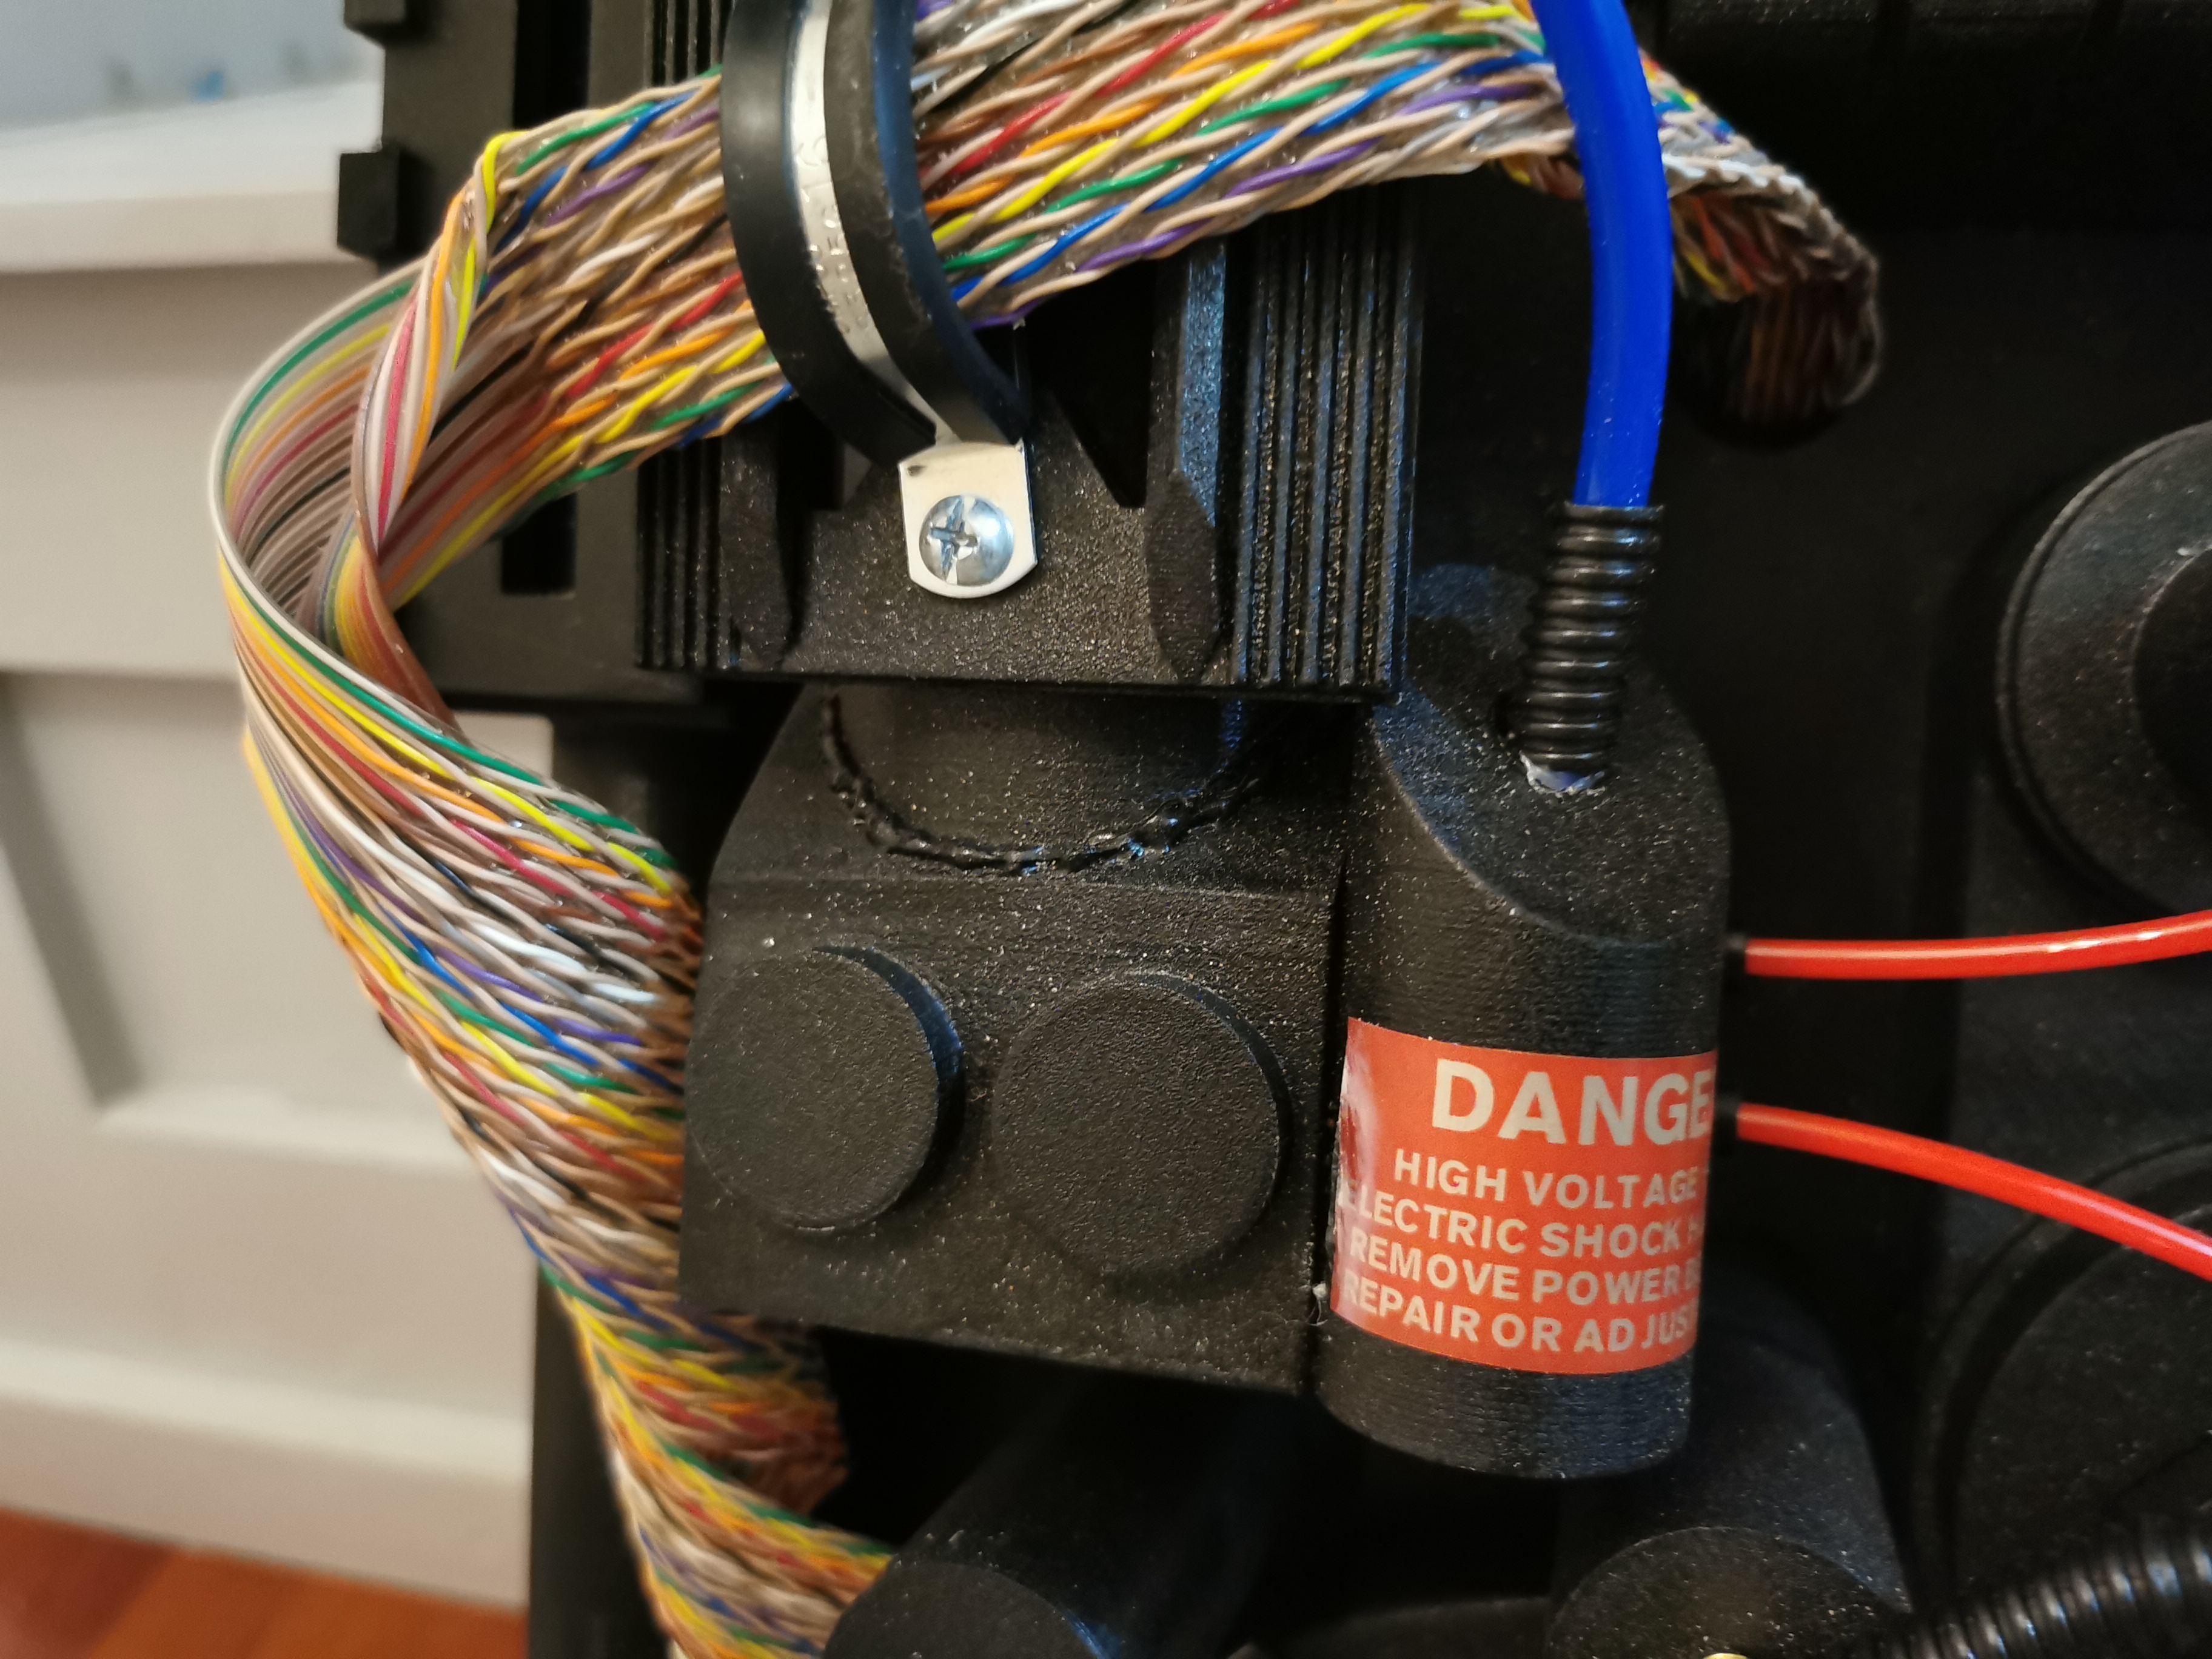
I’ve started to attach the brass fittings and hoses while paying careful attention to the color and how the hoses are positioned. Some of the close ups of the real, screen used packs from GB1 and GB2 have revealed differences in the hoses and brass fittings. So I made sure that I ordered the correct fittings for a GB1 pack.
I had ordered a package of hoses that were supposed to match the hoses on the proton pack from GB1, but noticed that the yellow hose was way too bright and not the right brand. So I found one on Ebay that is the right brand and shade.
To attach the hoses, I felt like simply gluing them into place with hot glue wasn’t going to hold very place very well if something got snagged on them (and I’m sure they will). So I used a screw inserted into the hose and screwed as tight as I could get it without breaking the hose. Then the end of the hose with the screw fits inside the fittings nicely. With some hot glue, it holds really well.

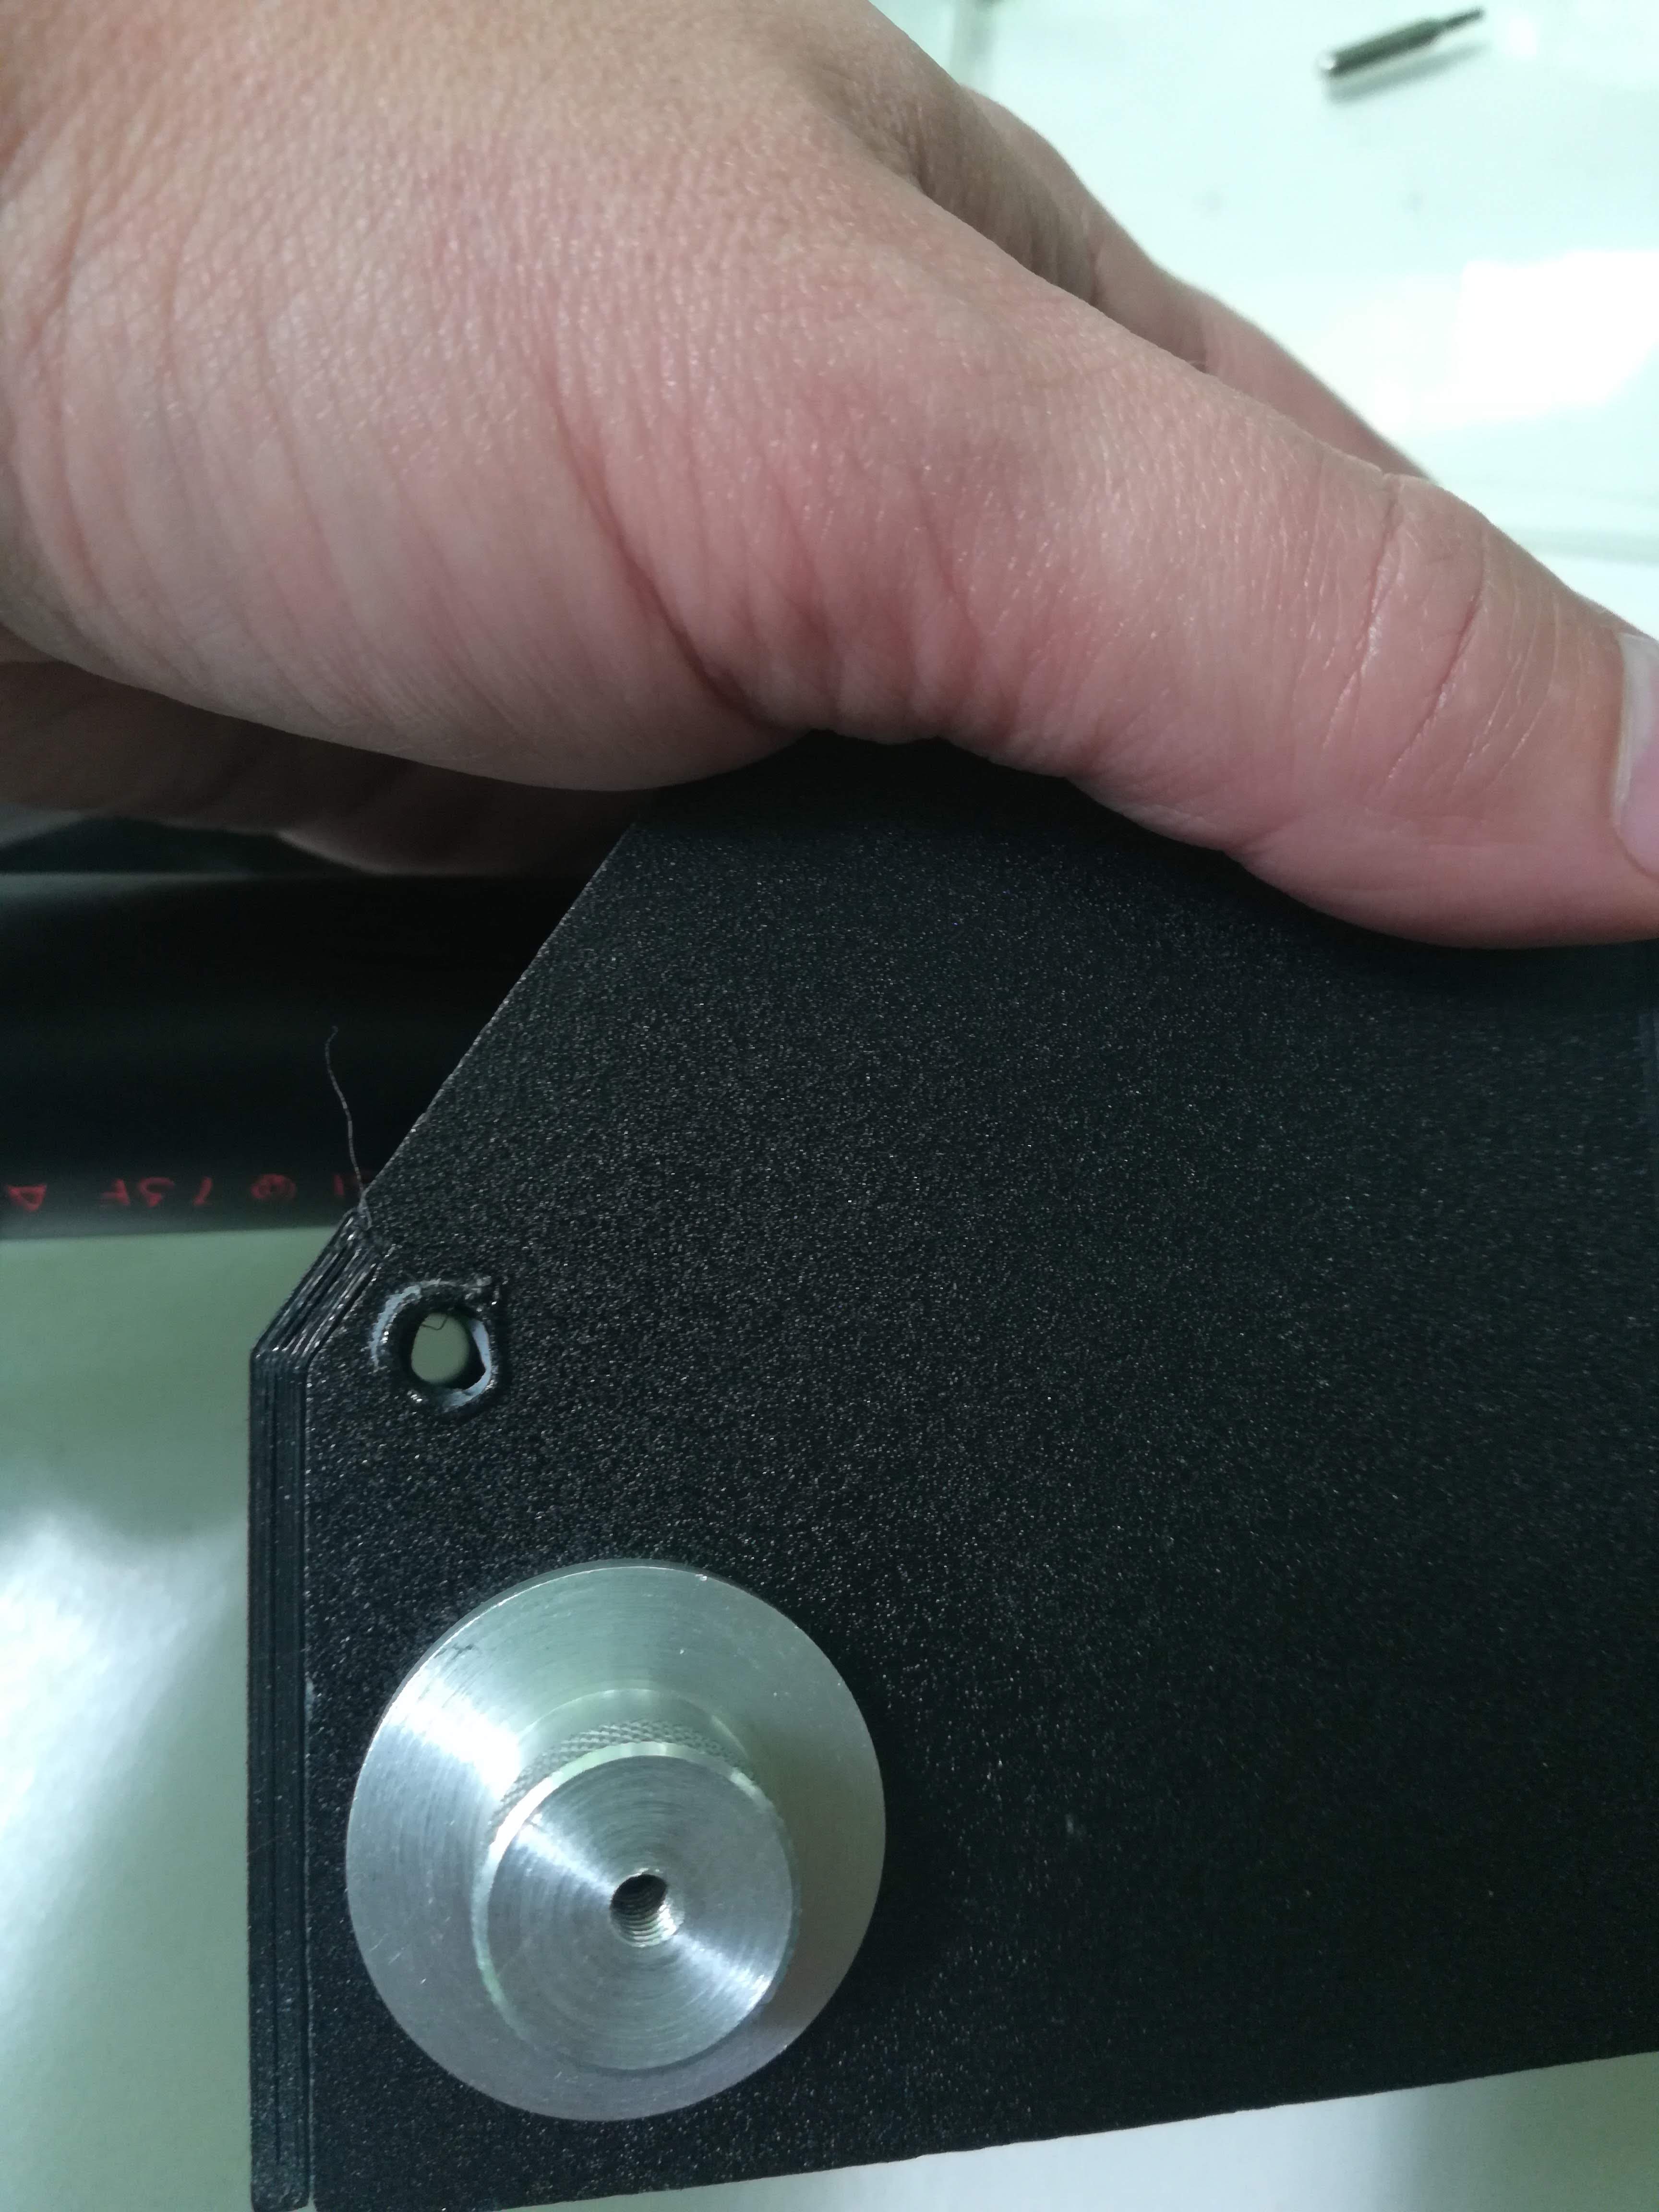
Using my soldering iron, I was able to melt the holes that we in the 3D prints so that I could screw the brass fittings into the part really easily. As the melted part cools, I can slowly start turning the brass fitting so that it forms a screw hole for the fitting itself. For the most part, I just hand tightened these and they feel like they’ll be secure enough to the pack where they won’t budge. I may dab some glue on them just to make sure.
The Proton Pack Wand
There are few Sci-fi movie pieces of equipment that are as recognizable as the Proton Pack. The key part of the pack, the wand, has many intricate parts, knobs, dials, tubes, etc. I started printing and buying aluminum machined parts for the wand probably before I even started building the pack. Eventually I realized I had the bulk of the parts and started laying them out to assemble the wand.
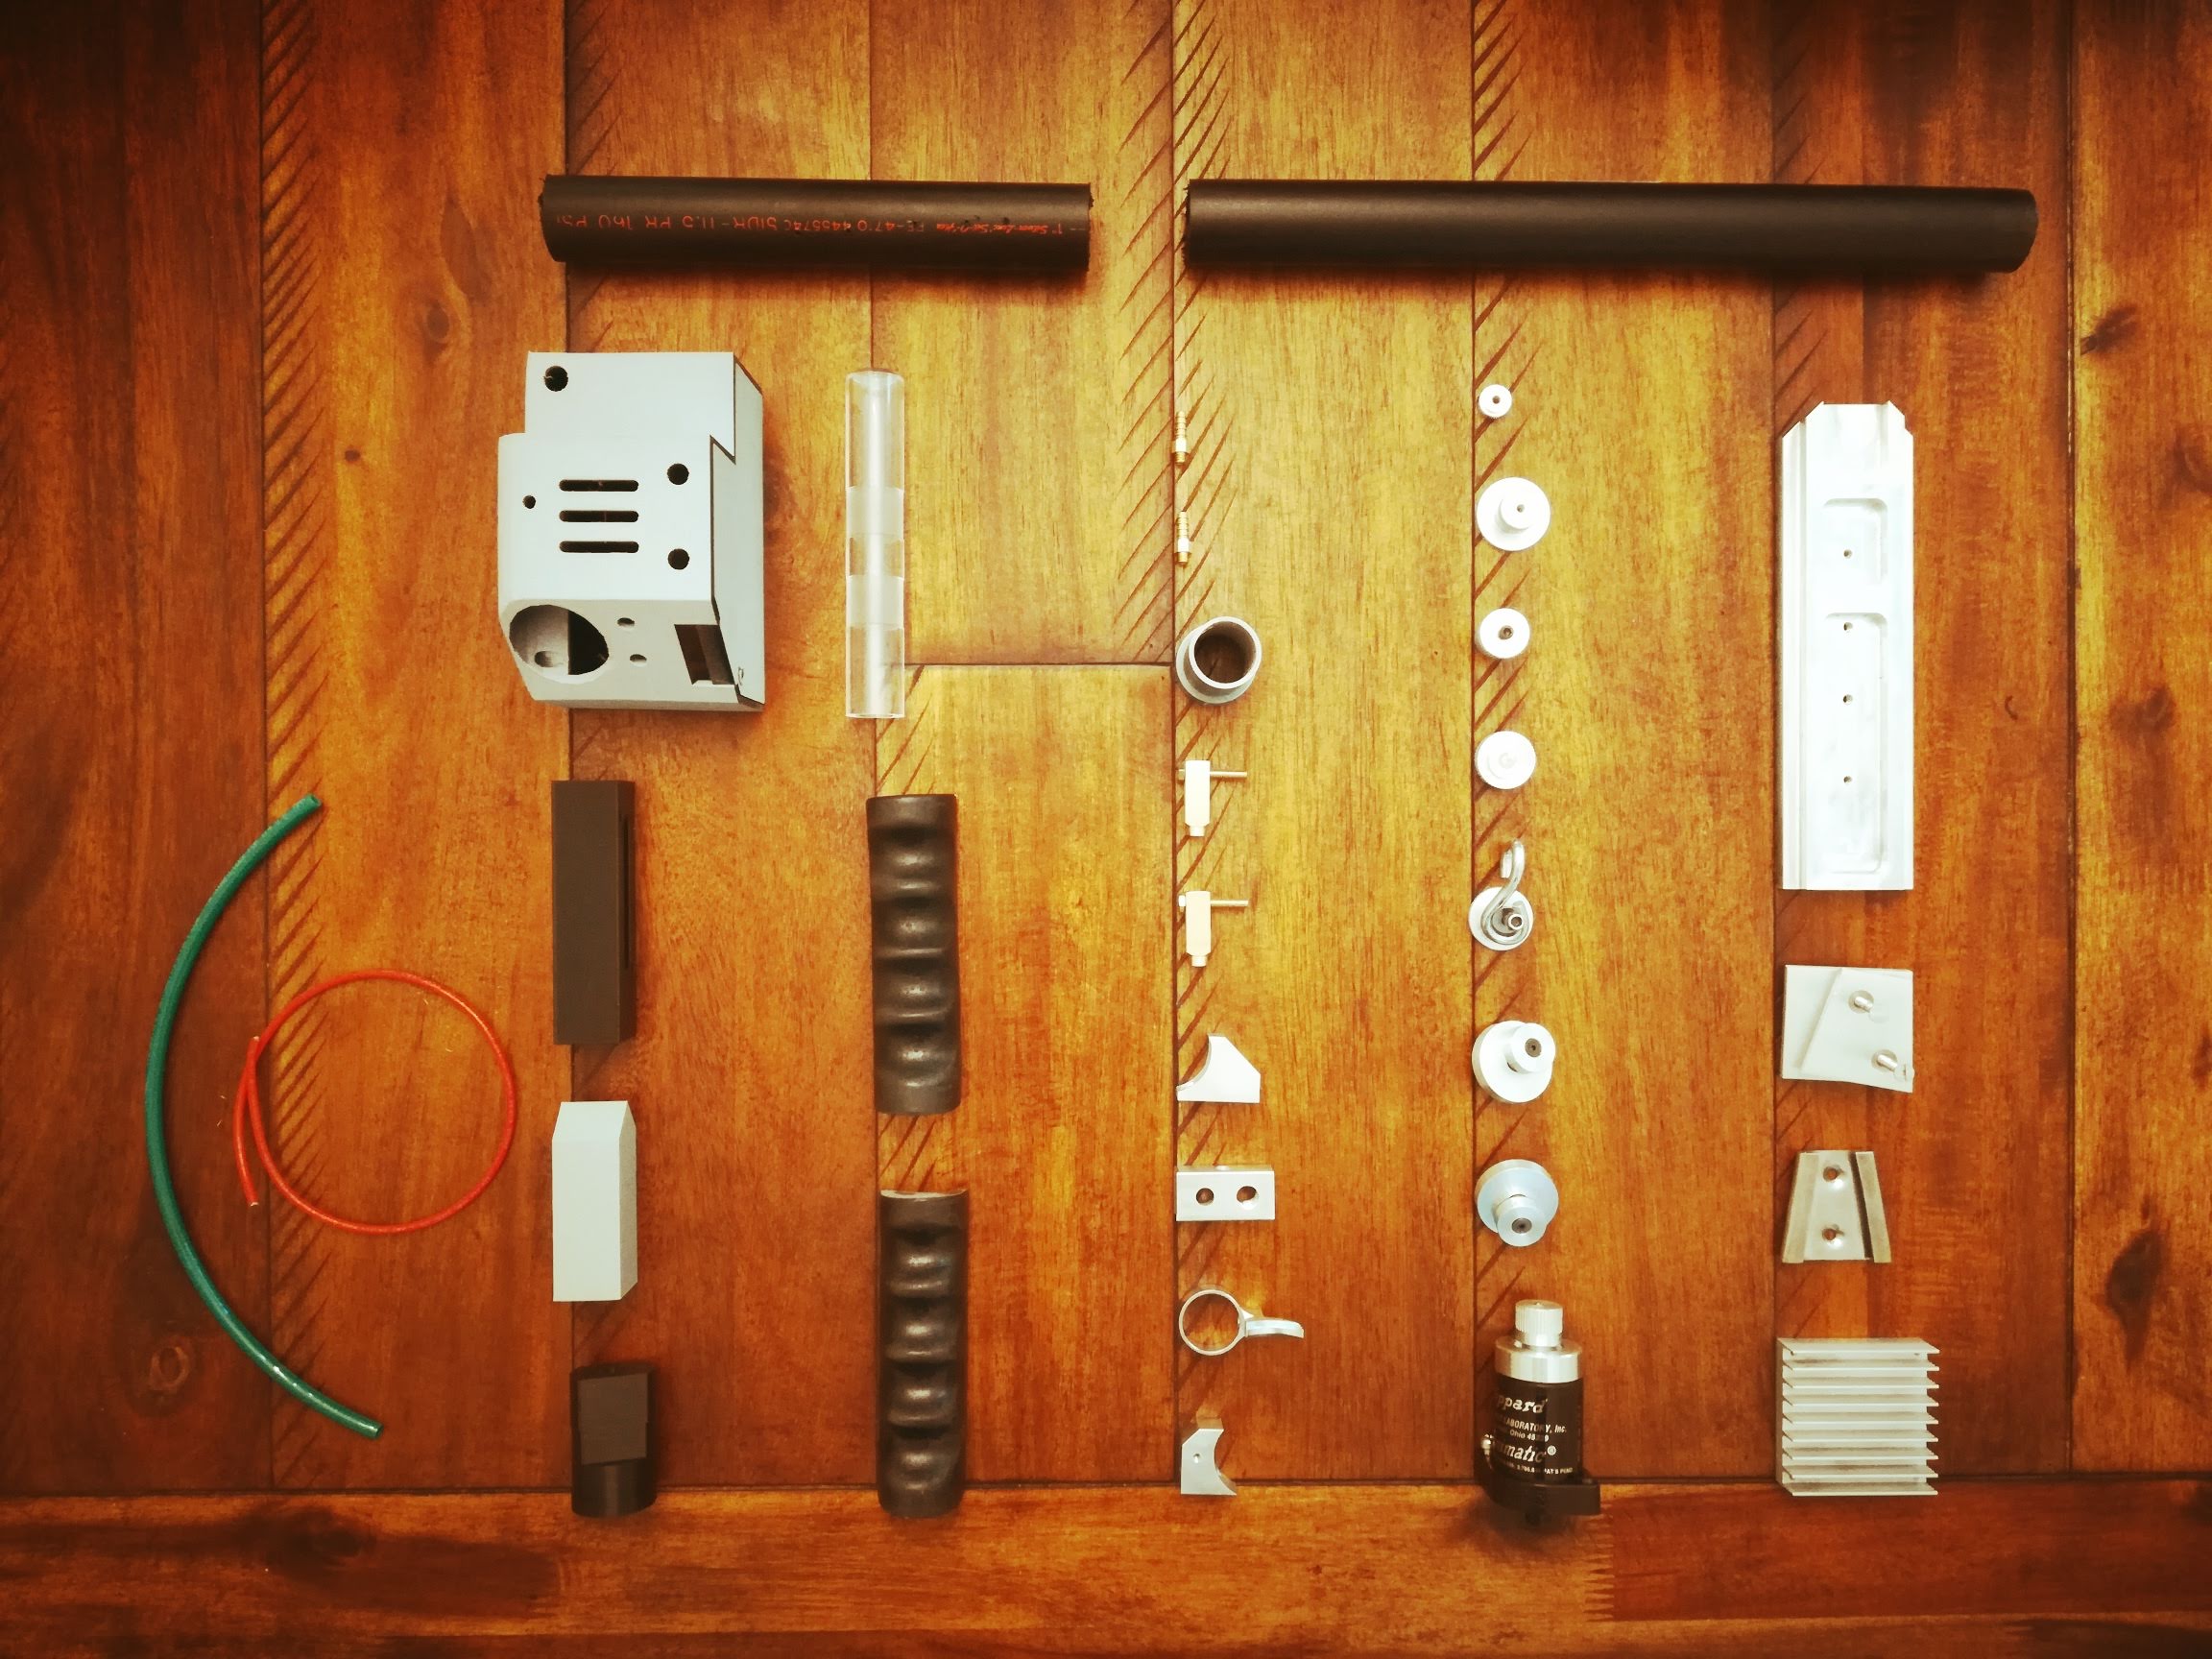
Proton Pack Wand parts
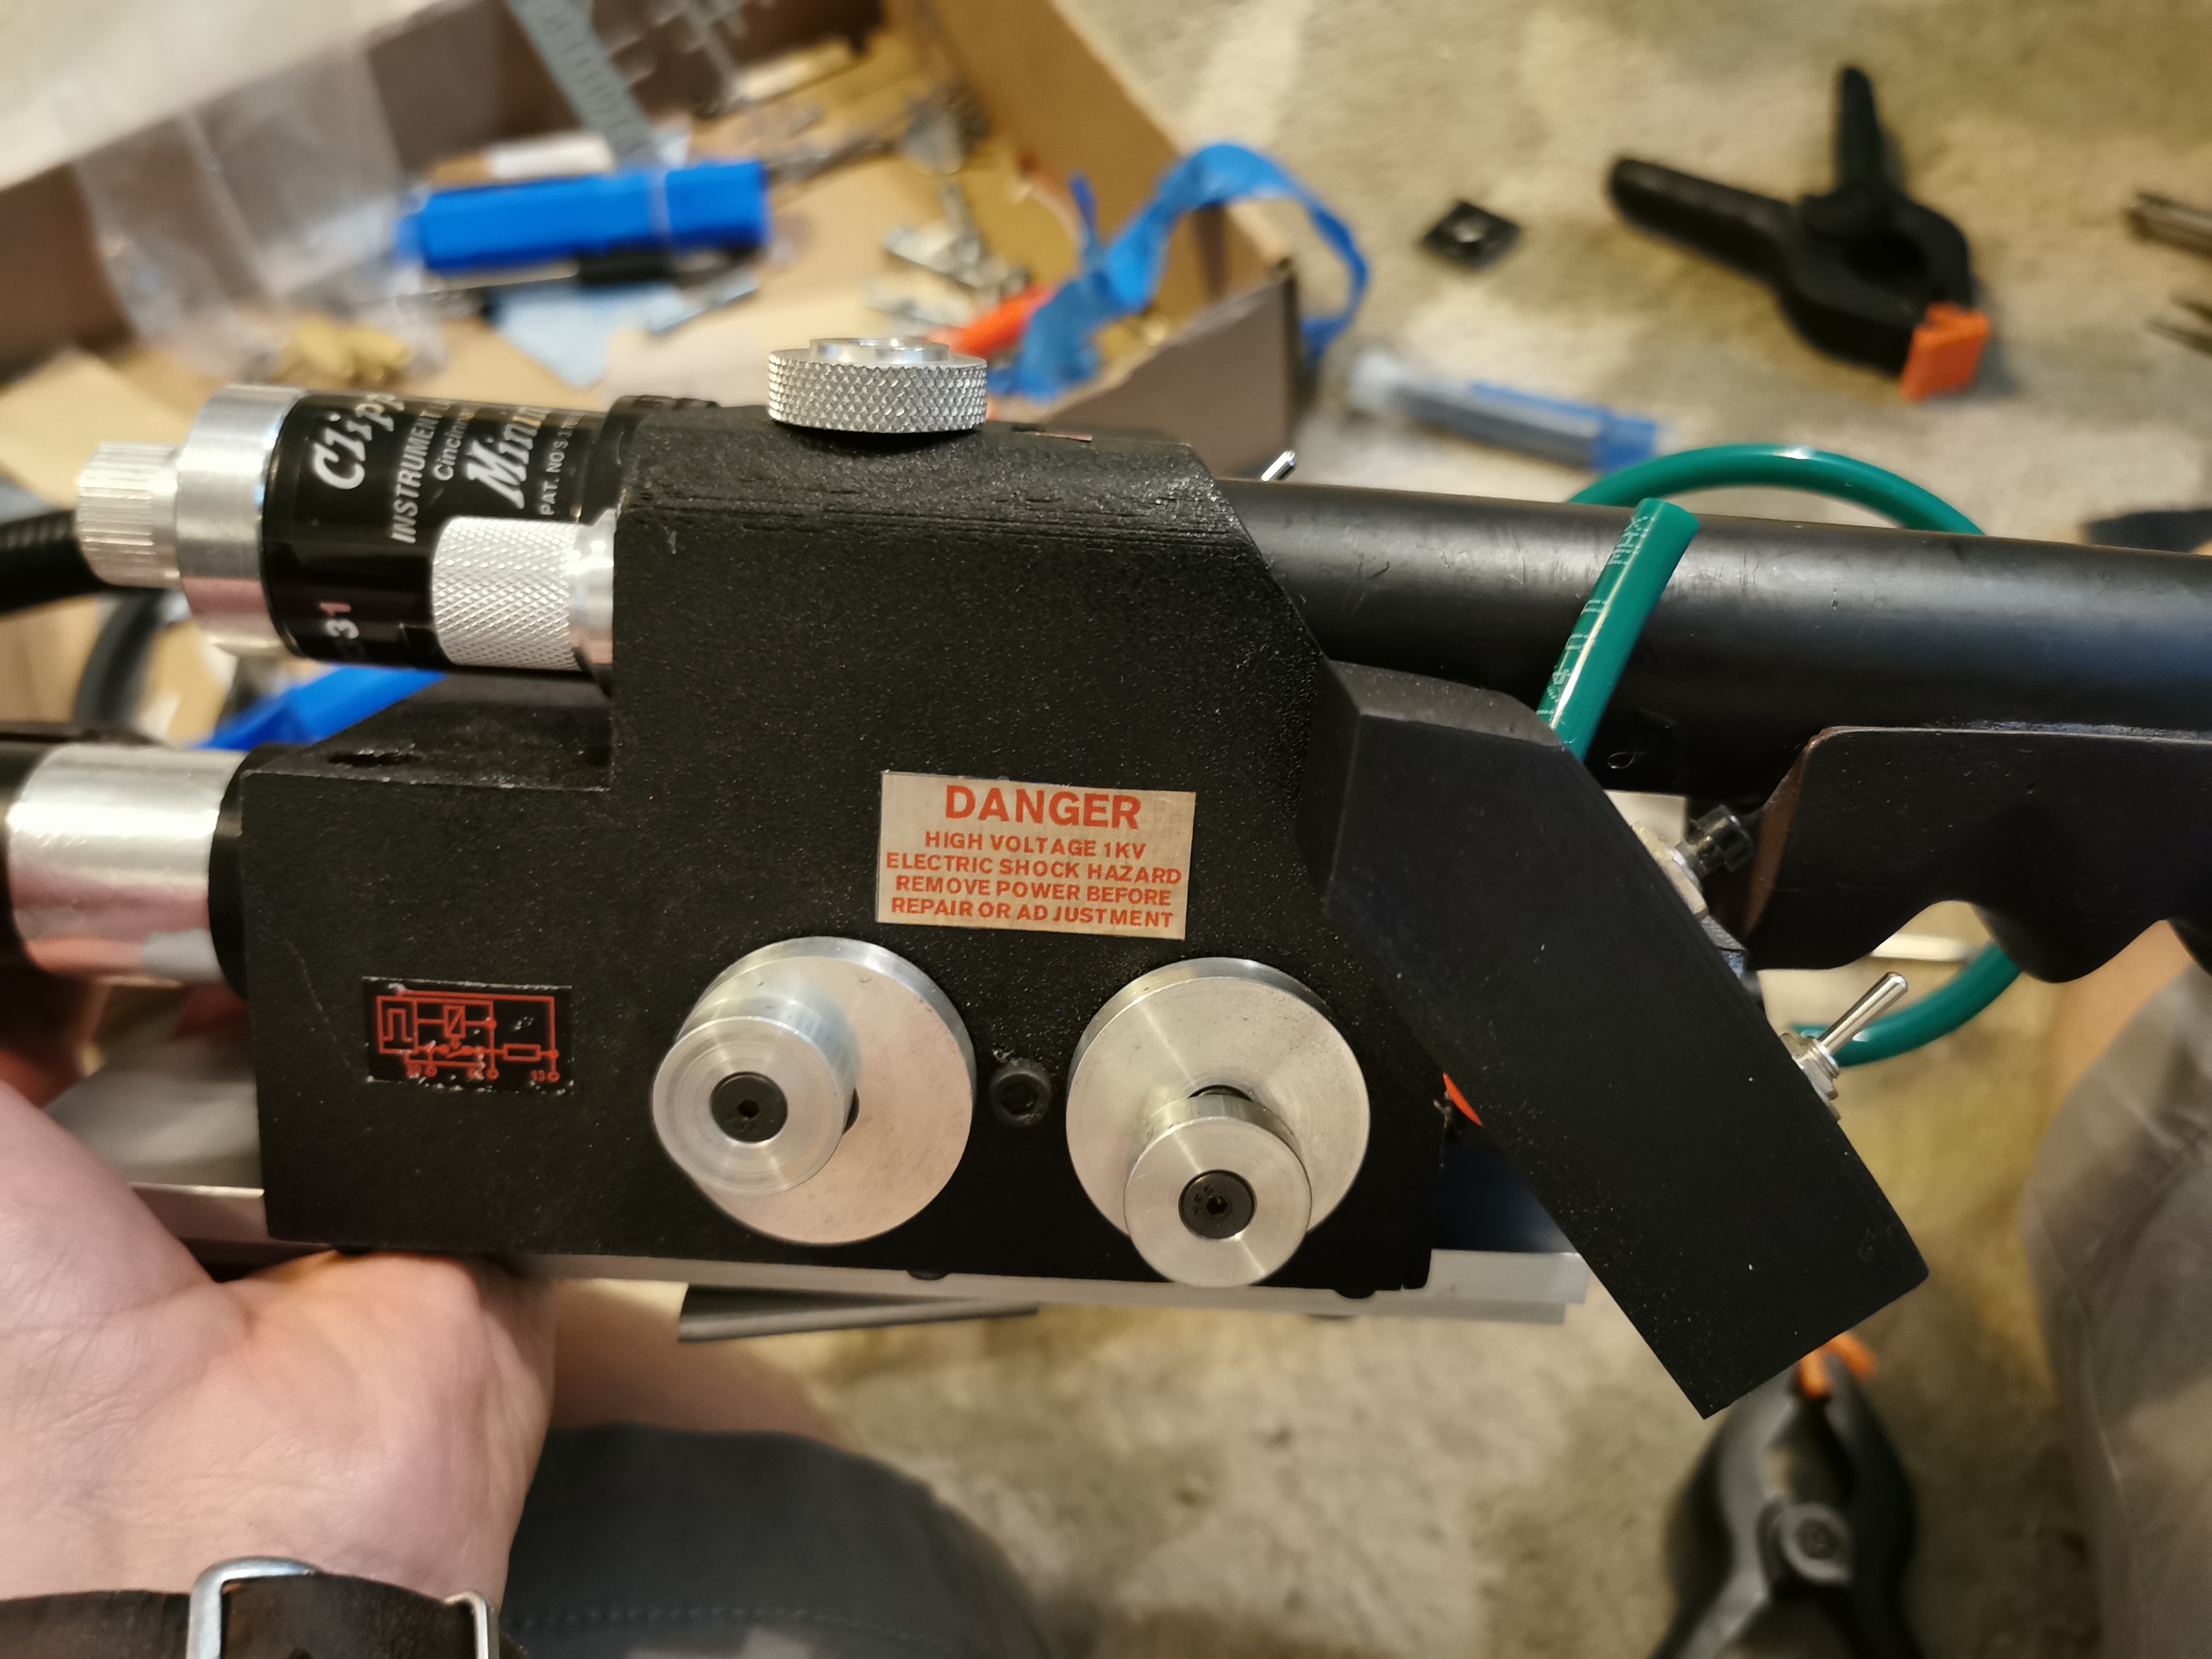
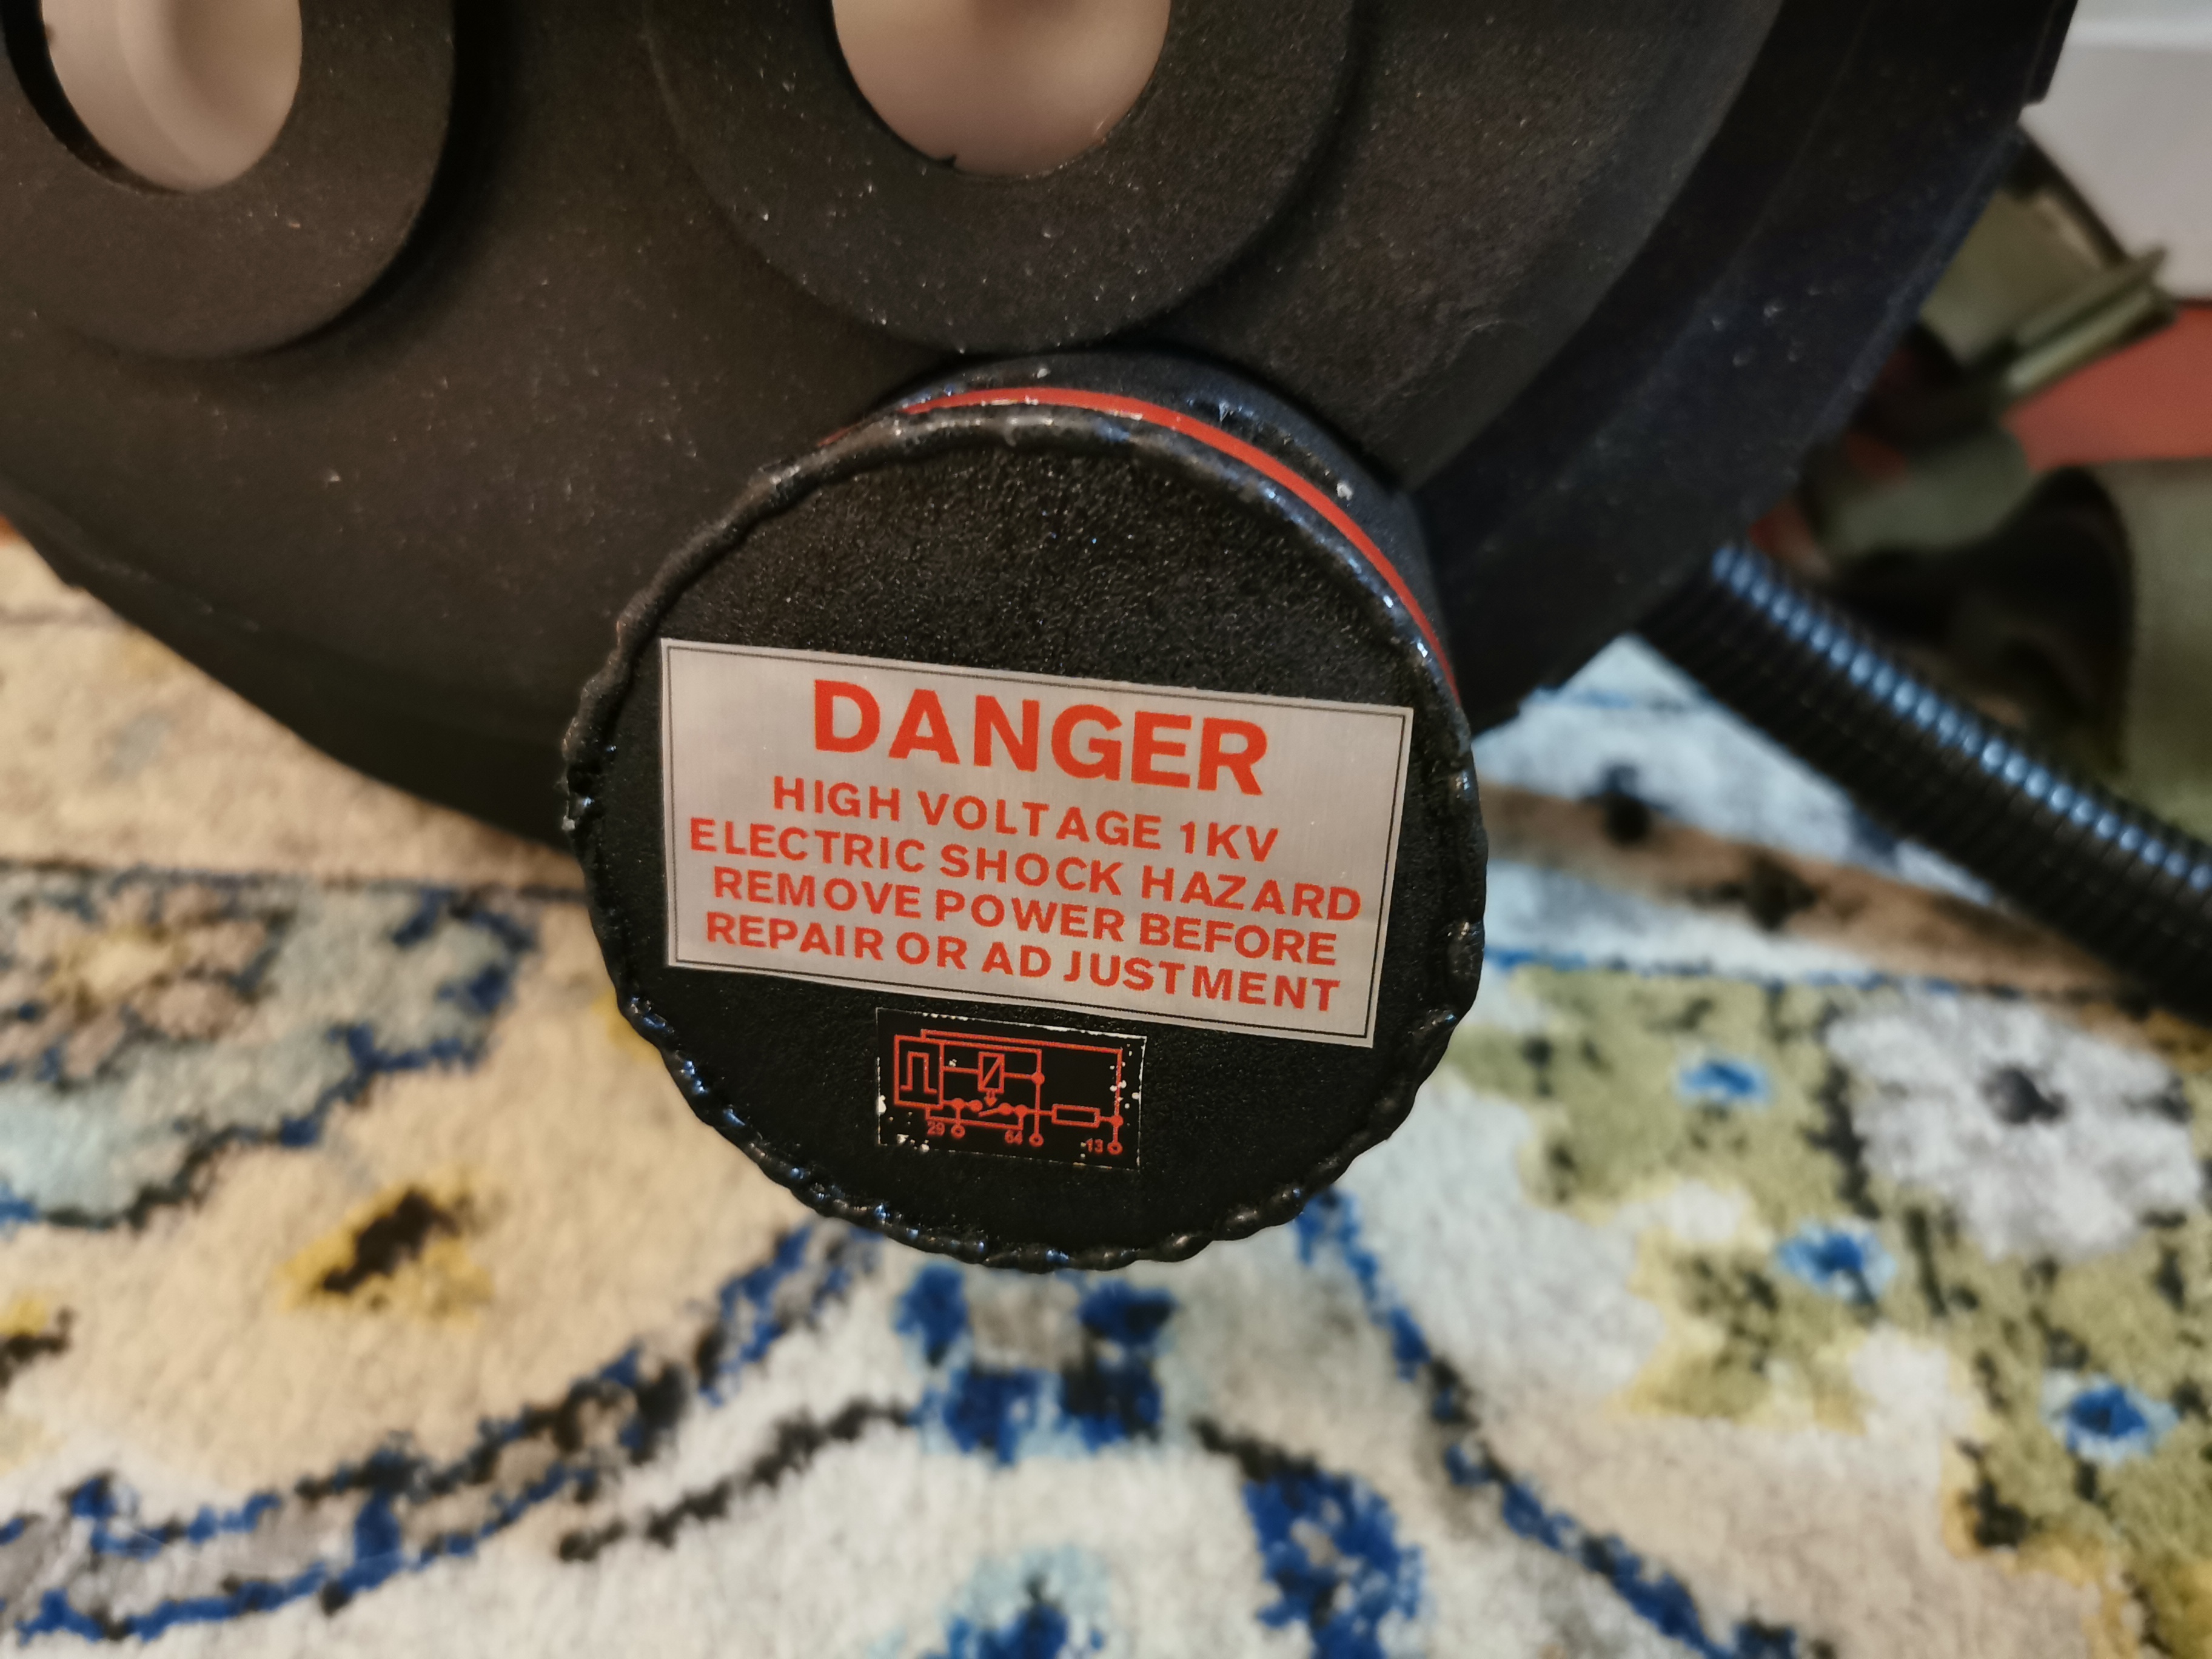
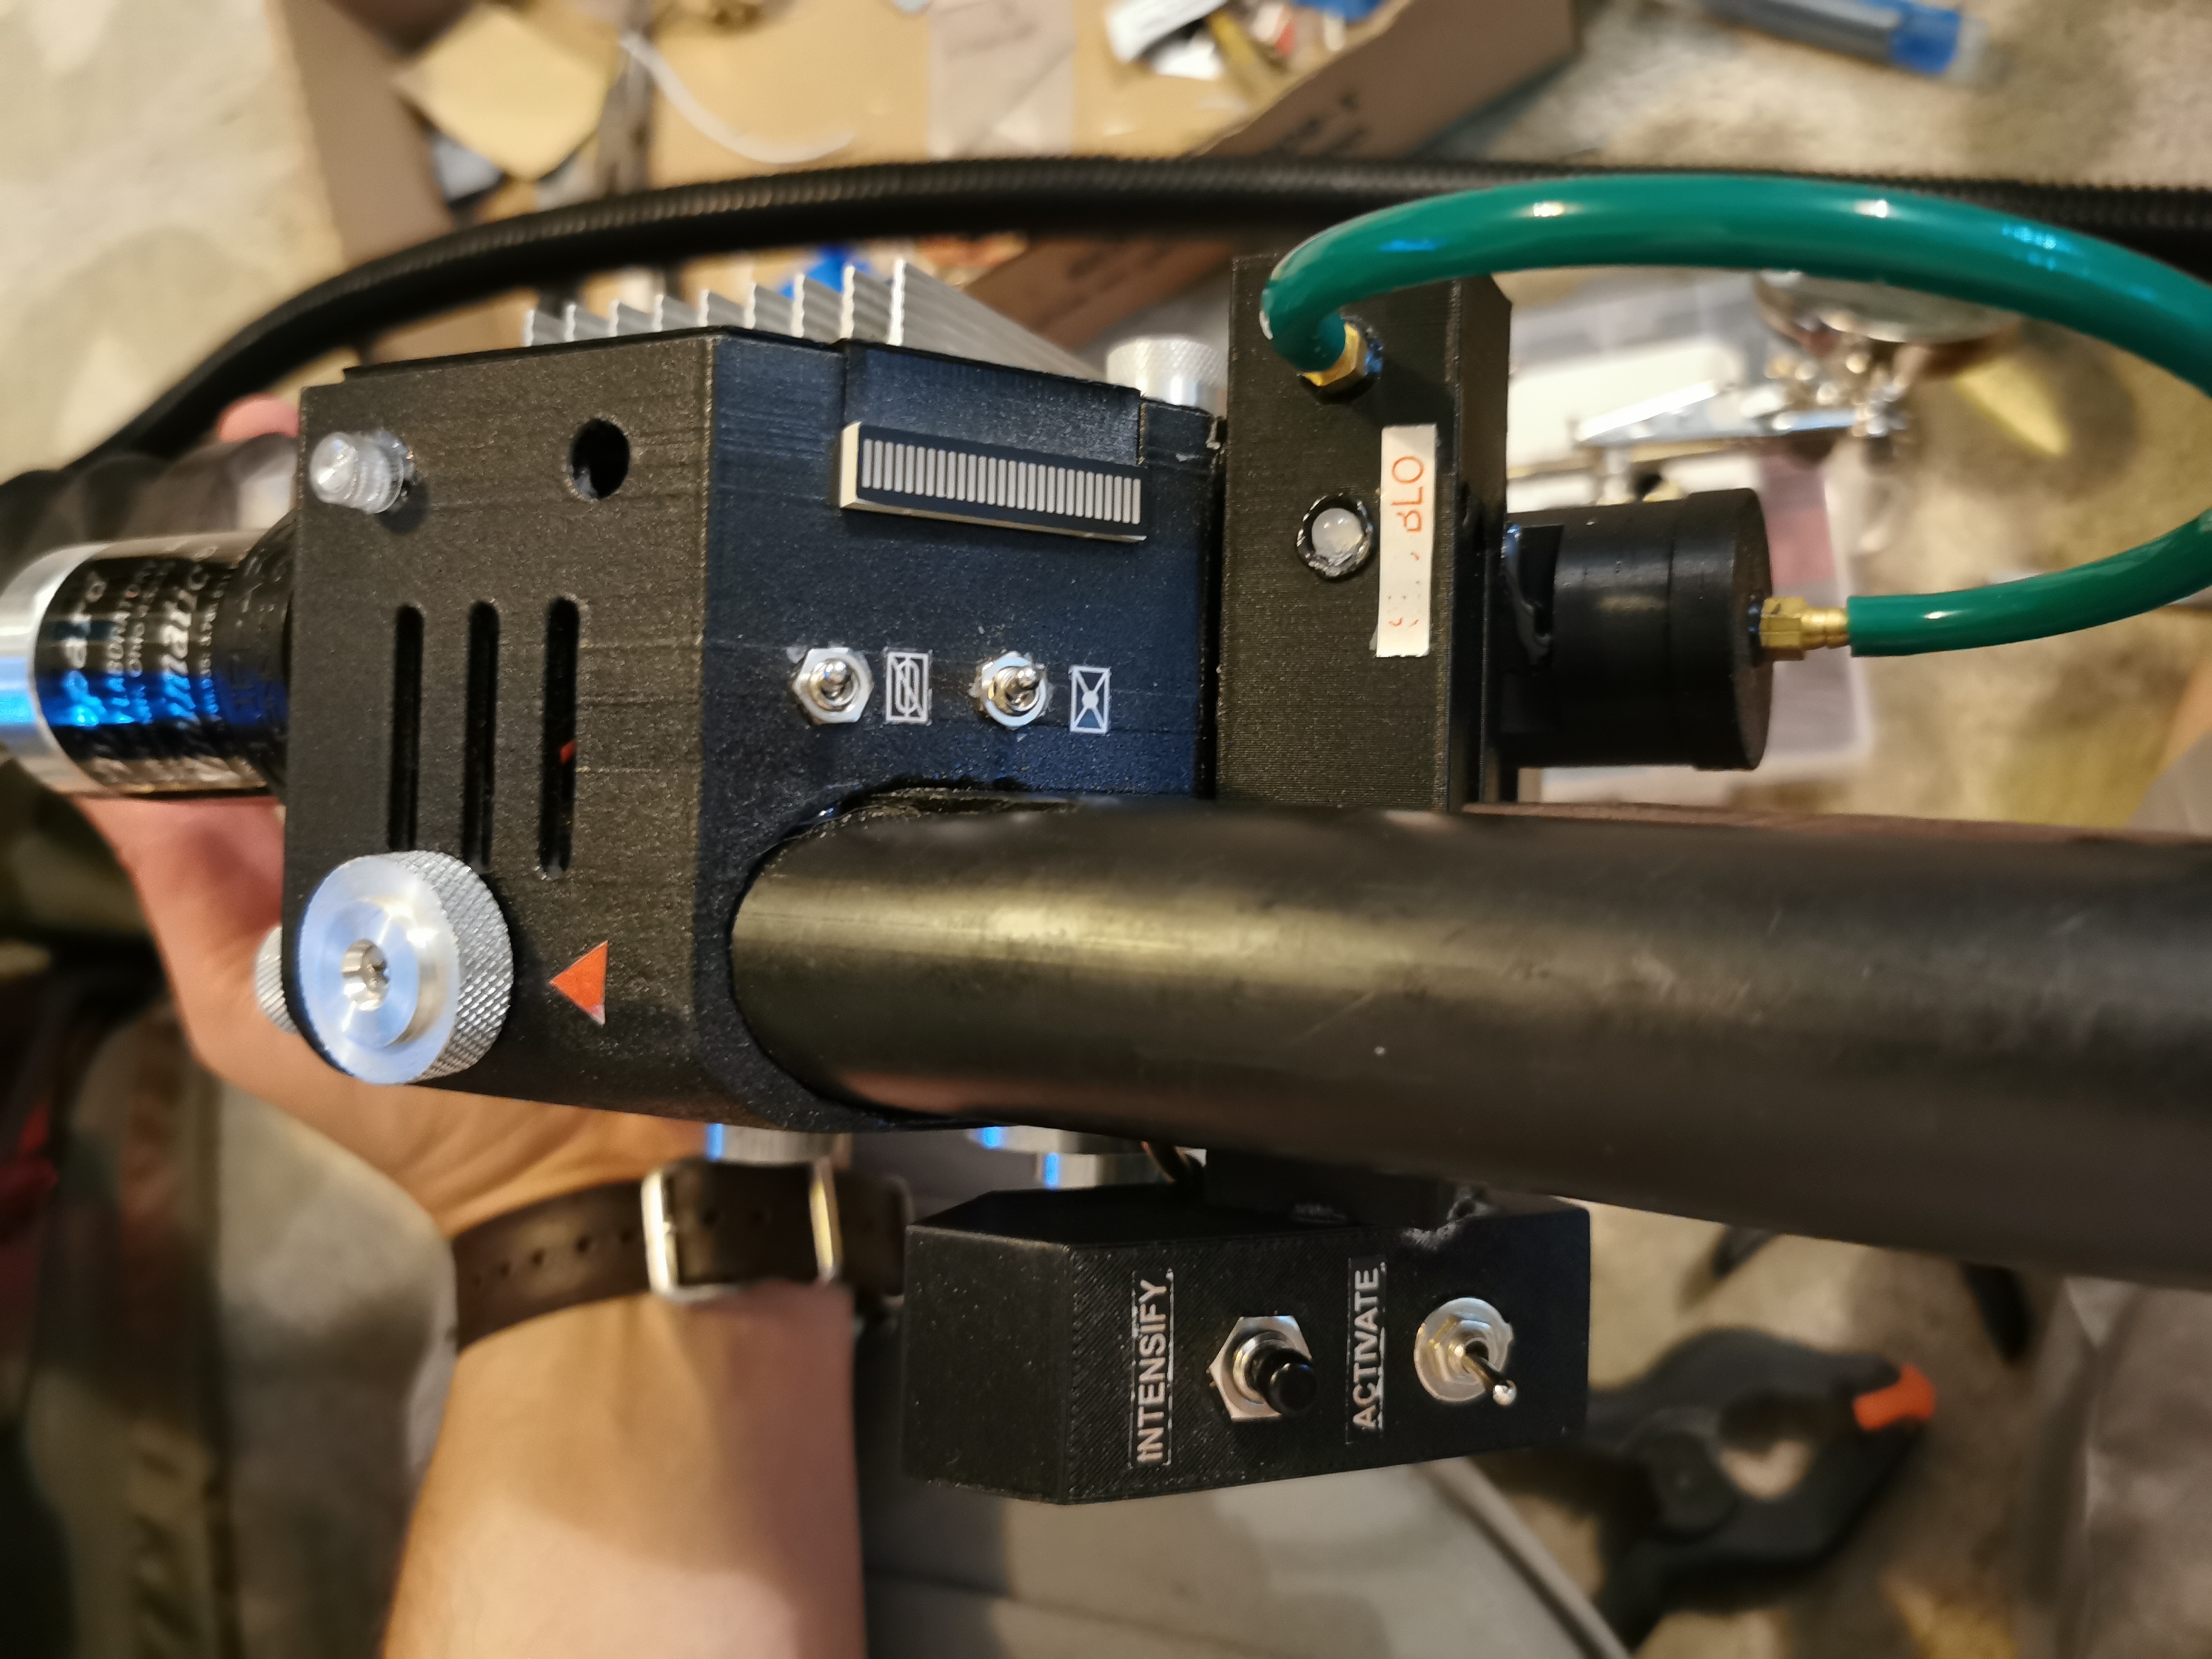
The first thing I did was start planning the placement of all of the knobs and dials. And there are A LOT. The wand was way more complex than I was expecting and just figuring out which knob goes where made me look at reference images for quite a long time.

Sided knobs

Front knobs and Clippard
Back panel knob
Next I screwed the handle on the main grip of the wand after painting the grips black. They were originally a brown resin that I had specially made since the originals were brown resin with a black finish. I haven’t decided if I’m going to “age” the pack yet or not. The way that I’ve painted all of the parts, if there is a scratch or a chip in the paint, it should look natural and like normal wear and tear similar to the screen used packs.
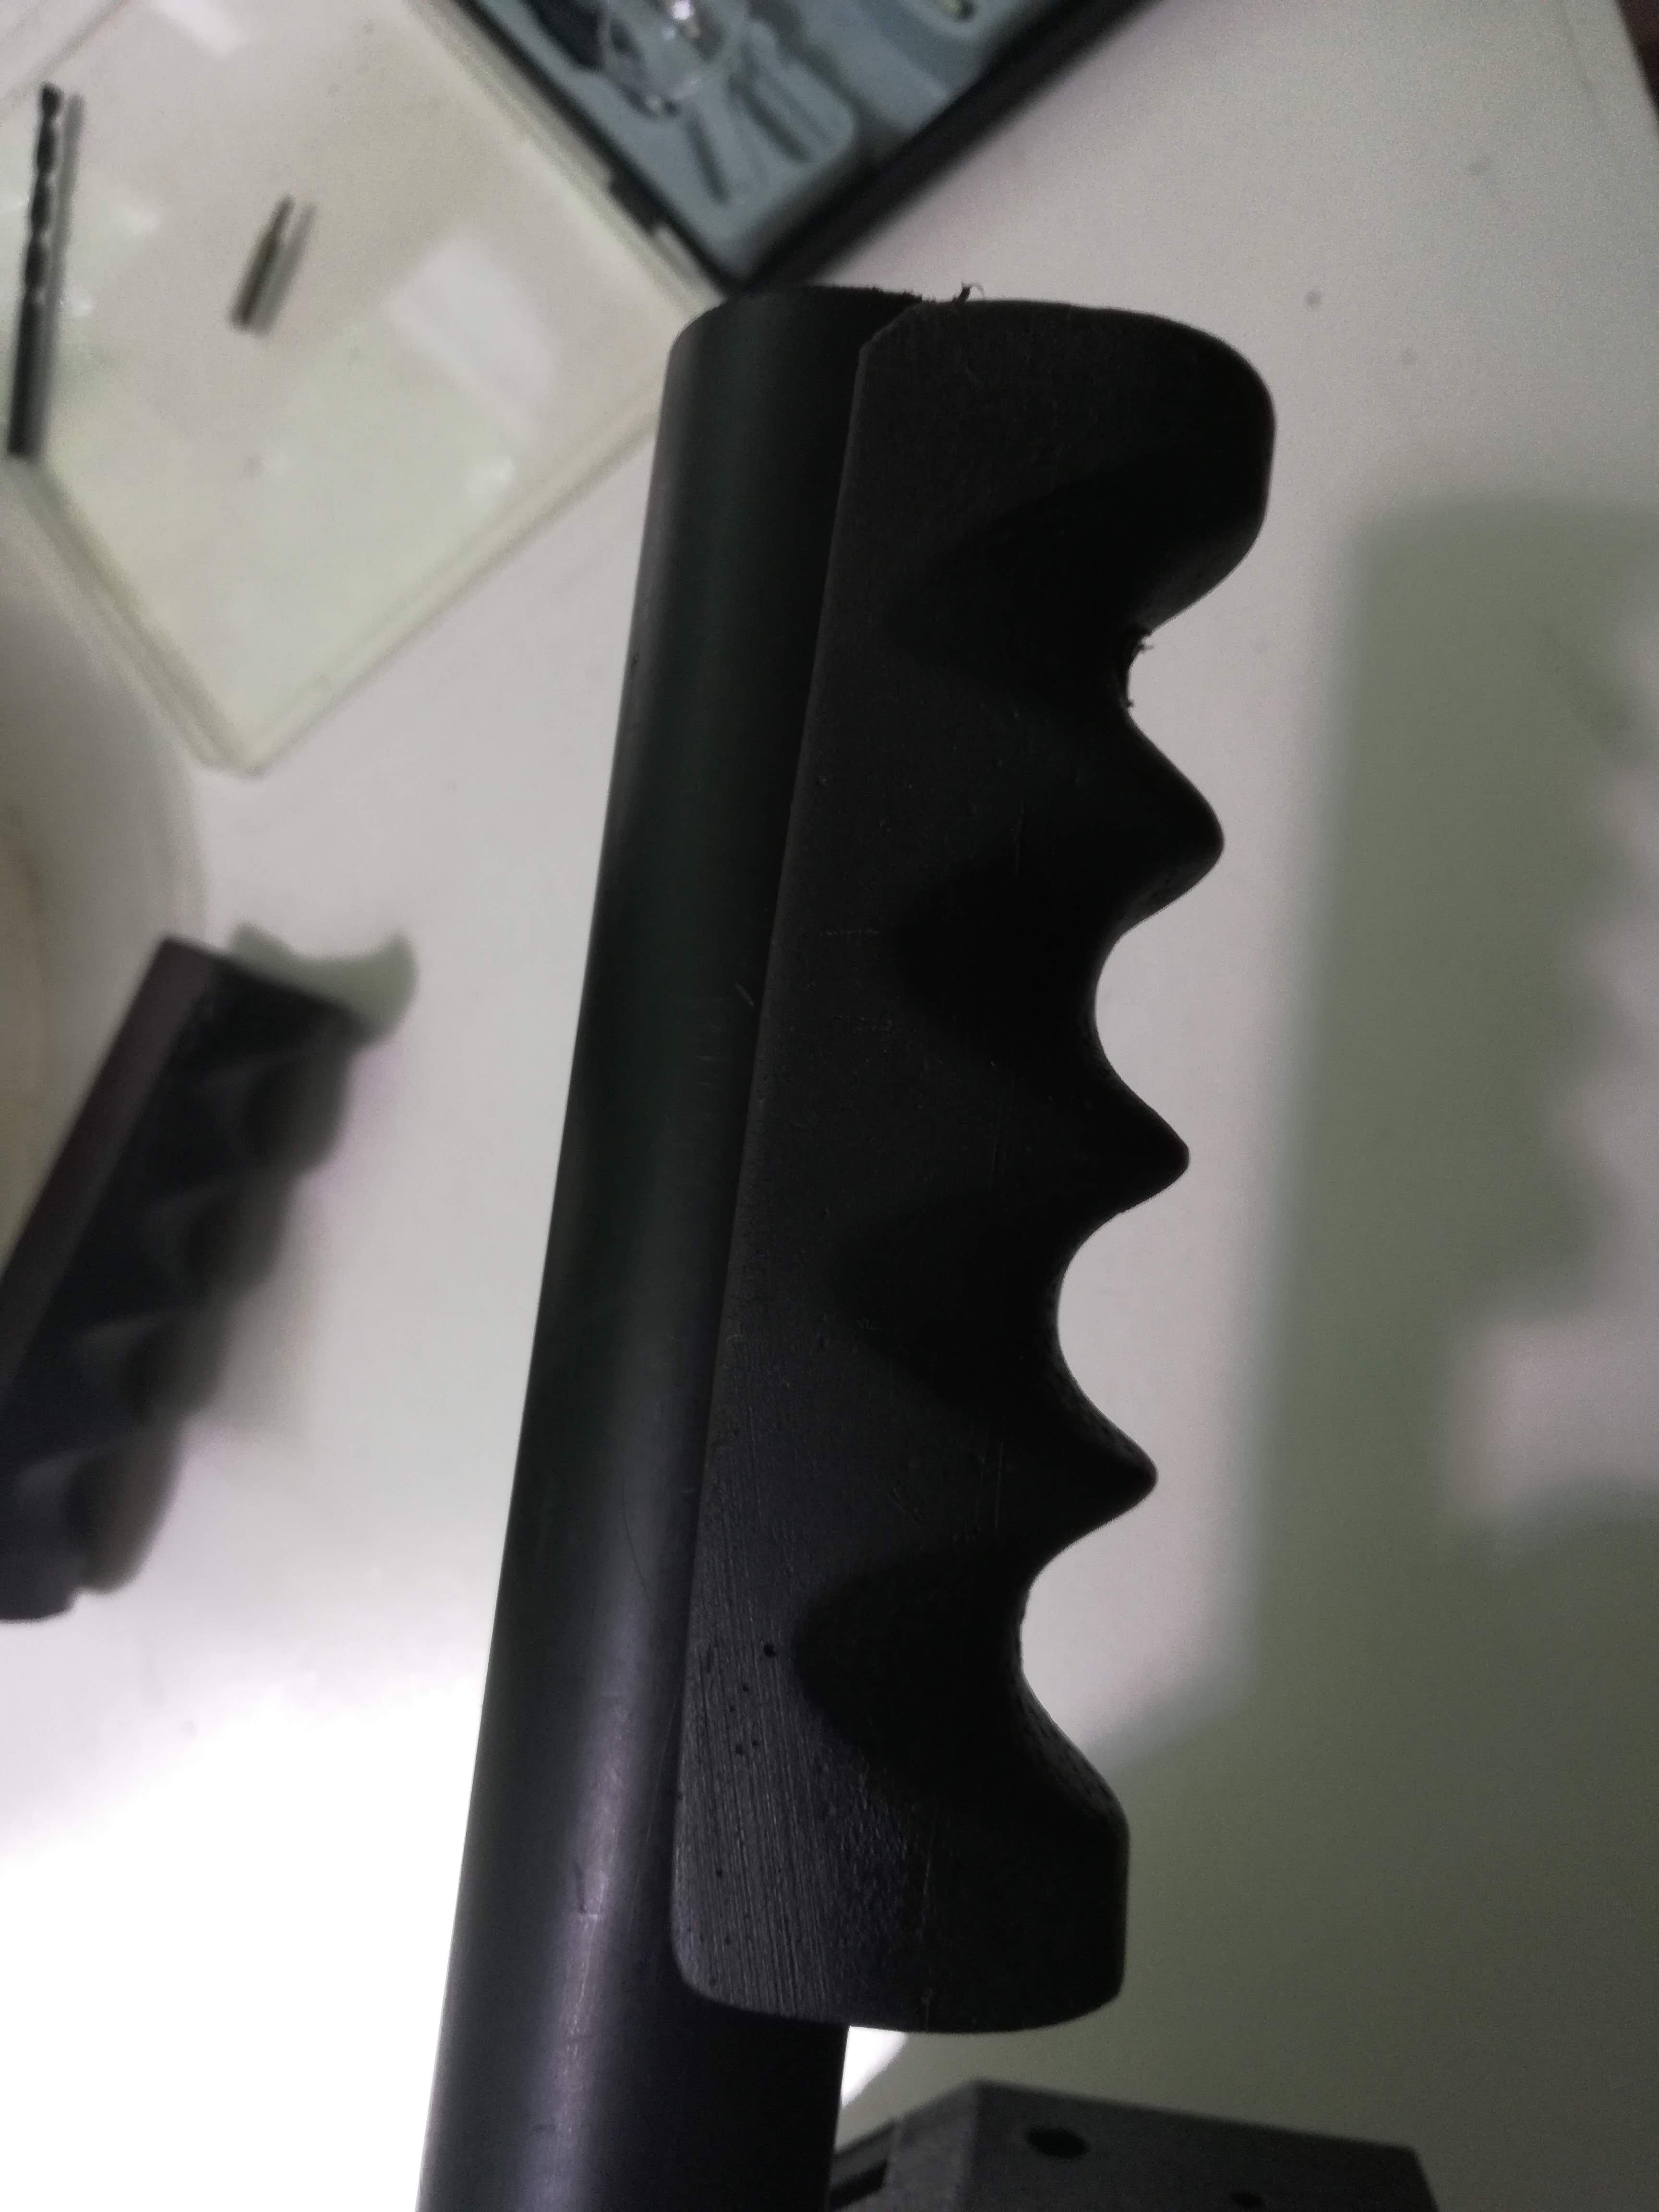
Wand Handle Grip
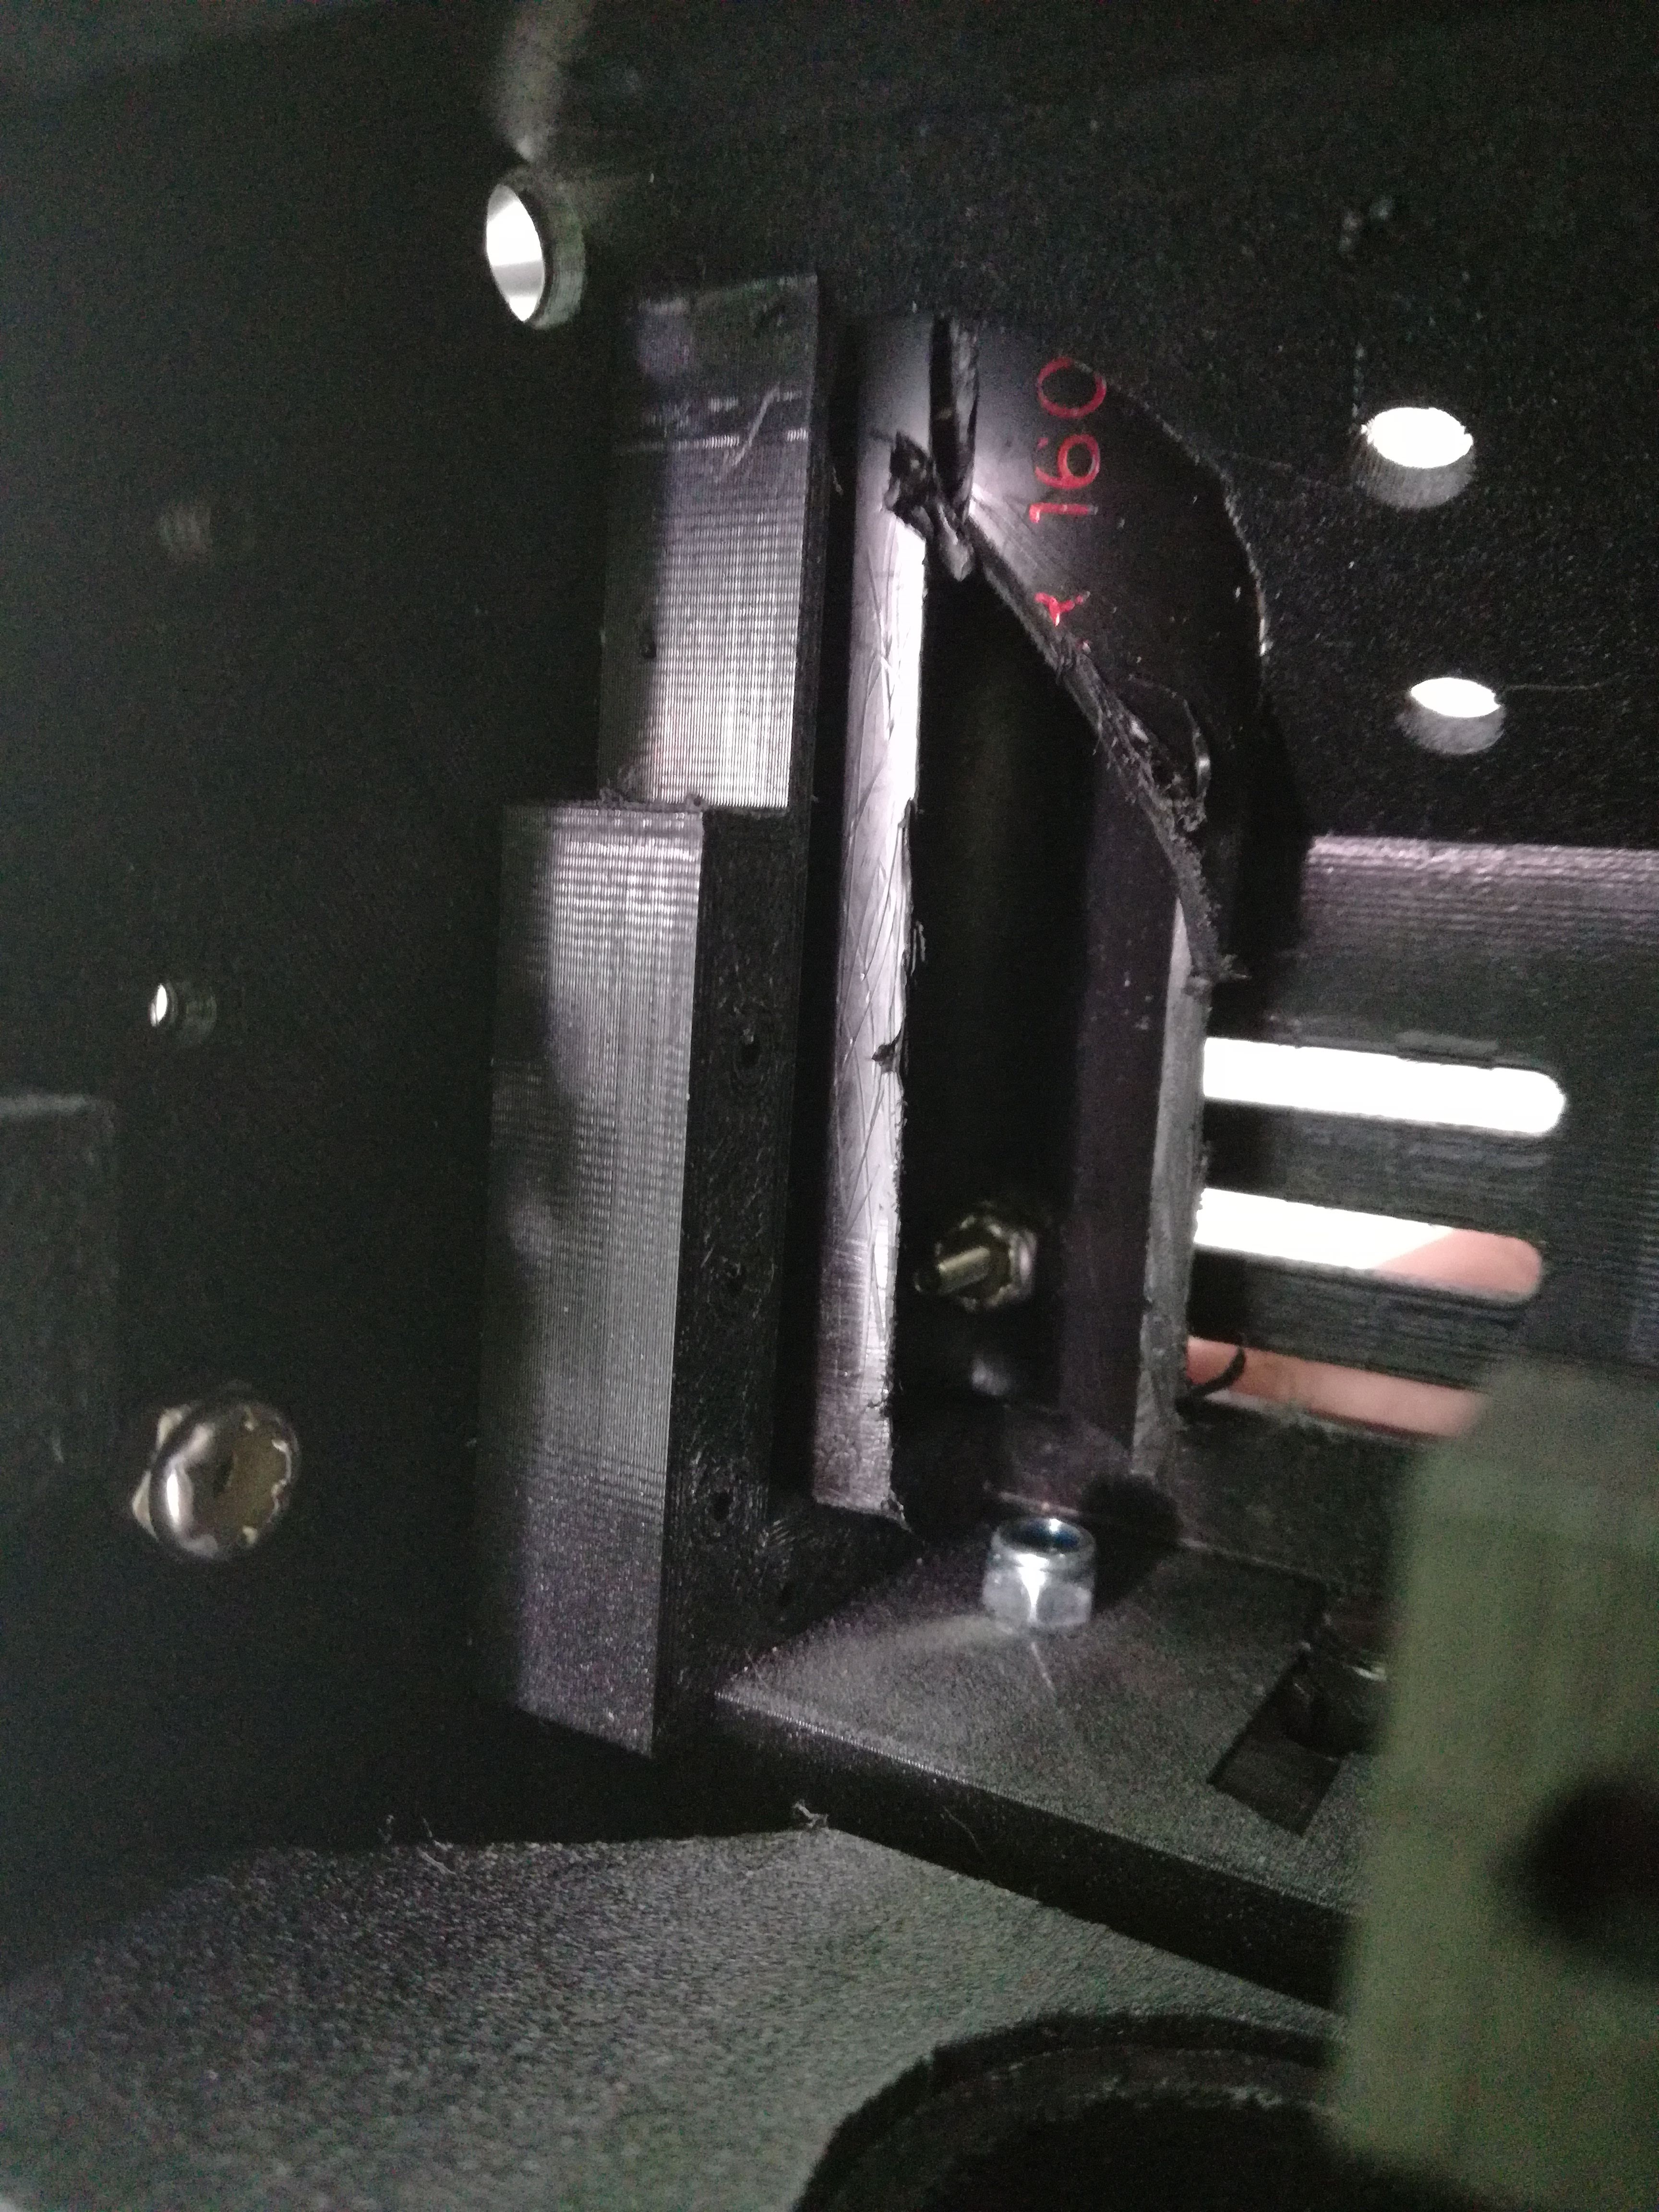
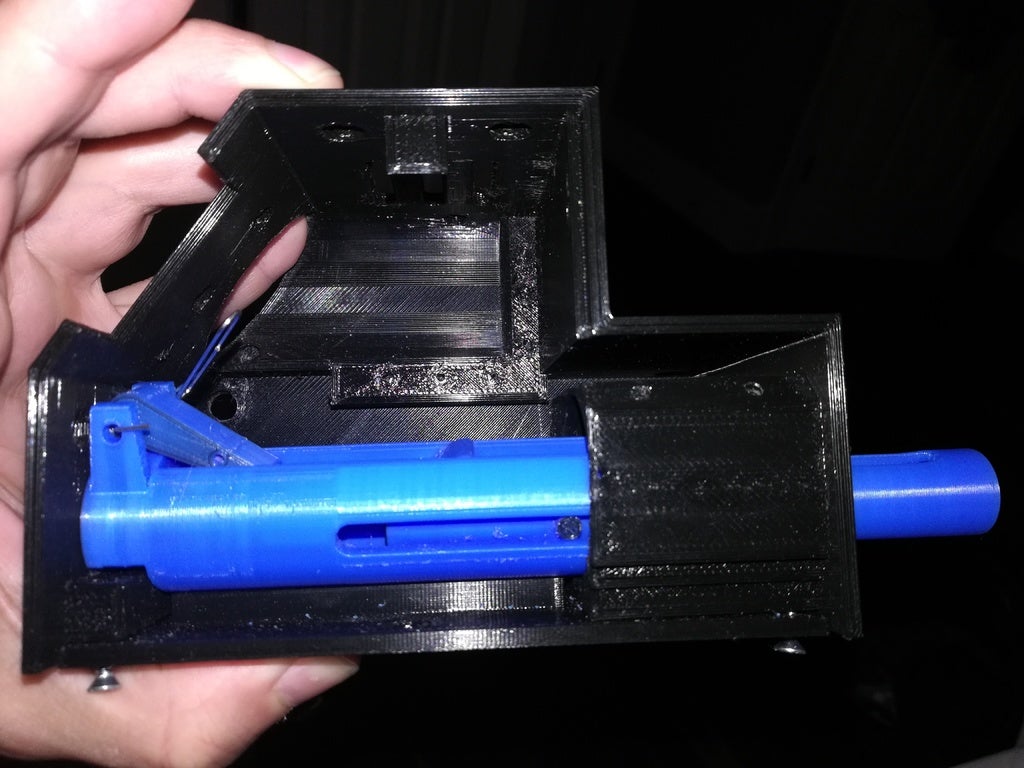
Inside gun box attaching handle tube
Next I needed to assemble the wand tip, clear tube, and secondary grip. But there were a few things that I noticed after looking at the screen used wand. First, there is a wire running under the grip the entire length of the tube. Next, there is a bit of electrical tape here and there. I decided to loosely fit these items together because I’d likely need to take them apart when I install my electronics and when I finish my wand pop mechanism which I’ll discuss next.
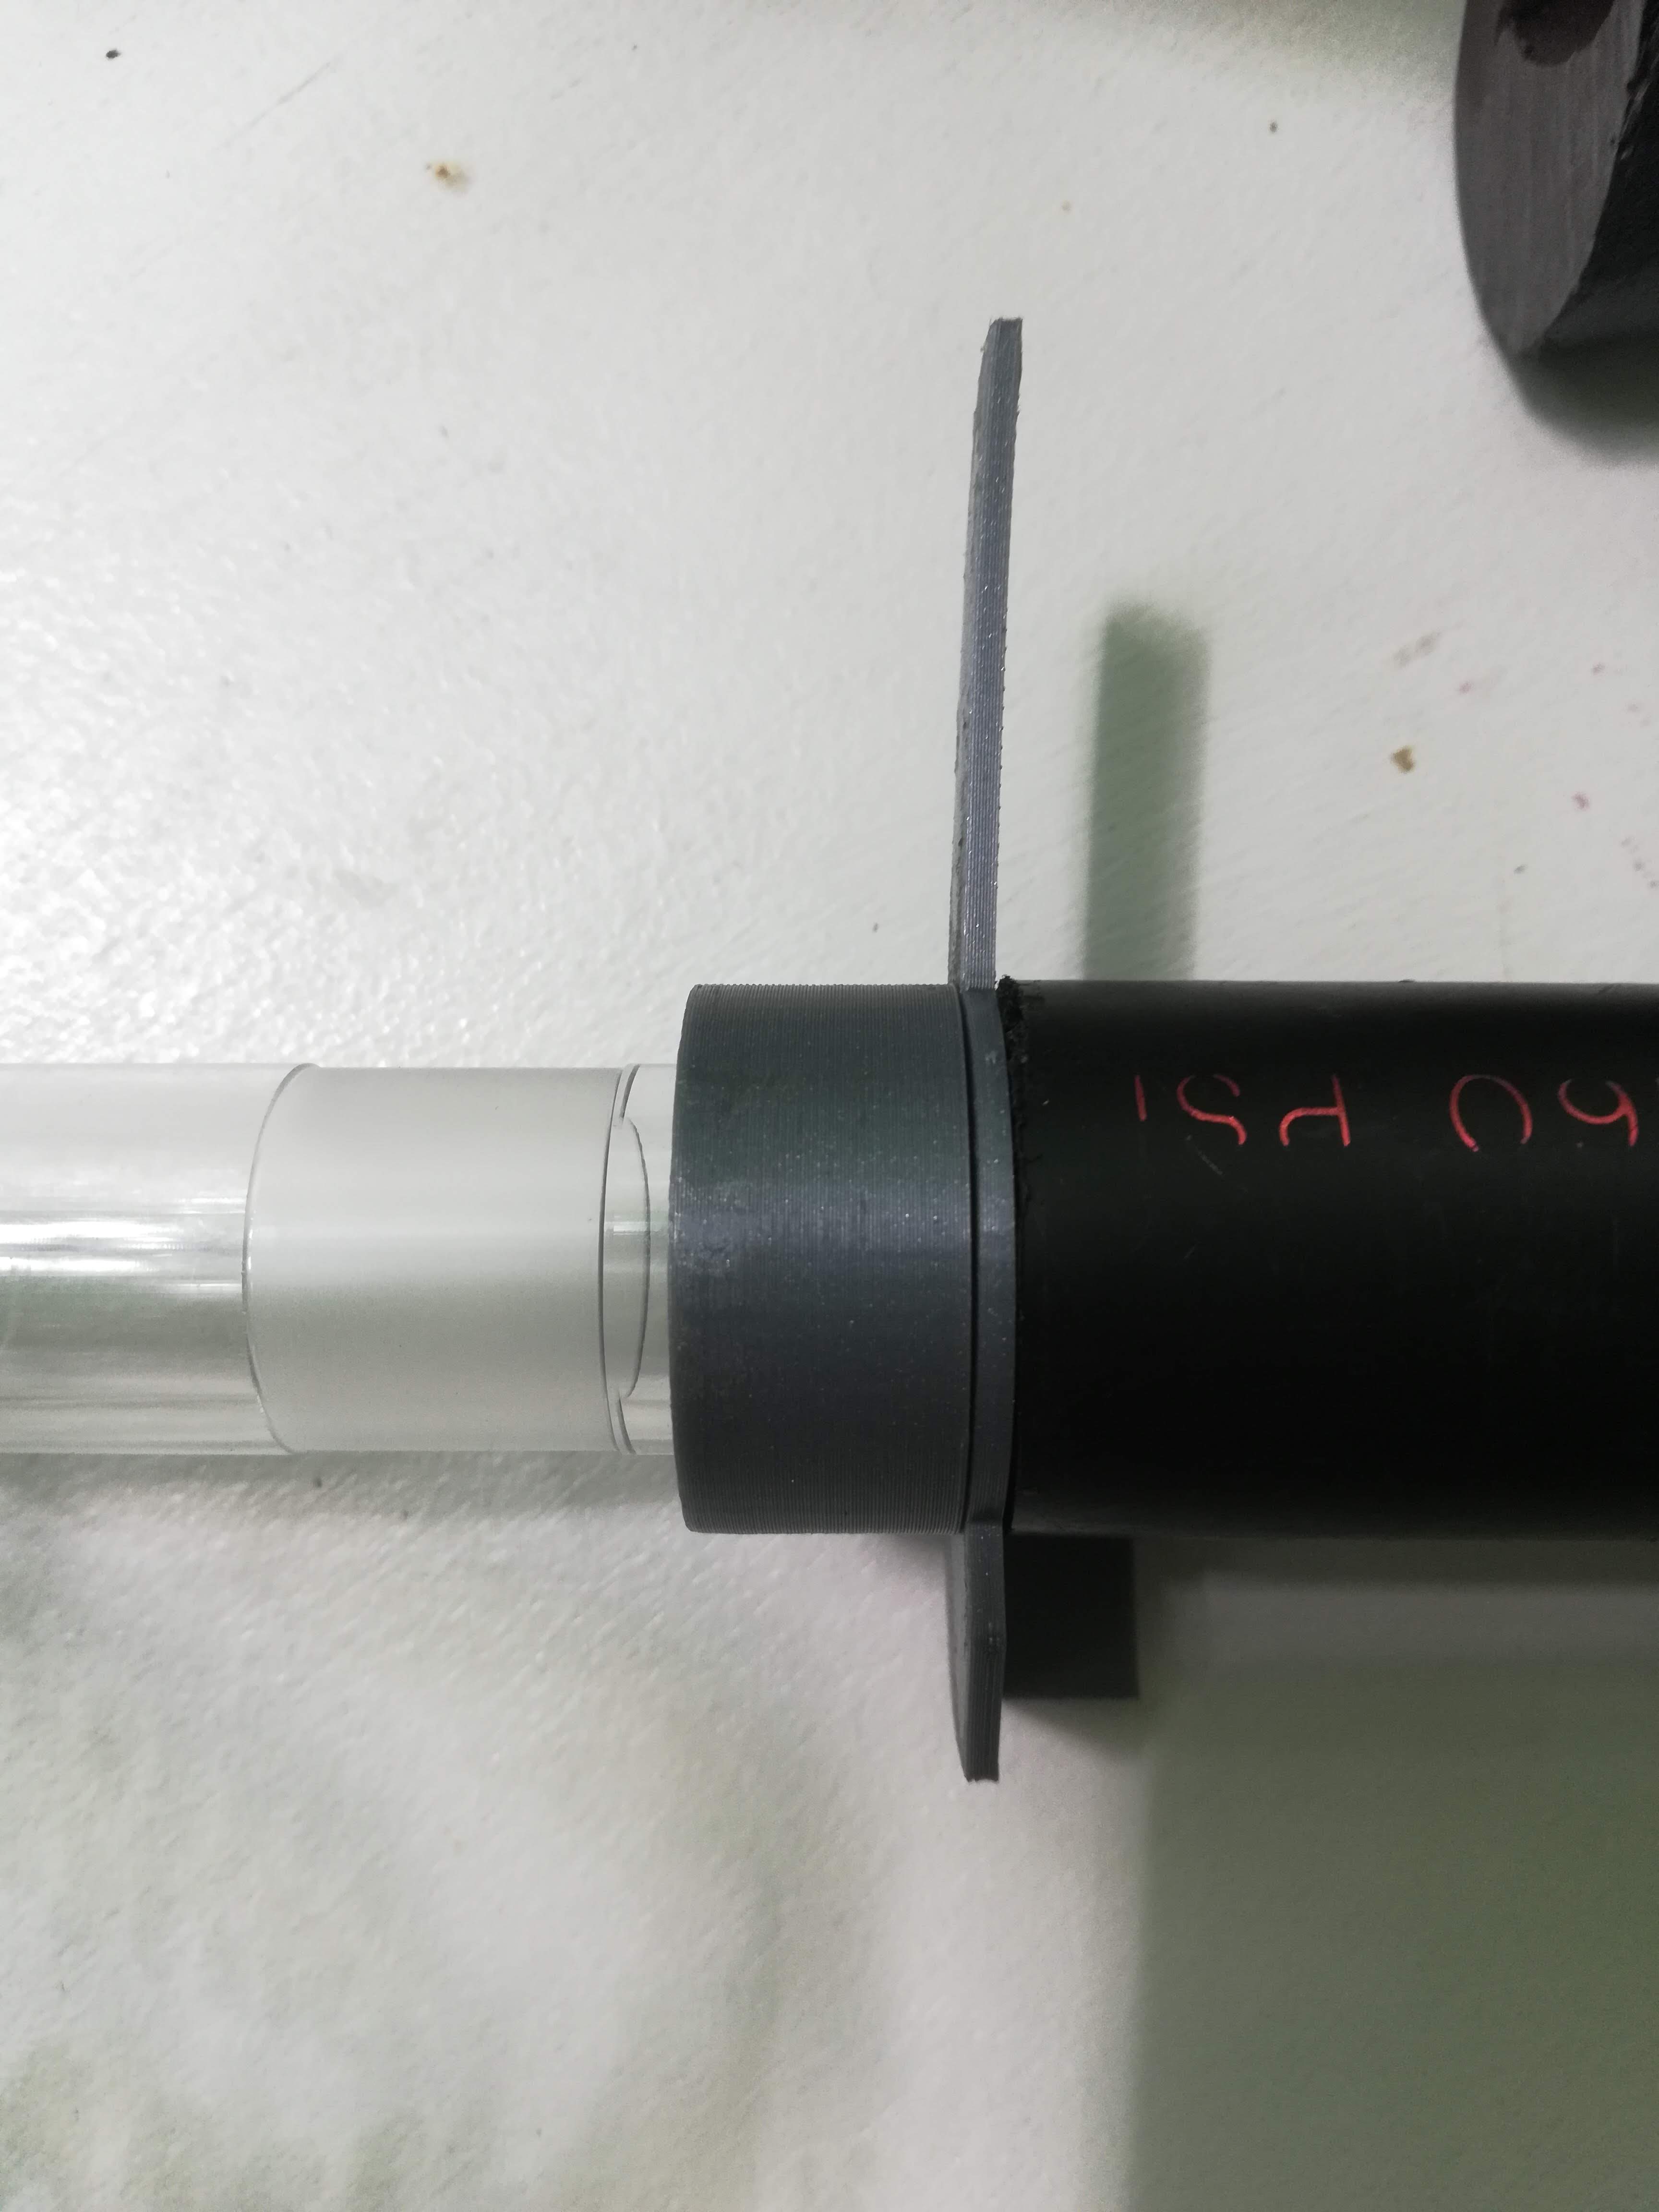
Clear tube assembly
Wand Pop Mechanism
If you’re going to build a Proton Pack Wand, there is a big question you have to answer first: are you going to have a wand pop mechanism. First, let me explain what the wand pop mechanism is. There are really only two scenes in the movie where they show the clear tube extending, The first is where Ray steps out of the elevator at the hotel on their first real call. The second is in the scene before they fire their wands at Gozer.
Here is a video of someone demoing the wand pop mechanism on a machined wand prototype.
As you can see, there isn’t much to it. The wand extends a few inches after pulling a green tube-covered brass lever. It’s not much, but if you want your pack to be screen accurate, this has to be done. The problem is that there are only really a hand full of people making these kits, and it takes a bit of work to get them setup in your wand. I guess the bigger problem is that not all wands are the same. Some are 3D printed and some are machined aluminum. Some are even resin or molded from other things.
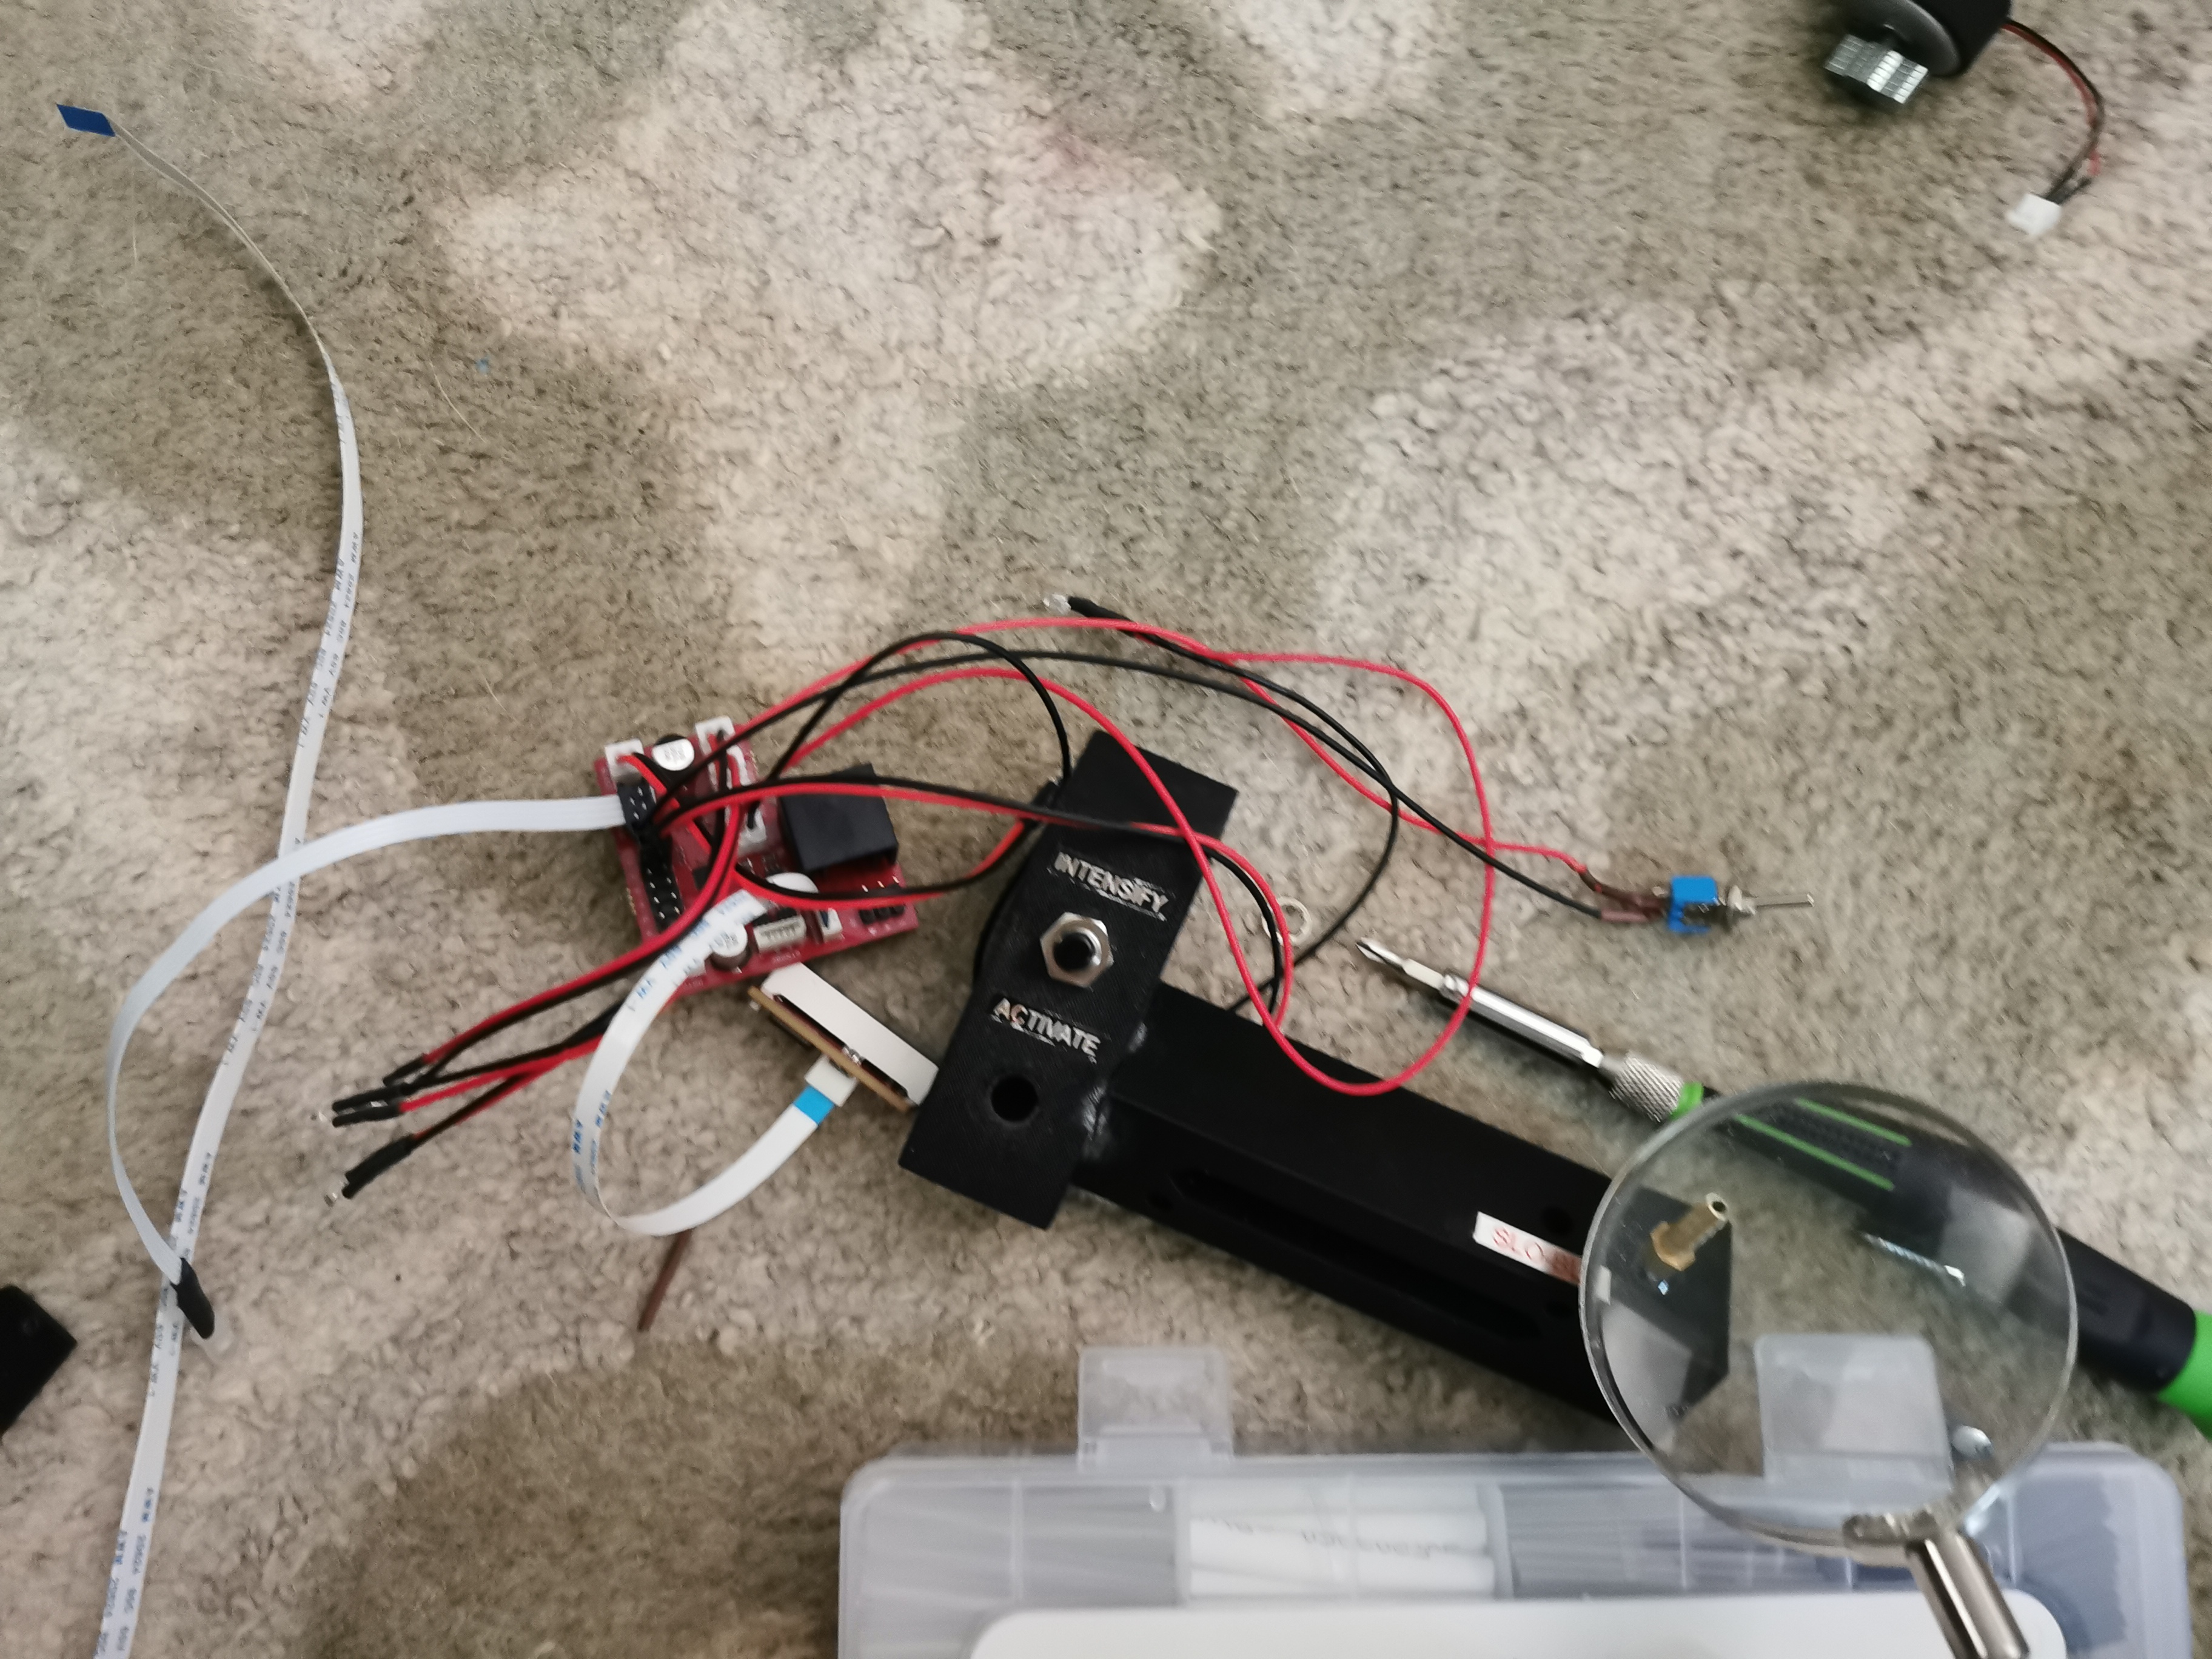
So, because I love a good challenge, I decided to start modeling and designing my own pop-mech for my wand. And as with everything on this pack, it’s much more difficult than I expected. I’ve spent probably 50 hours modeling, printing, fitting, adjusting, and breaking parts for this but nothing solid yet. I’m close, but just not there yet. Part of the reason I’m taking my time with this is because I’m waiting on the electronics for my pack (which should be here in a few weeks!). After I get the electronics, I’ll have a better idea of how much room I have in the gunbox area and how long the wires are that I’m dealing with.
Here is an image of basically what I modeled my wand-pop mech on:

The difference here is that my gunbox opens differently than this one, so the parts need to be engineered slightly different. It’s the basic idea at least.
There are a few concerns that I have with the wand-pop mech that I’ve designed. First, there is a massive BANG! inside the gunbox when you release the trigger. I’ve broken a few parts just testing things. If my gunbox broke, that would really set me back some time on finishing this pack. So I have to design this so parts don’t break and if something does, it’s not my gun box. The other concern is that the wand-pop mechanism may not be very easy to assemble for others or retro-fit to wand gunboxes that aren’t setup like mine.
Here is the Thingiverse page for my wand-pop mechanism: https://www.thingiverse.com/thing:4343260
Wand Pop Mechanism Prototype
I think until I get this worked out a little more, I’m going to just let the idea rest for a bit. I’ve come up with a few other designs, but the parts have to be printed pretty thick and I’m starting to get concerned about the electronics not fitting in the wand.
Stickers
I finally got around to putting on the stickers I got a while back. Some of them I’m going to hold off on putting on. I need to apply some kind of clear coat on them to keep them from coming off. They are chrome stickers on very thin metal of some kind and look great. I got the ones that are “worn” looking.

Stickers look good
Here is a side by side of a screen used pack and mine. The dimensions and layout are very close. It’s looking really good.

Side by side with screen used pack. My pack is on the right.
Cyclotron Lights
I added lights for the cyclotron just behind a piece of clear plastic and they looked terrible. Not very bright at all. So I literally went down the road to the Dollar Store and bought 4 of the cheapest flashlights they had. I tore the reflector cone out of the front of it and hot glued it under each cyclotron light hole then fed the light into it from below. I can’t tell you what a difference that makes. It’s a cheap solution that really works well.
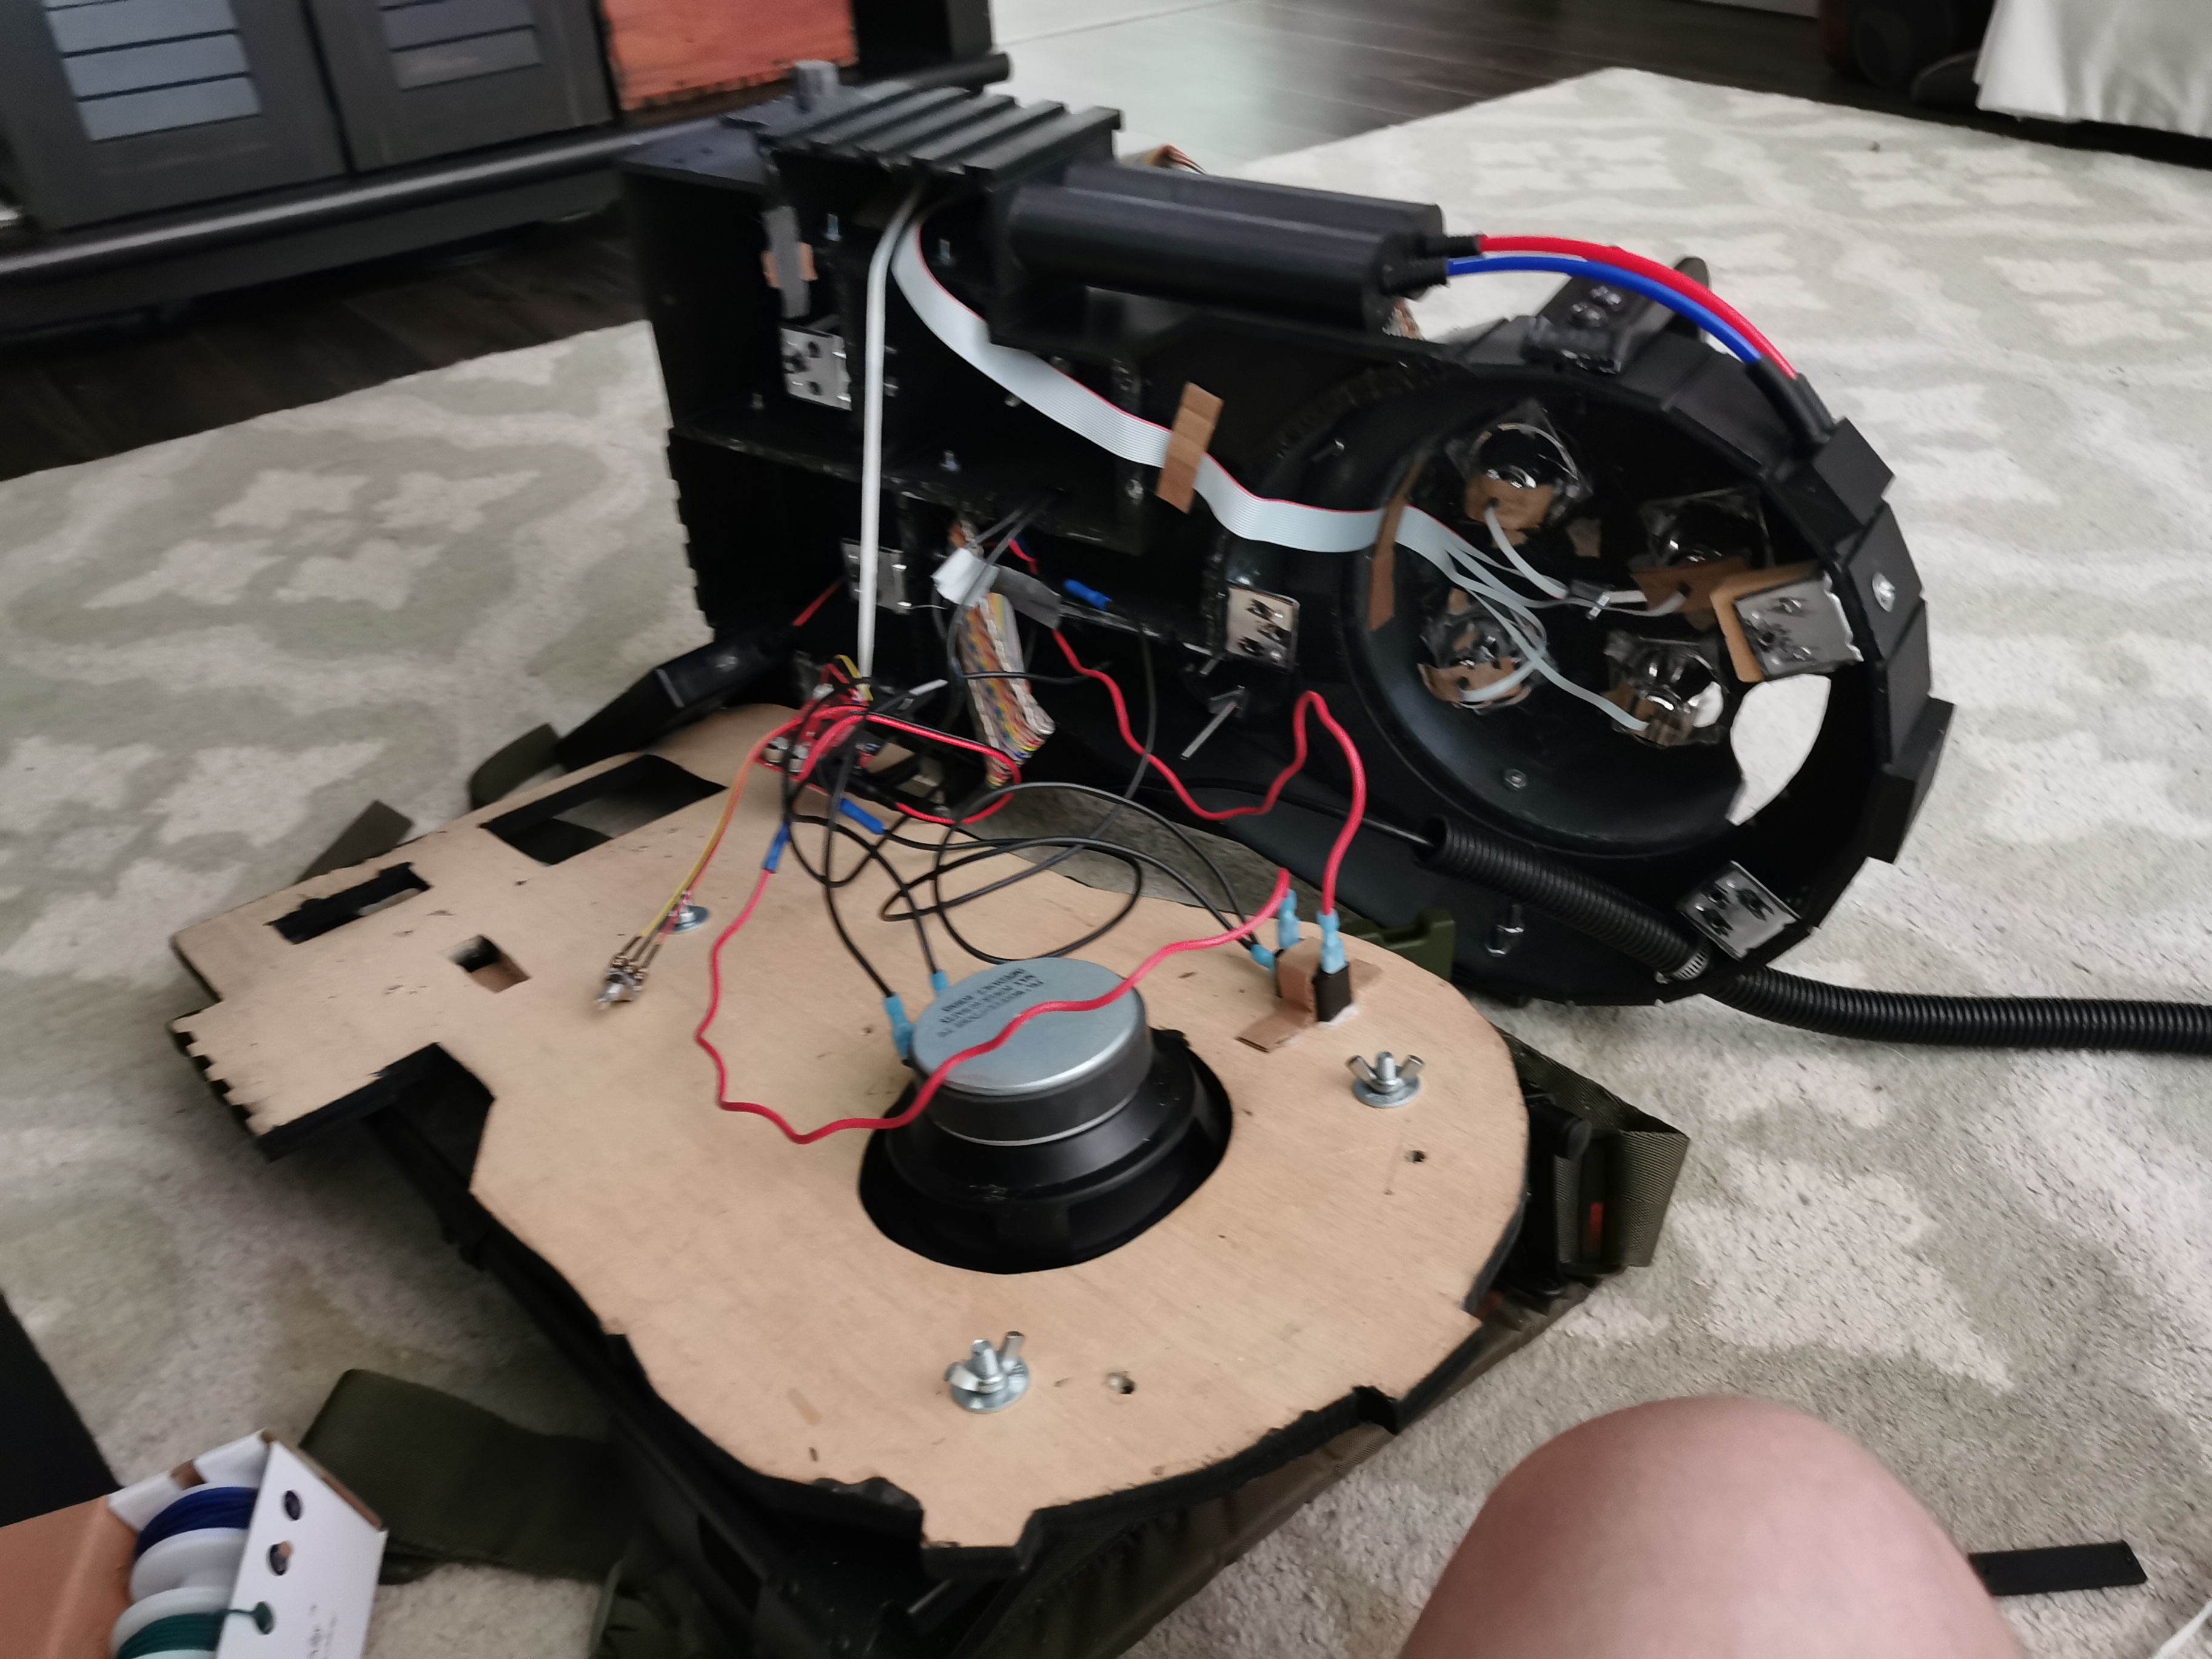
Attaching the Motherboard
This was one of the more tricky things to figure out. As I mentioned before, finding the right materials for the motherboard and then actually cutting one out will vary from pack to pack unless you buy a shell that is already cut and measured for its motherboard.
In the picture above, you can see the inside of my motherboard. I realized later that I missed a section on my motherboard. On the left side there is a straight line from where the wand hangs down to the side of the cyclotron. So I’ve had to recut my motherboard, which I’ll get to in a bit.
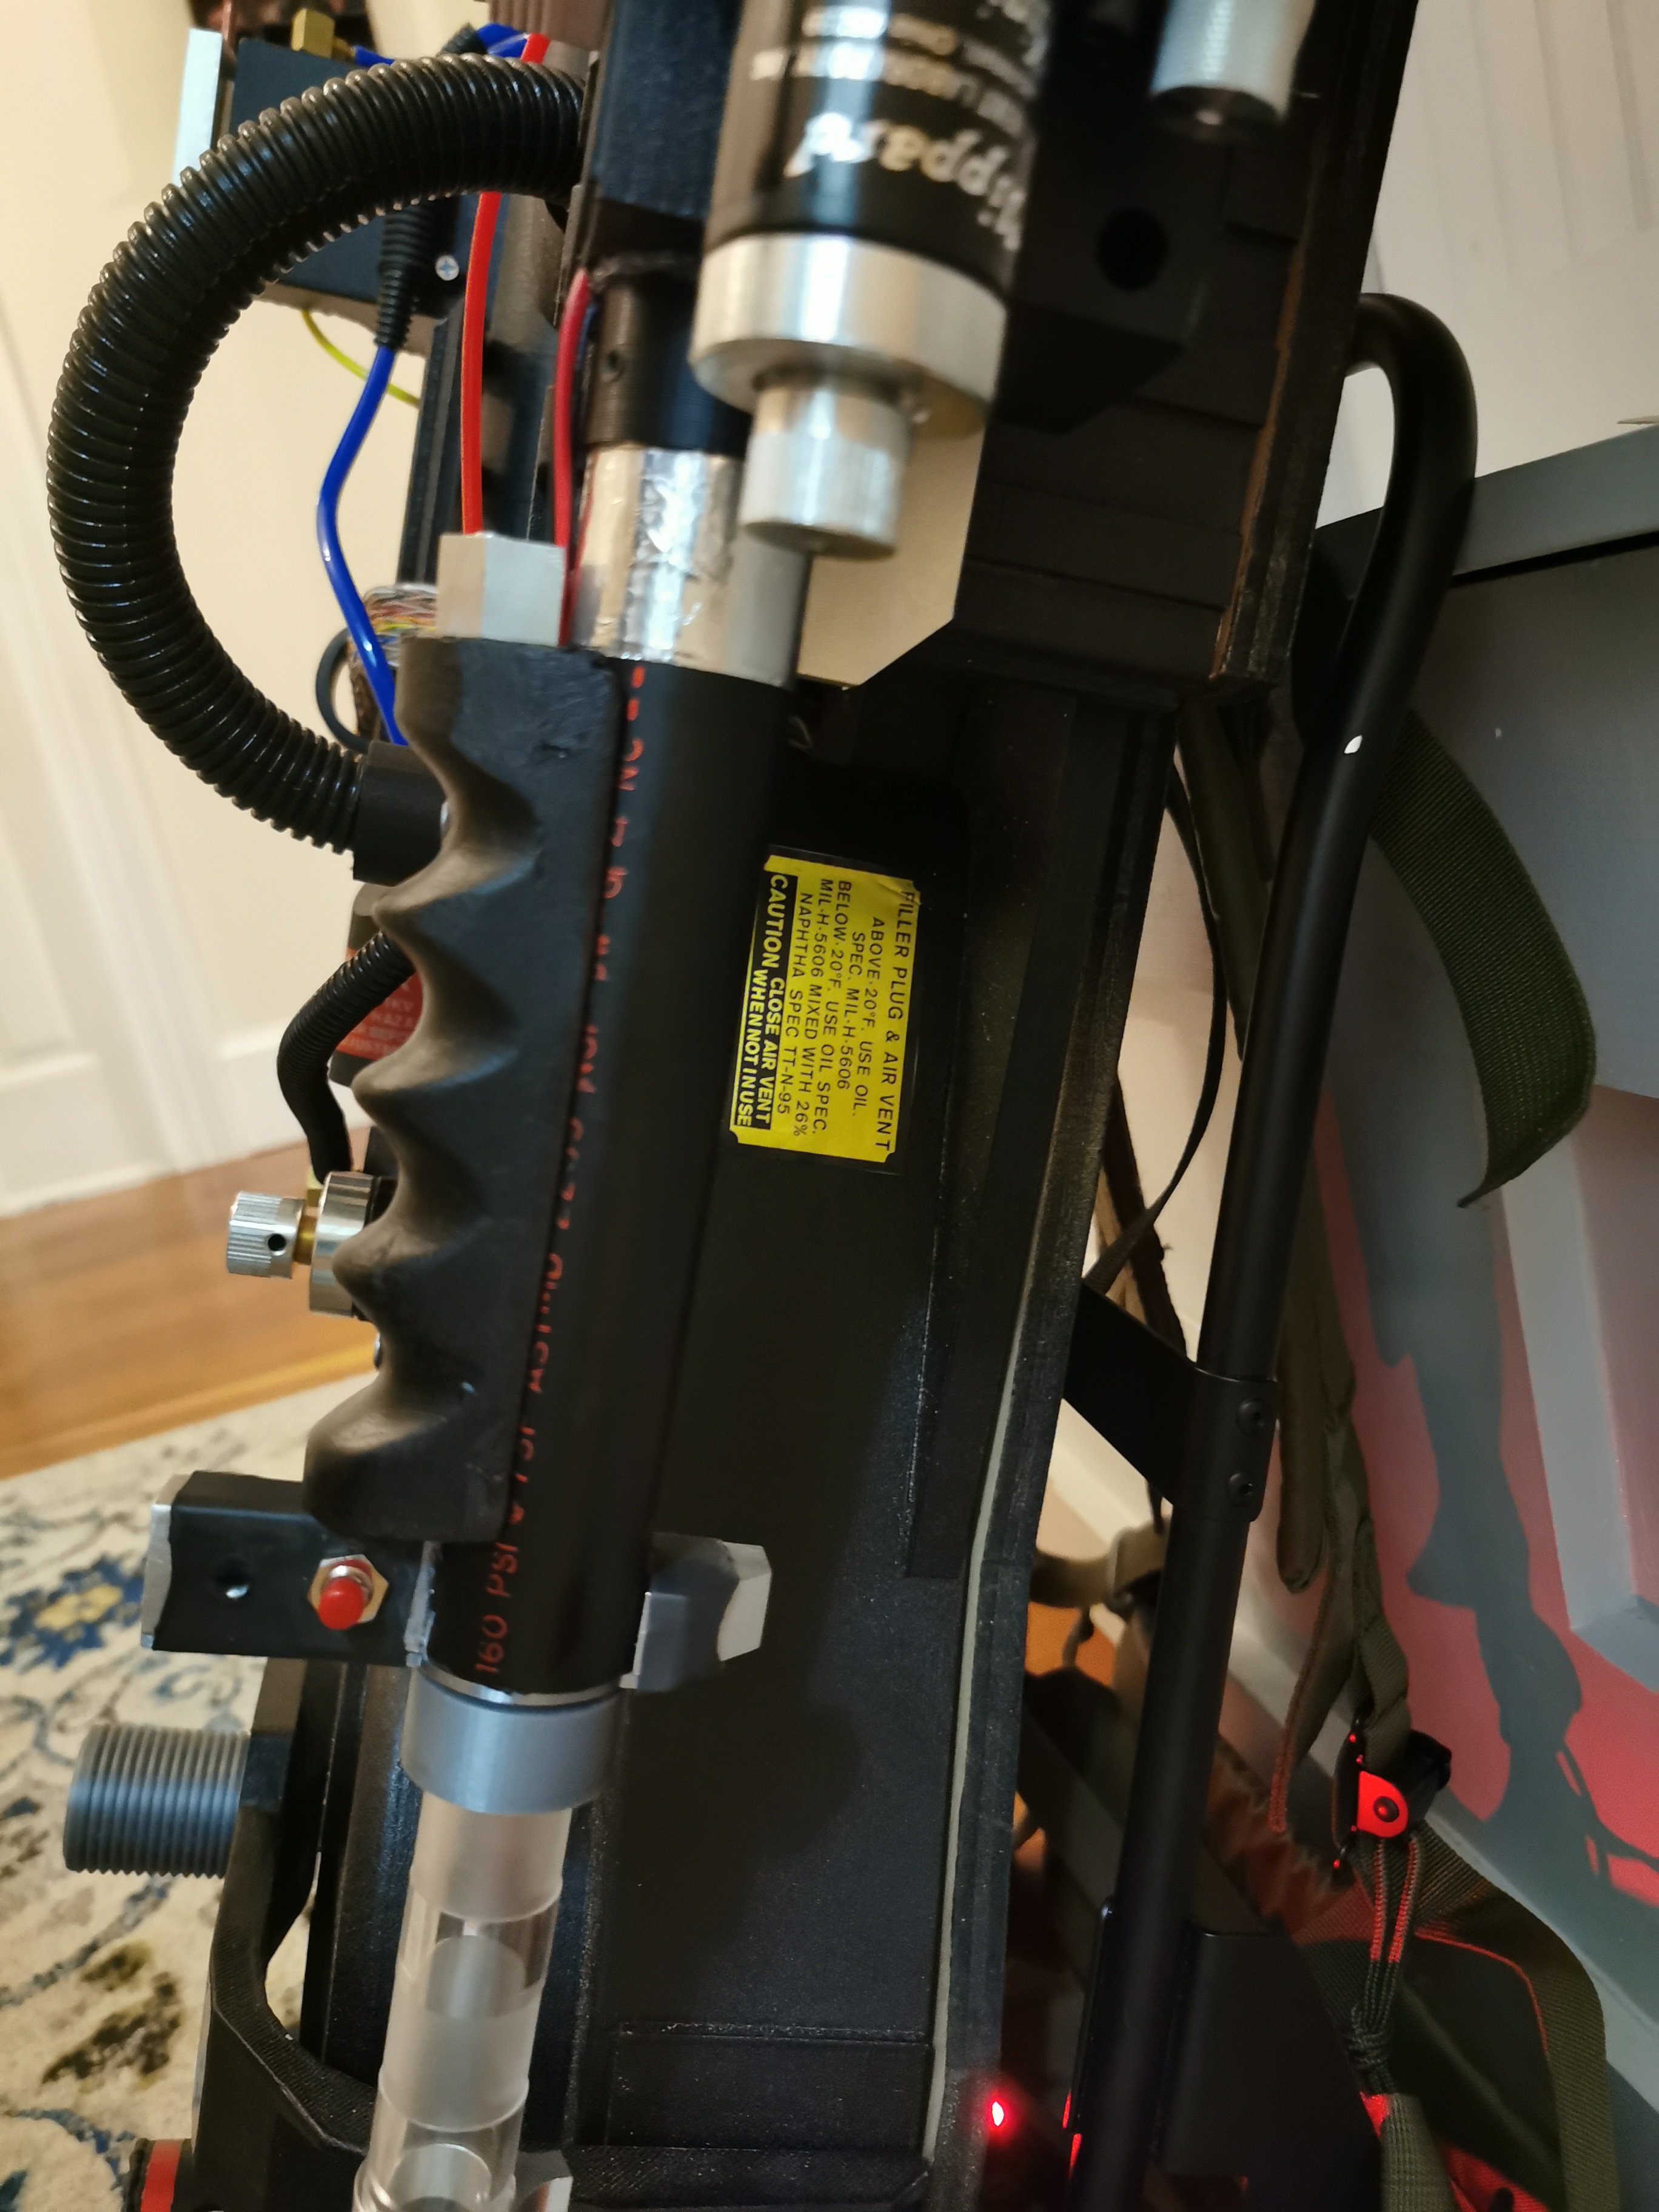
My first motherboard was very thick plywood. It worked well, but it was added weight and just didn’t look very good or accurate. I made sure I had a speaker that would fit in that space. The 5″ speaker alone was around 4 pounds, and I’ve since replaced that with a 1.5 pound 4″ speaker.
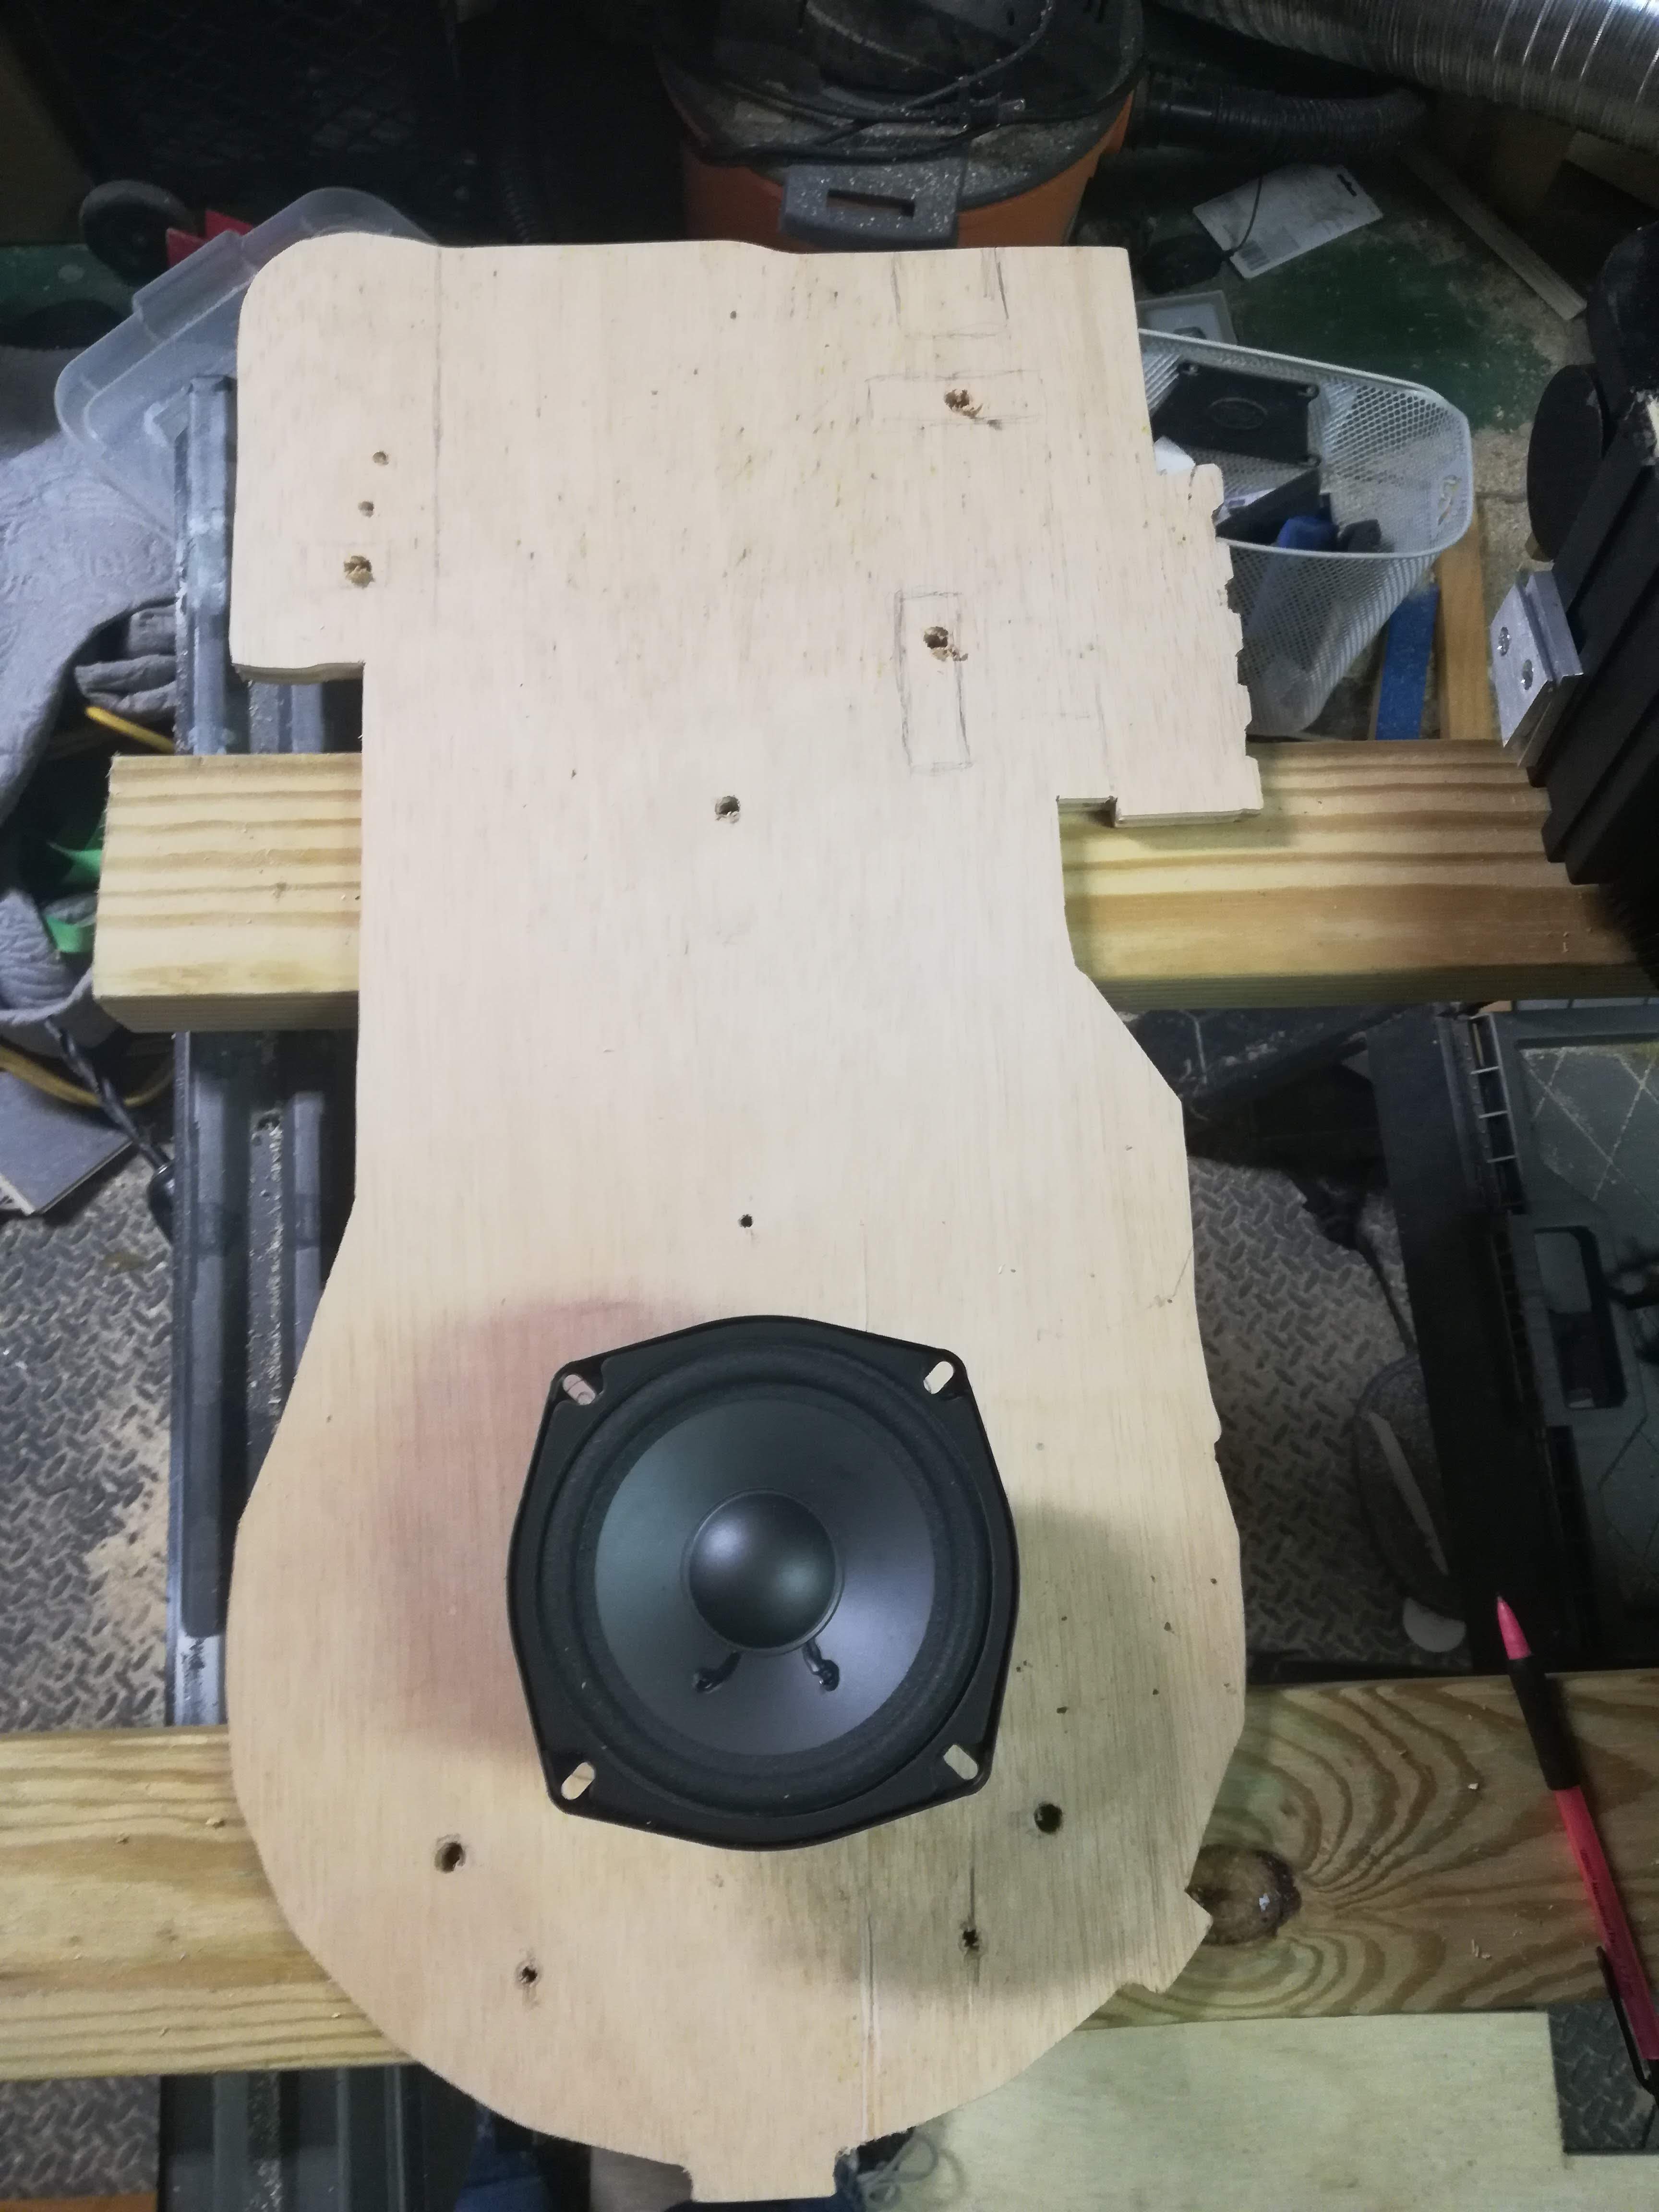
Motherboard cutout
Cutting out the motherboard is definitely the easy part. Just trace and cut. Easy peasy. But how do you. attach the motherboard to your pack without it falling to pieces. The shells that ship with motherboards have very nice machined L brackets that have screw holes in them already. While this is nice to have, it won’t really work for my 3d printed pack because of where the brackets have to be fastened and the fact that I can’t machine the screw holes. So I have to get creative here.
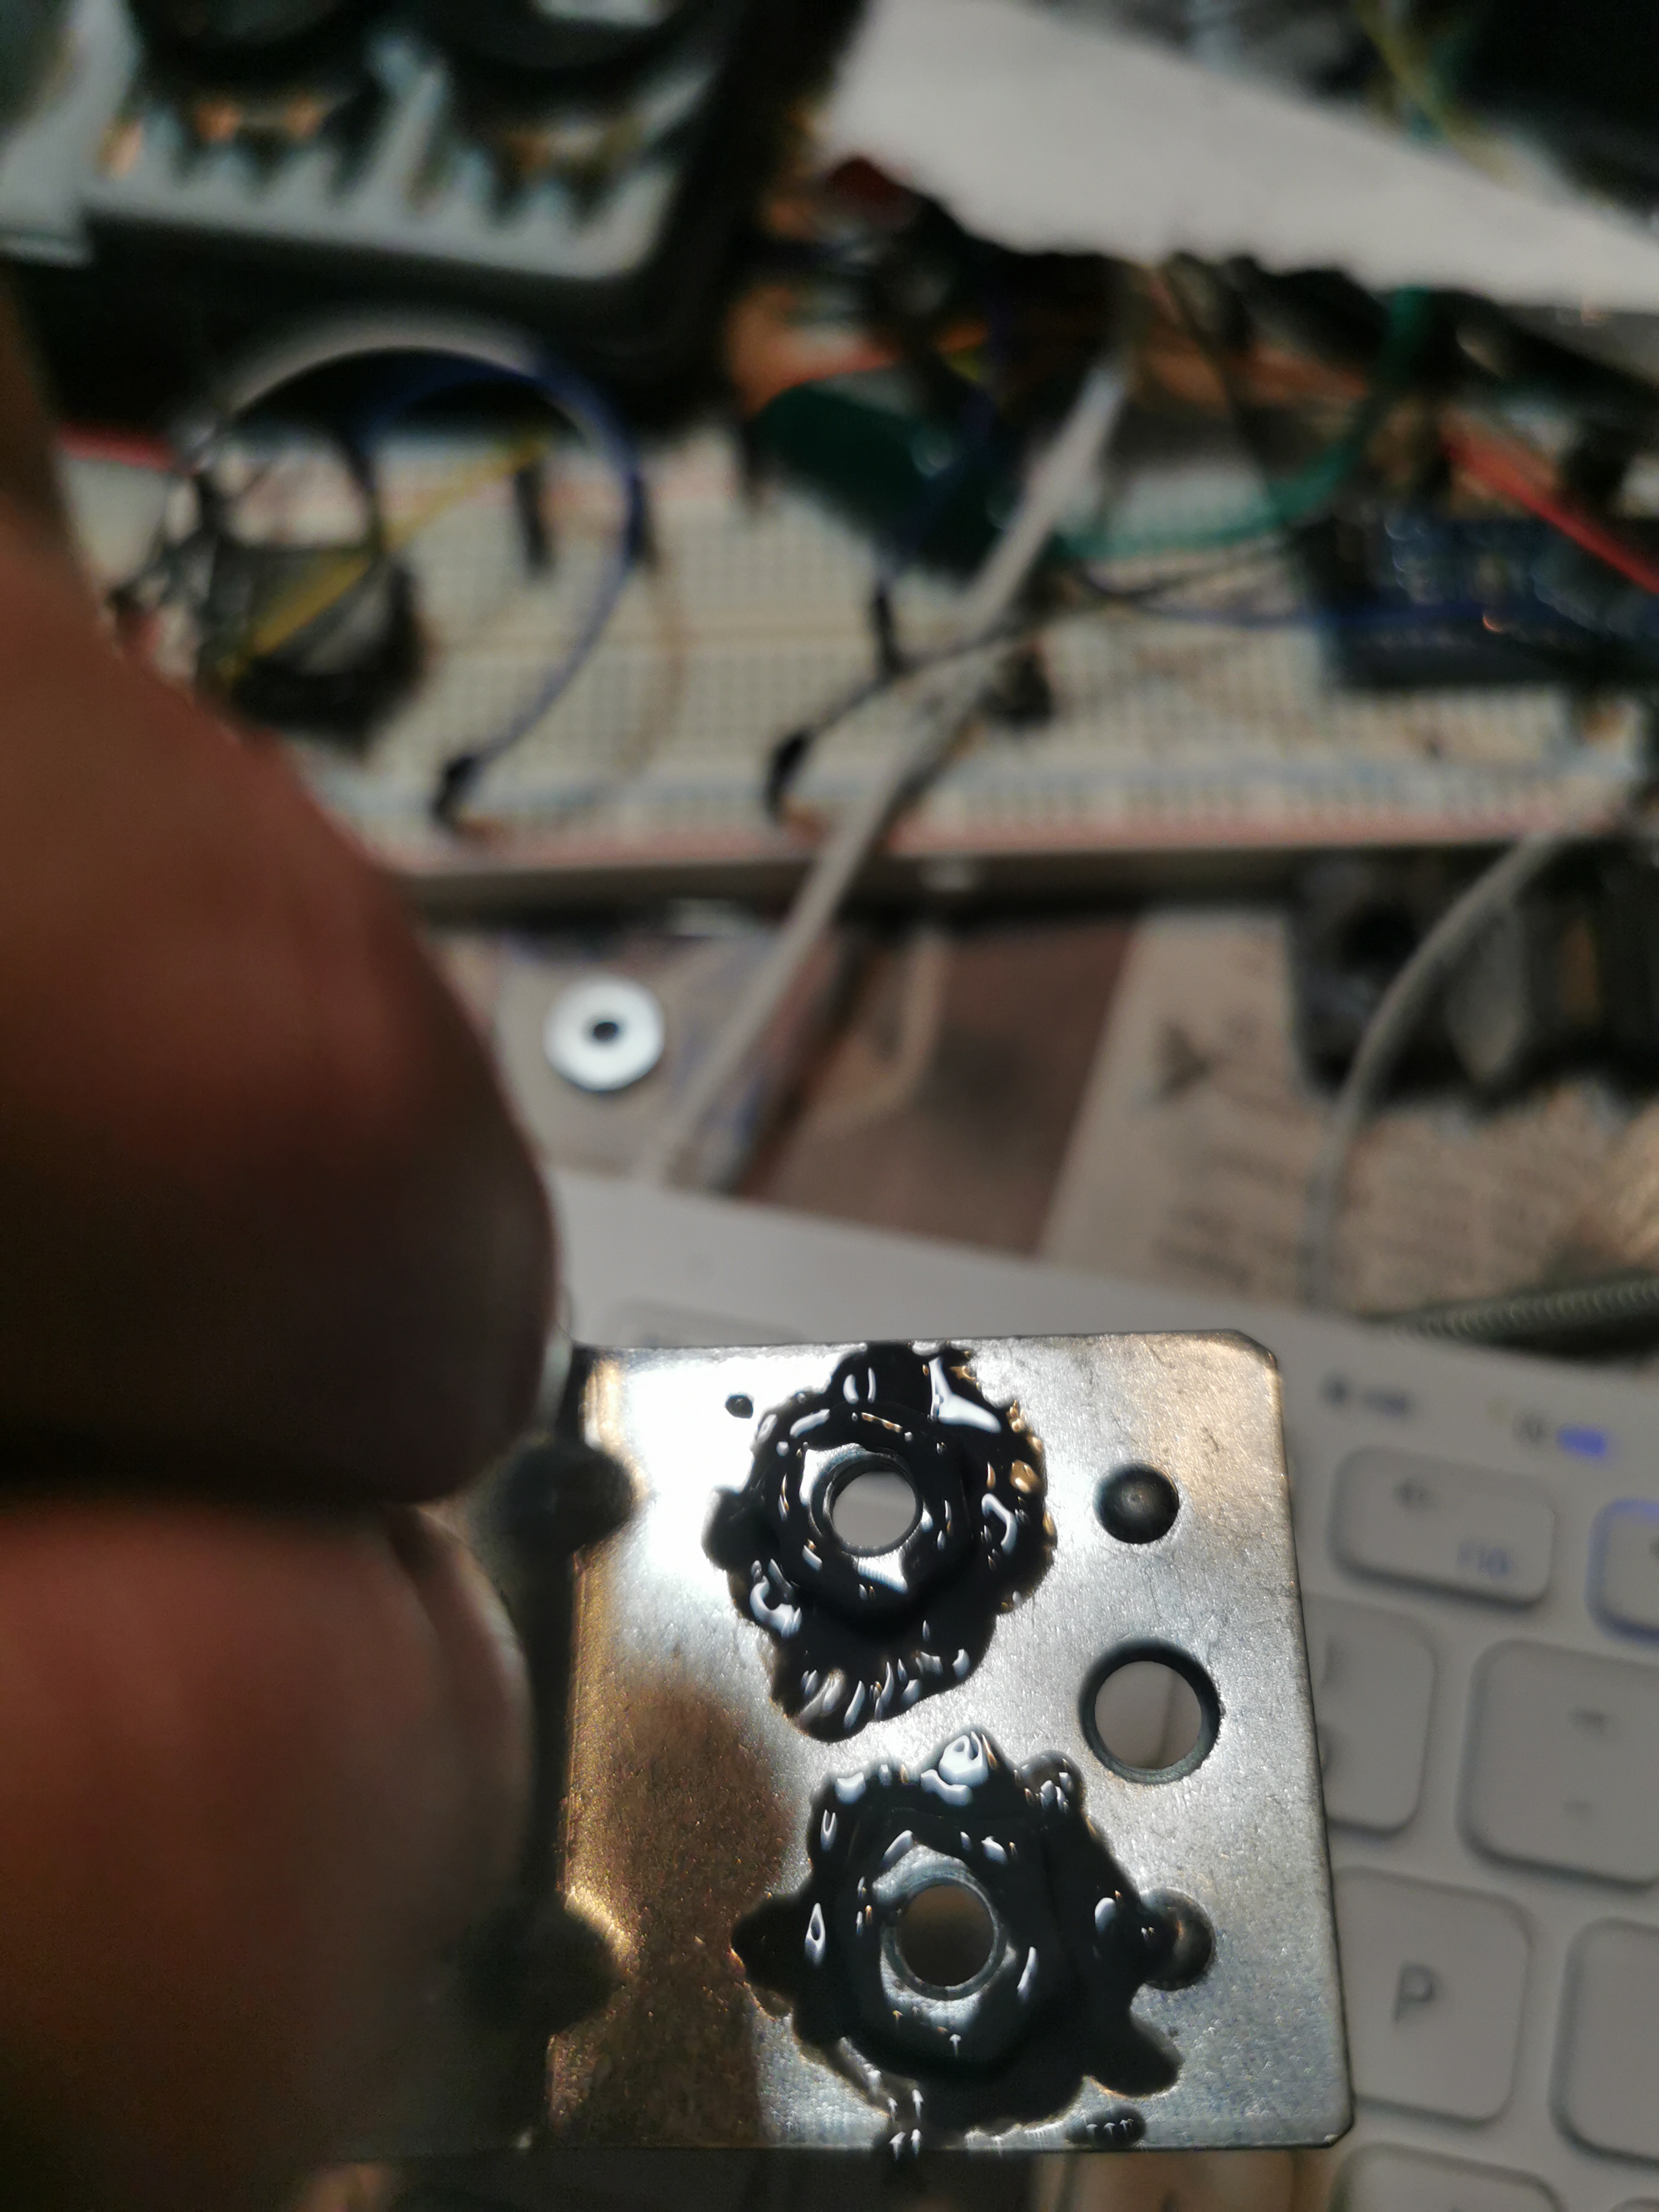
I’ve come up with two ways to fasten them a both work really well. First here are the L brackets I’m using:
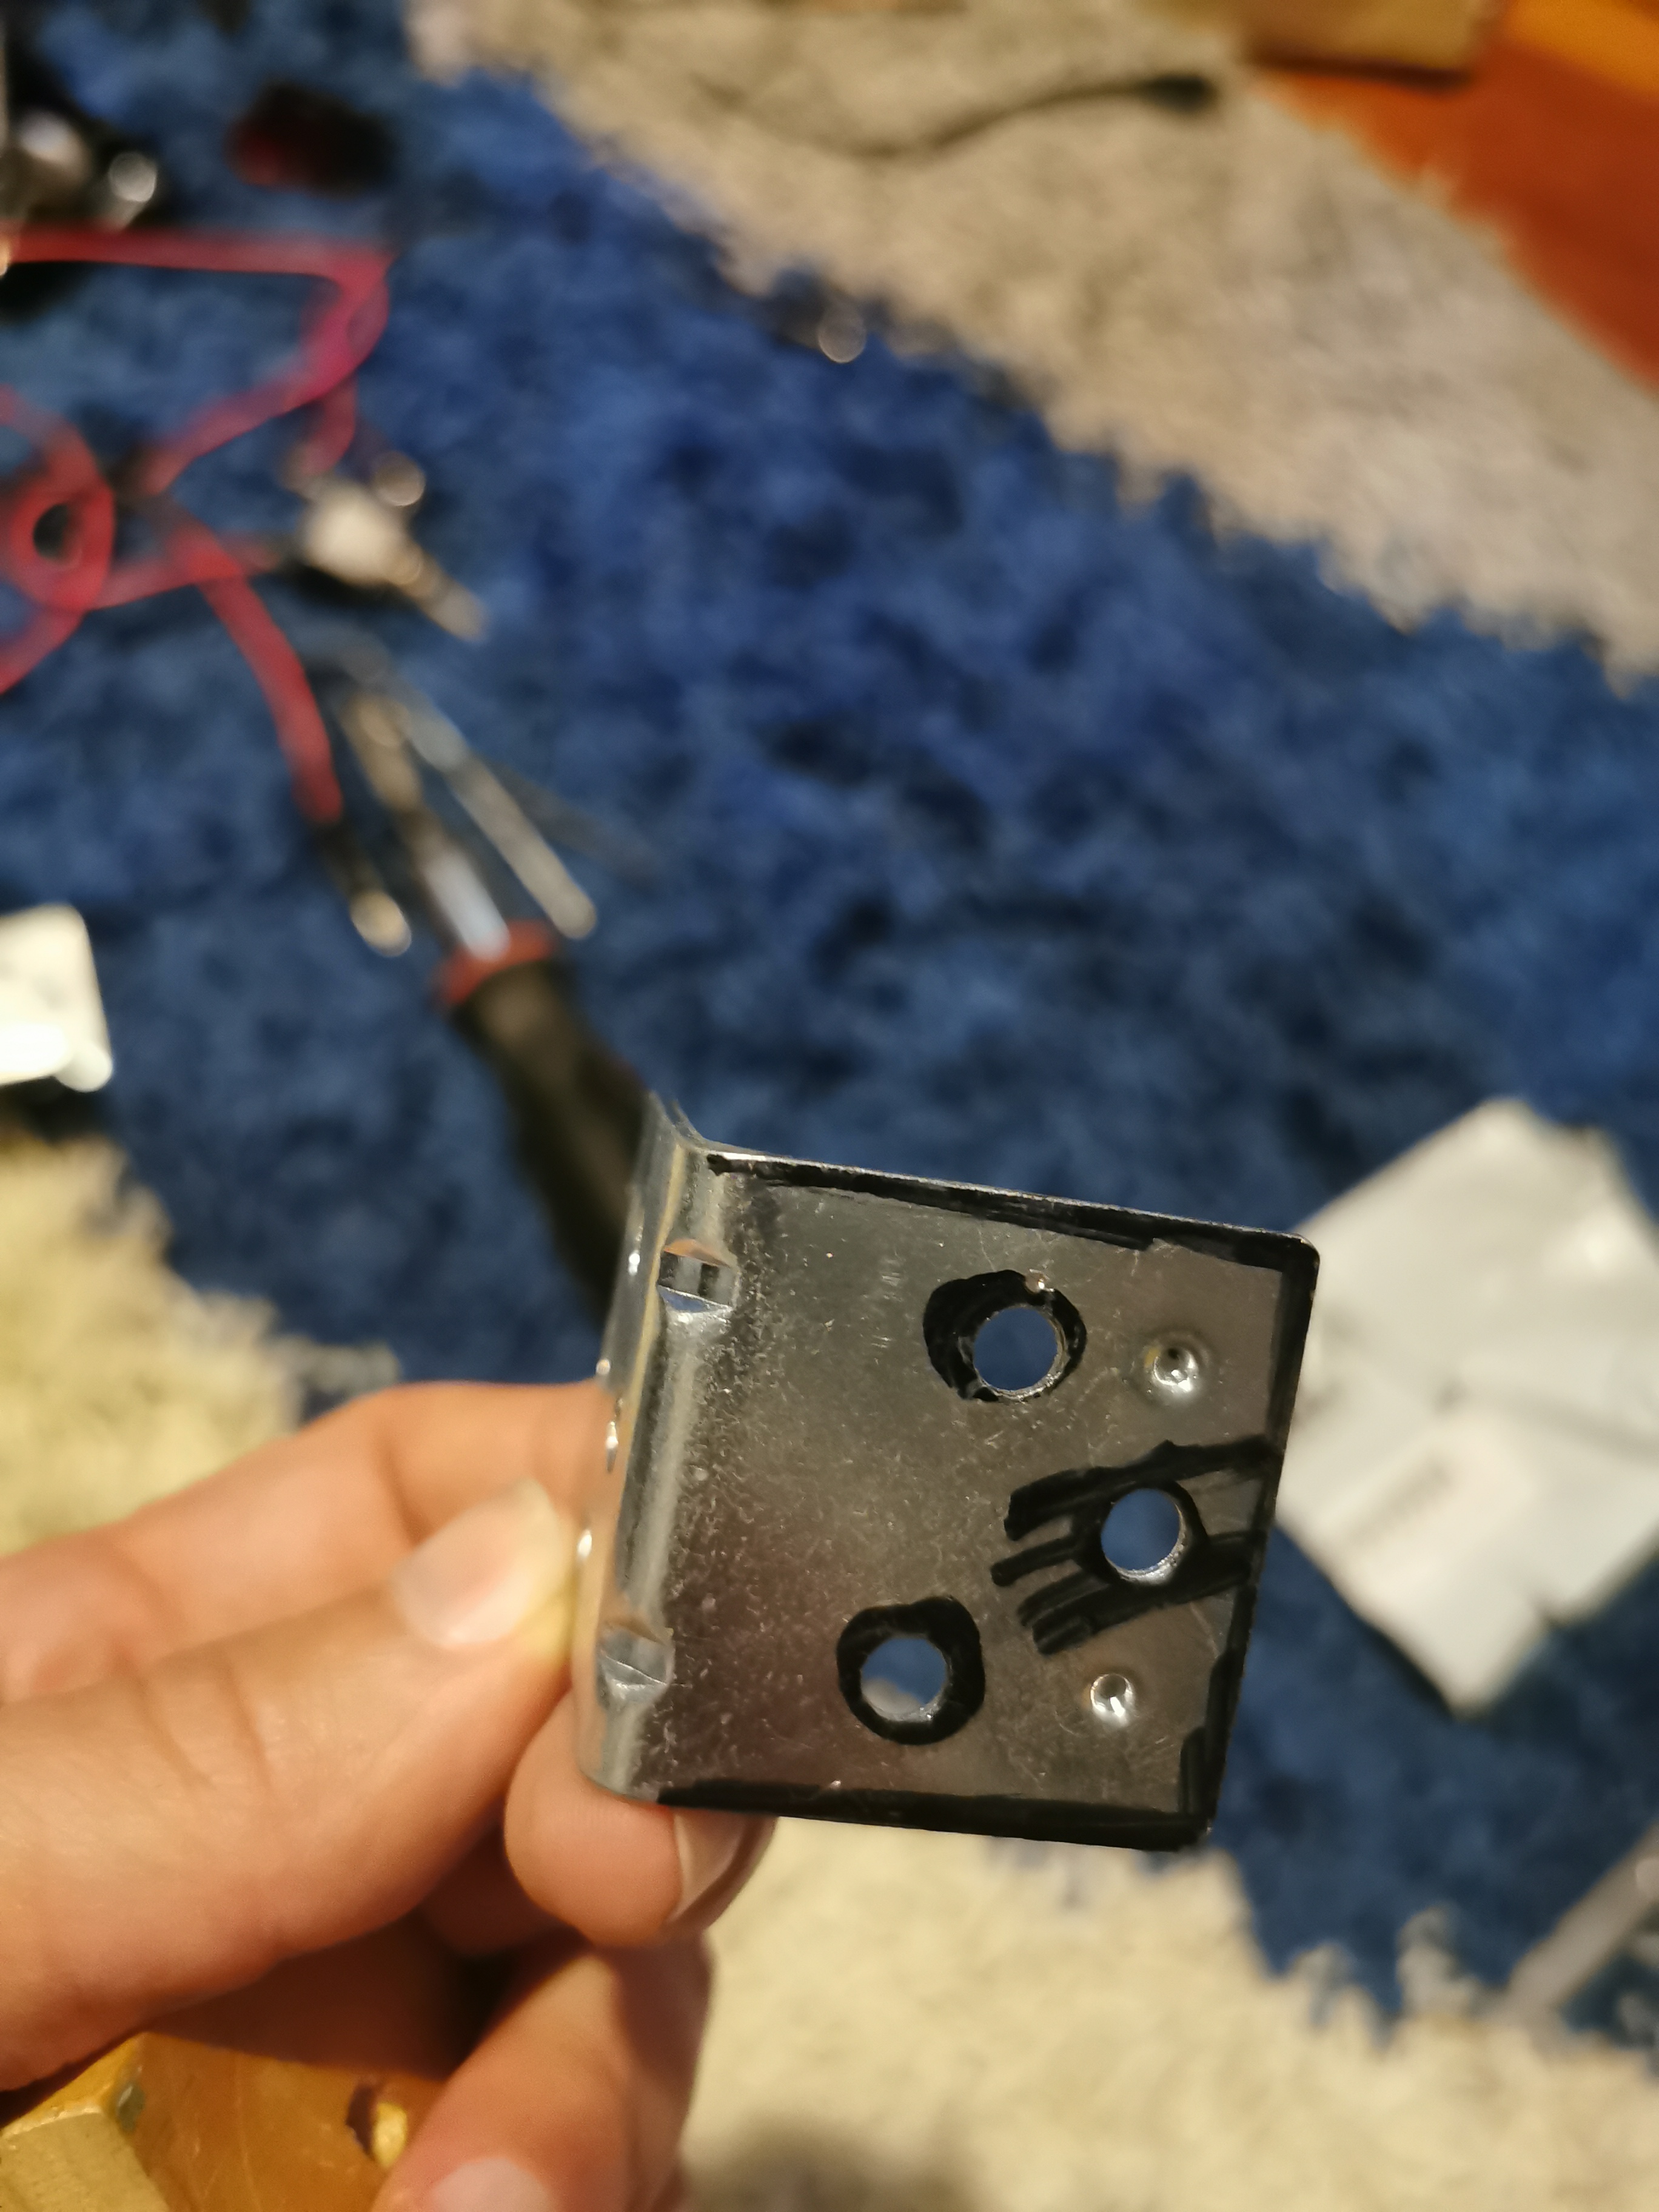

You can see that I’ve drawn on them with a magic marker. I did that after screwing them into my 3d printed shell. Then I placed the motherboard on the shell and pressed down so that I could see where the holes were on the brackets. Now I know where I need to drill at least.
So here are the two methods:
-
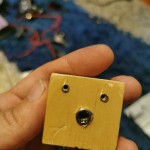
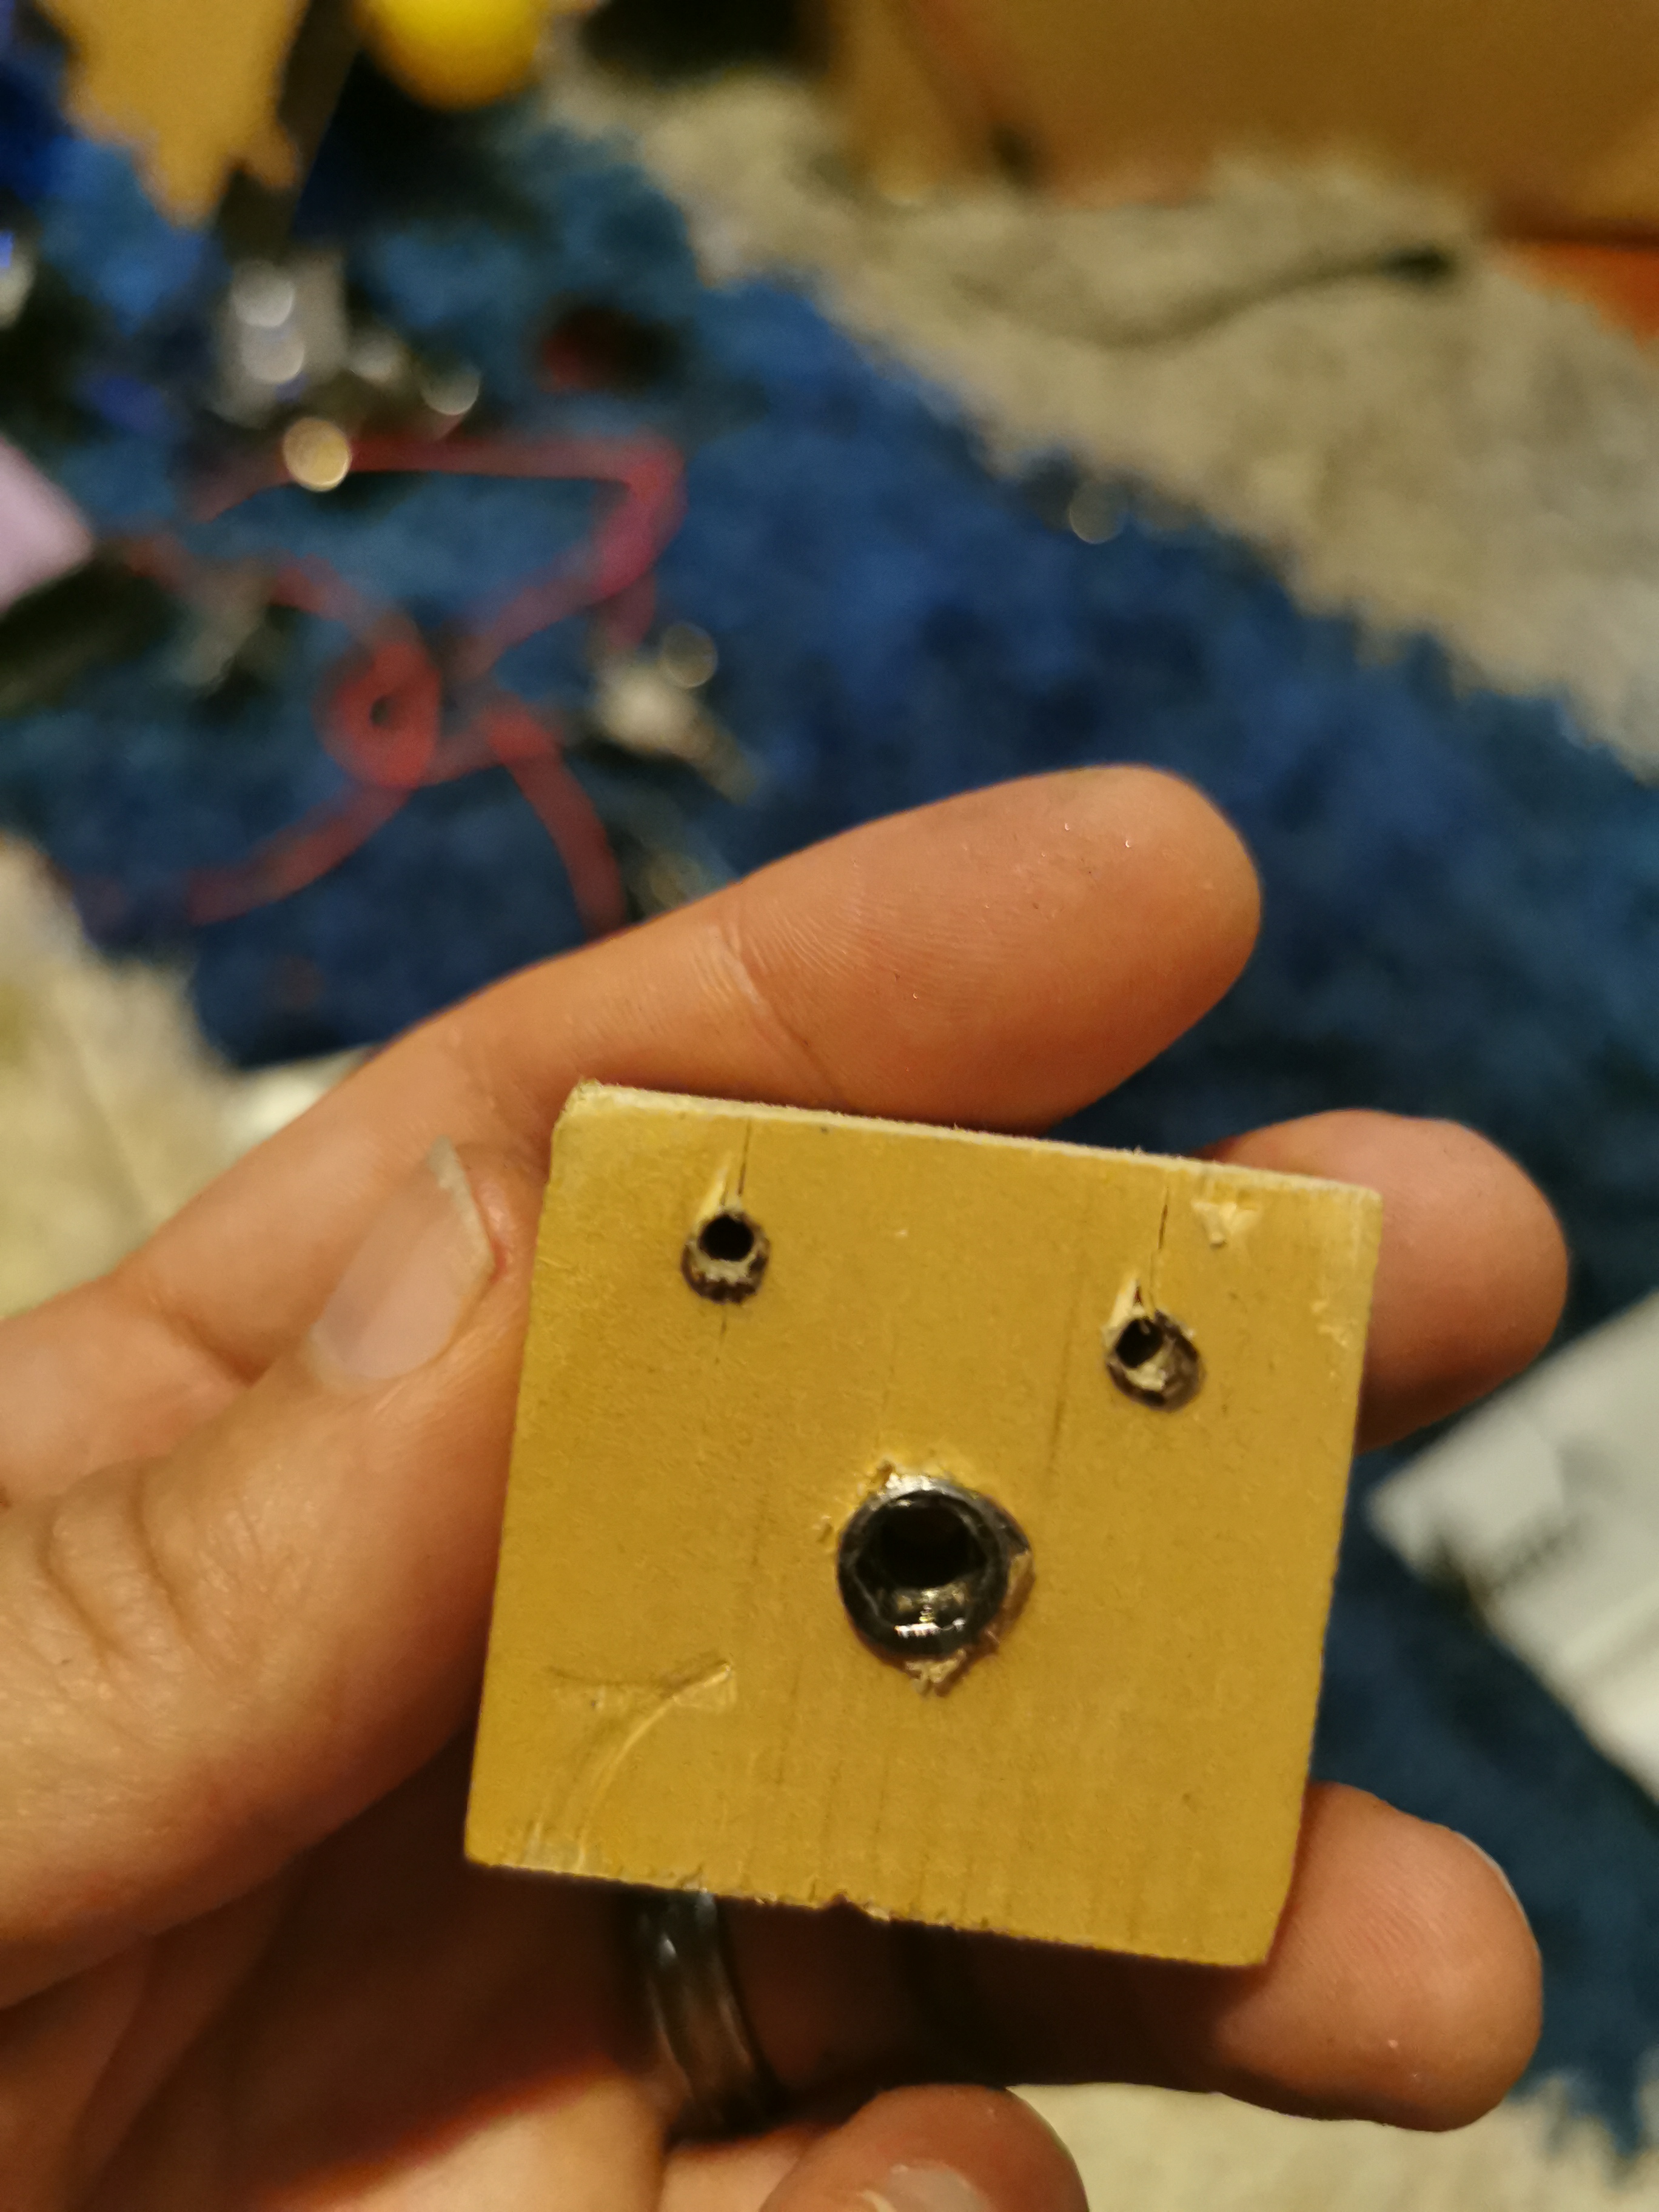
- Wood block with E-Z Lok Threaded Insert in the middle.
-
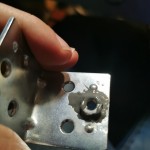
- Two part epoxy holding nut in place
-
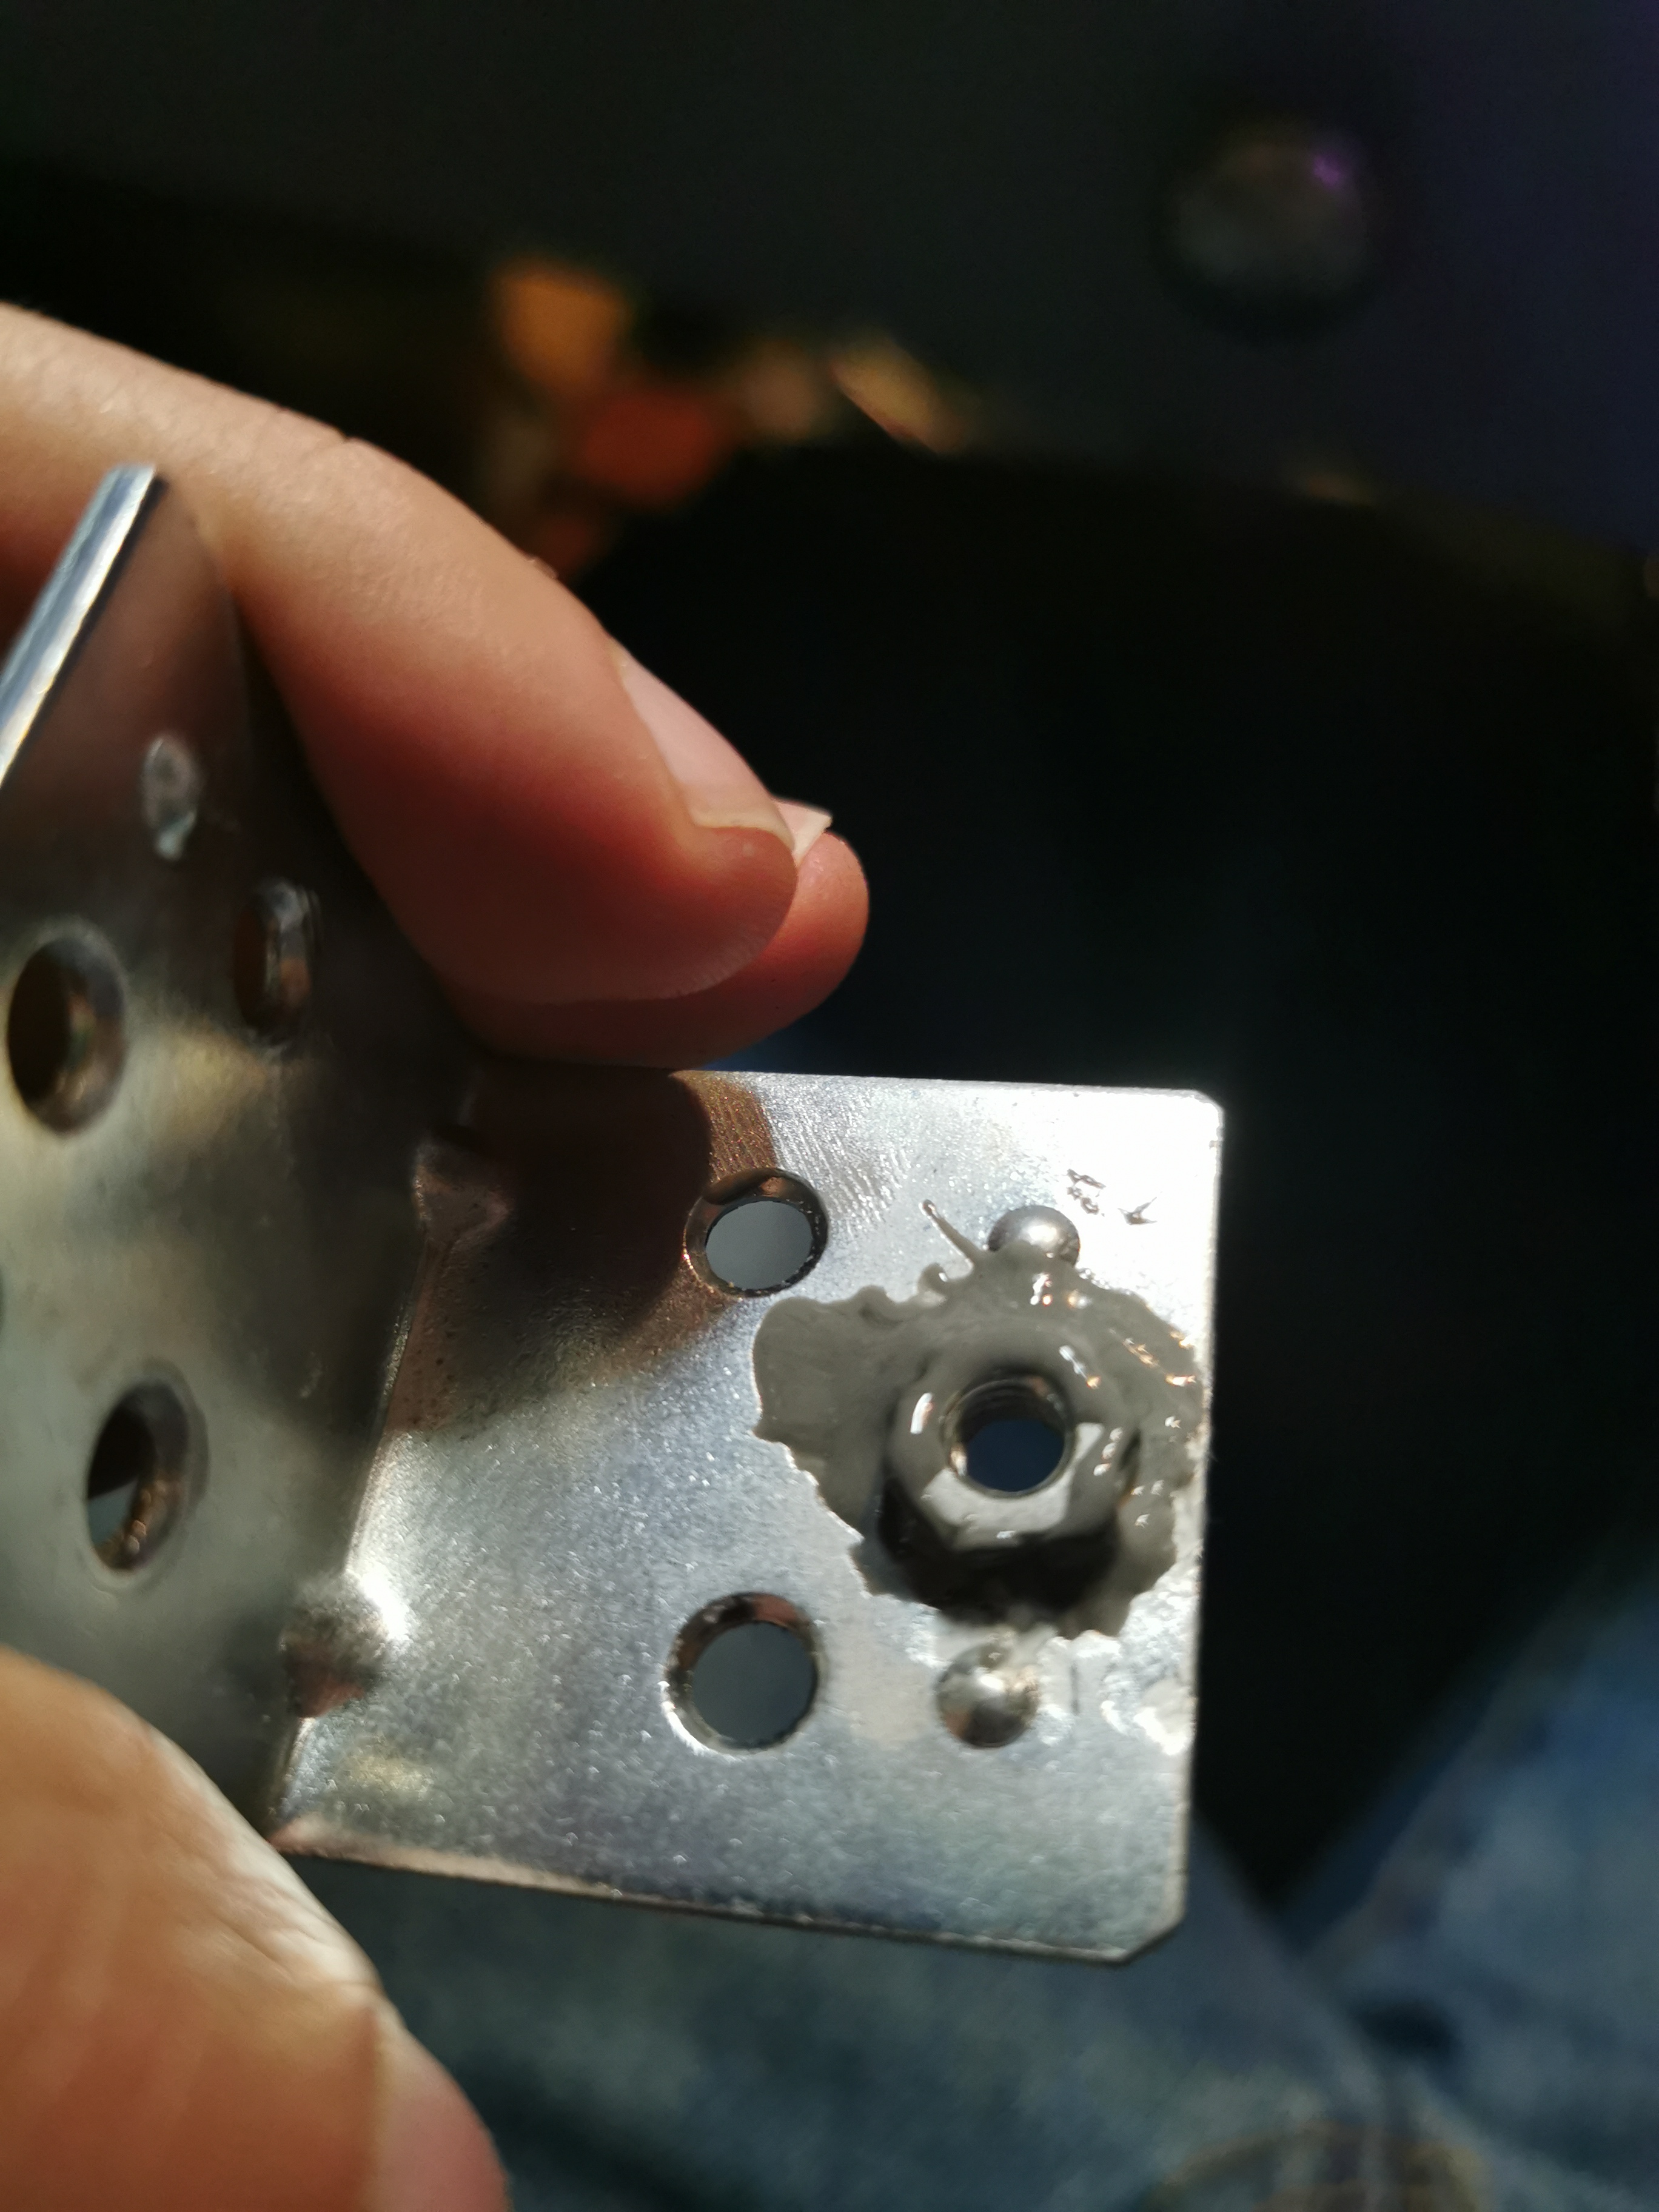
- Two part epoxy holding two nuts into place.
I really only did the wood block method on one L bracket just because I wanted to give it a try. But it worked great. Then I got concerned about the added weight to my already heavy pack and decided to figure out another solution.
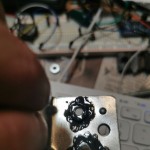
I had several tubes of JB Weld Steel Reinforced Epoxy. So I thought I would epoxy some nuts to the brackets and see how they held. So far so good. It’s a little messy and you need to make sure the nut is absolutely centered over the hole so you can secure the motherboard with a screw.
Assembled
Here are some closeups of my pack mostly assembled.

Here is, more or less, a final video of the proton pack with lights and sound complete. I have a few more parts to order like the hat lights for the wand, but for the most part it’s all done.
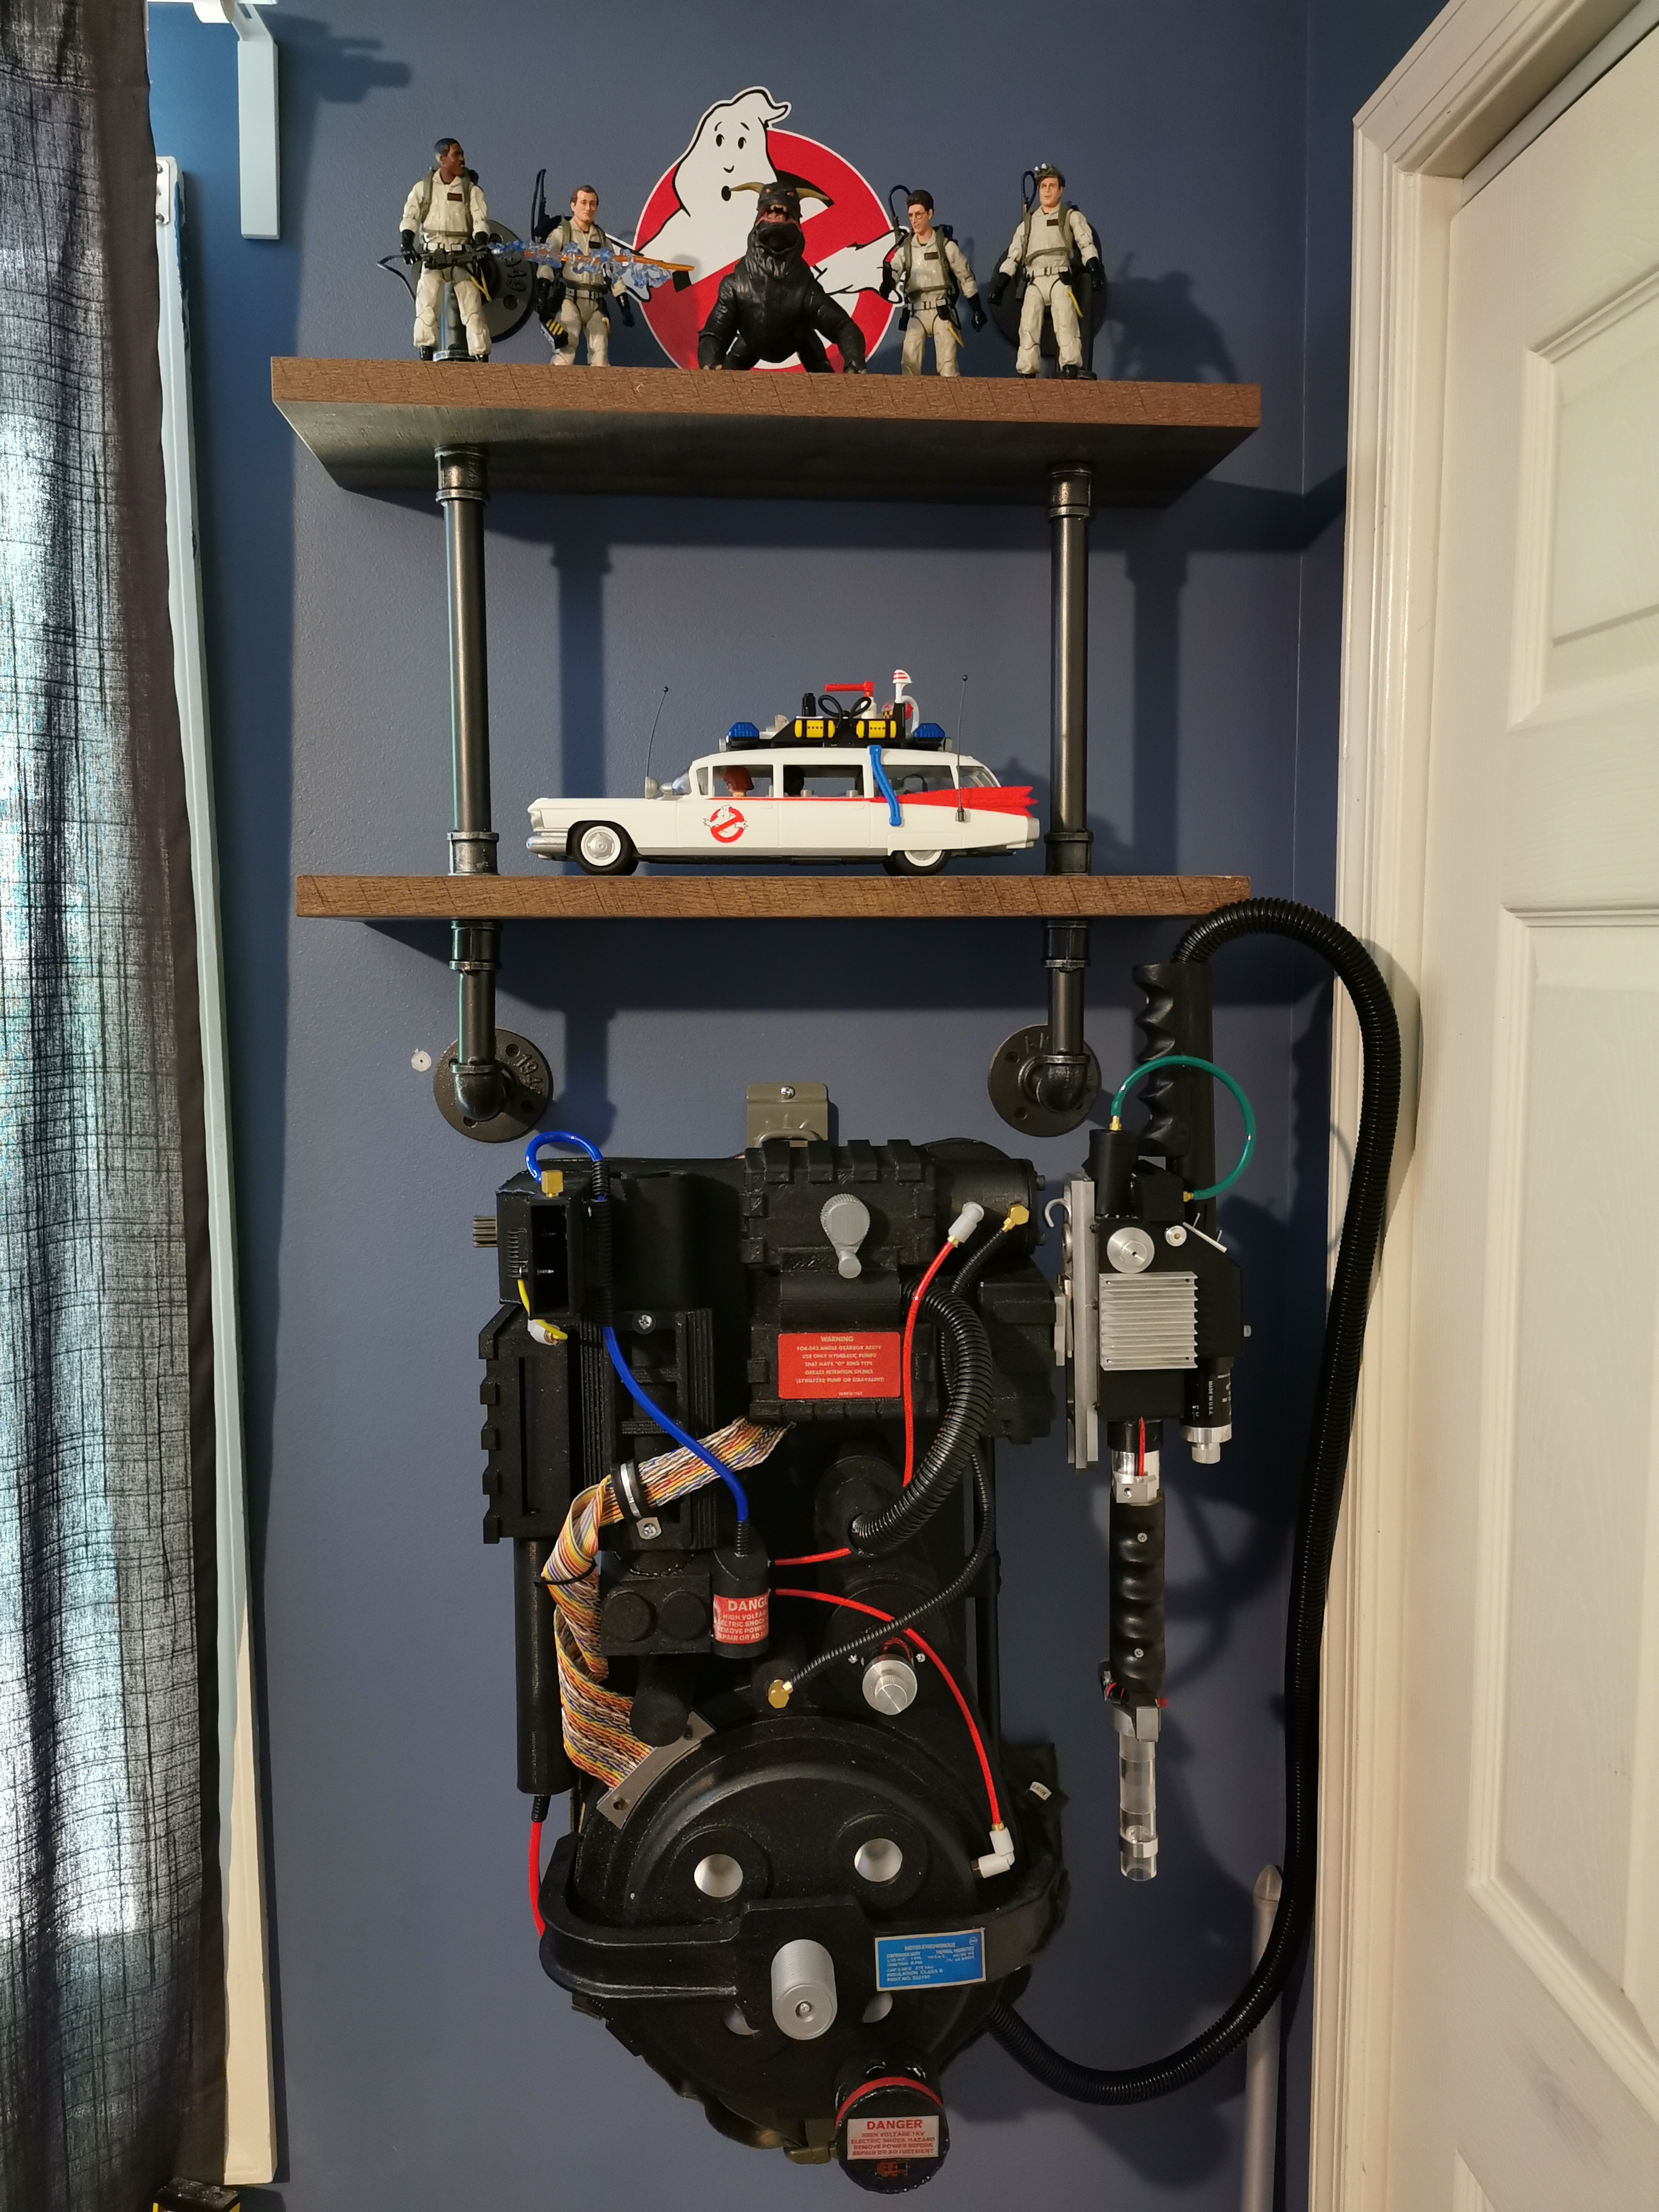
And I’ve setup a cool display for my office….