Since I was a kid, the Imperial Stormtrooper has always been the ultimate bad guy. I used to have two original late 70s Stormtroopers that I would always stage being the bad guys with my GiJoes or really any other scenario. I’m a huge Star Wars fan and I’ve always wanted to own a set of Stormtrooper armor and weapons. The Empire always did have the cooler vehicles and weapons to me.
I decided a while back that I had to build a Stormtrooper blaster, called the E11. I’ve started printing the parts today and it seems relatively straightforward. The blaster is based off a British made sub-machine gun called Sterling. It was altered for the film slightly and given a little more character.
After looking through tons of different models, and there are a lot, I settled on the one that most of the serious cosplayer use:
https://www.myminifactory.com/object/3d-print-star-wars-storm-trooper-blastech-e-11-blaster-rifle-by-blaster-master-72283
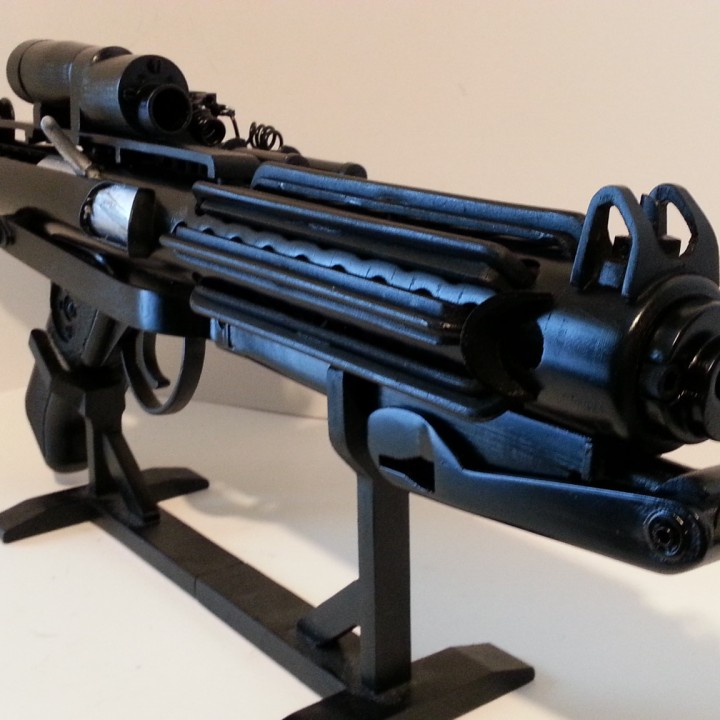
While there are probably more accurate models, this model looks like one of the better ones and has been hailed as one of the most accurate. If you really want to get very very accurate to the screen used models, you’d need to print out a full Sterling model, and then use the modify kit with the E11 accessory kit just like they did for the movies. That’s a lot of printing, so I’m settling for the one that I’ve mentioned above. One thing that I like about this particular model is that they give alternative parts depending on how you are building. In particular, the magazine casing has a port for a speaker and the alternate print is without this port. I’ll likely print both since I don’t know where my speaker will go yet. My blaster is going to have an Arduino Nano, speakers, and well as an LCD and bar graph. I’ll get into the specifics of the Arduino parts in a bit.
I don’t know that there is a model exactly like the one that I’m building on the internet, but it’s going to be pretty close to this one.
This is really where I’m getting the Arduino plans and reading the discussion. It goes back years and you have to read all of the details:
https://www.whitearmor.net/forum/topic/19322-arduino-a-cheap-board-for-e11-blaster-effects/
This is a newer post about it:
https://www.whitearmor.net/forum/topic/46692-blaster-electronics-fx-blasteros-goes-open-source/
Essentially it looks like this in circuitry:
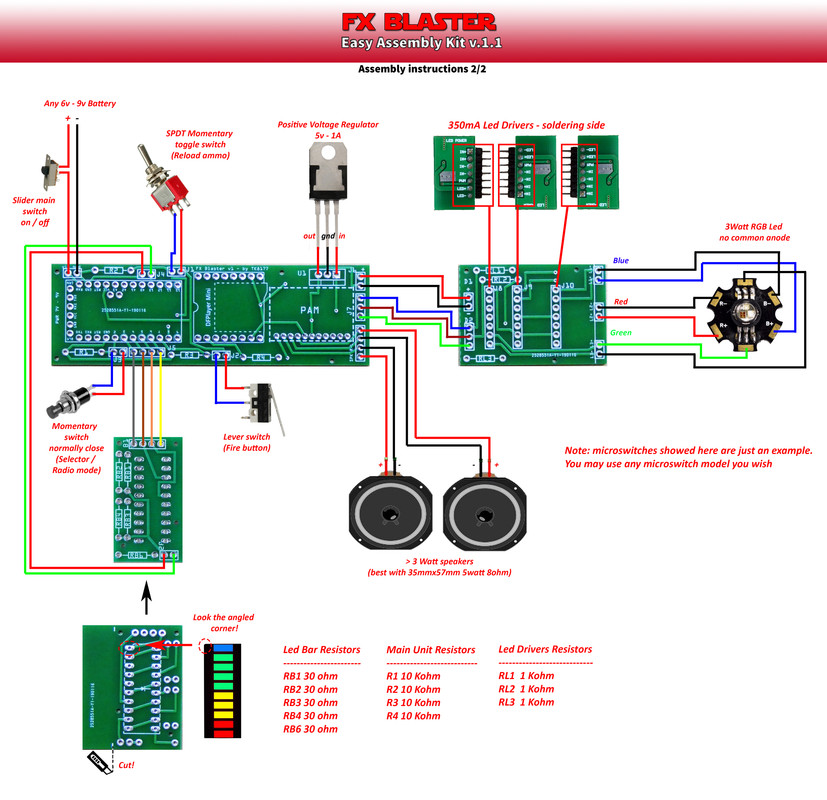
There are some big differences in the way that I’m doing it but this is basically how it will be connected. I may only have room for one speaker, but we’ll see. The speakers in his kit are much larger than mine, but from the reviews, my speakers are so loud that it shakes the gun. People have been using them as Lightsaber speakers as well, so that should be cool.
This second schematic has some additional things that I’ll be doing. I’d like to highlight the Neopixel that is in the barrel and the LCD display.

Arduino Project – FX-BlasterOS
Here is where it gets very technical. I’ll say that Arduino programming is pretty simple, but I’m a web developer so I understand how code works. It’s basically like Javascript and things are just a little more, well, clunky if you has me. But it’s still just basic code.
The project that I’m using is called FX-BlasterOS. I don’t know that a ton of people have been using it, but I’m planning on making a wide range of weapons using this. I may even start selling them on the side. Pretty fun side project to be honest.
https://github.com/Protonerd/FX-BlasterOS
If you interesting in this project specifically and don’t really want to learn all about Arduinos and what you can do with them, there are some pretty detailed instructions on setting up the project, though you’ll still need to learn quite a bit on the side.
There is also a full shopping list here, which I’ll likely update on my own site when I find the parts I’m using. Most of these parts will be the same.
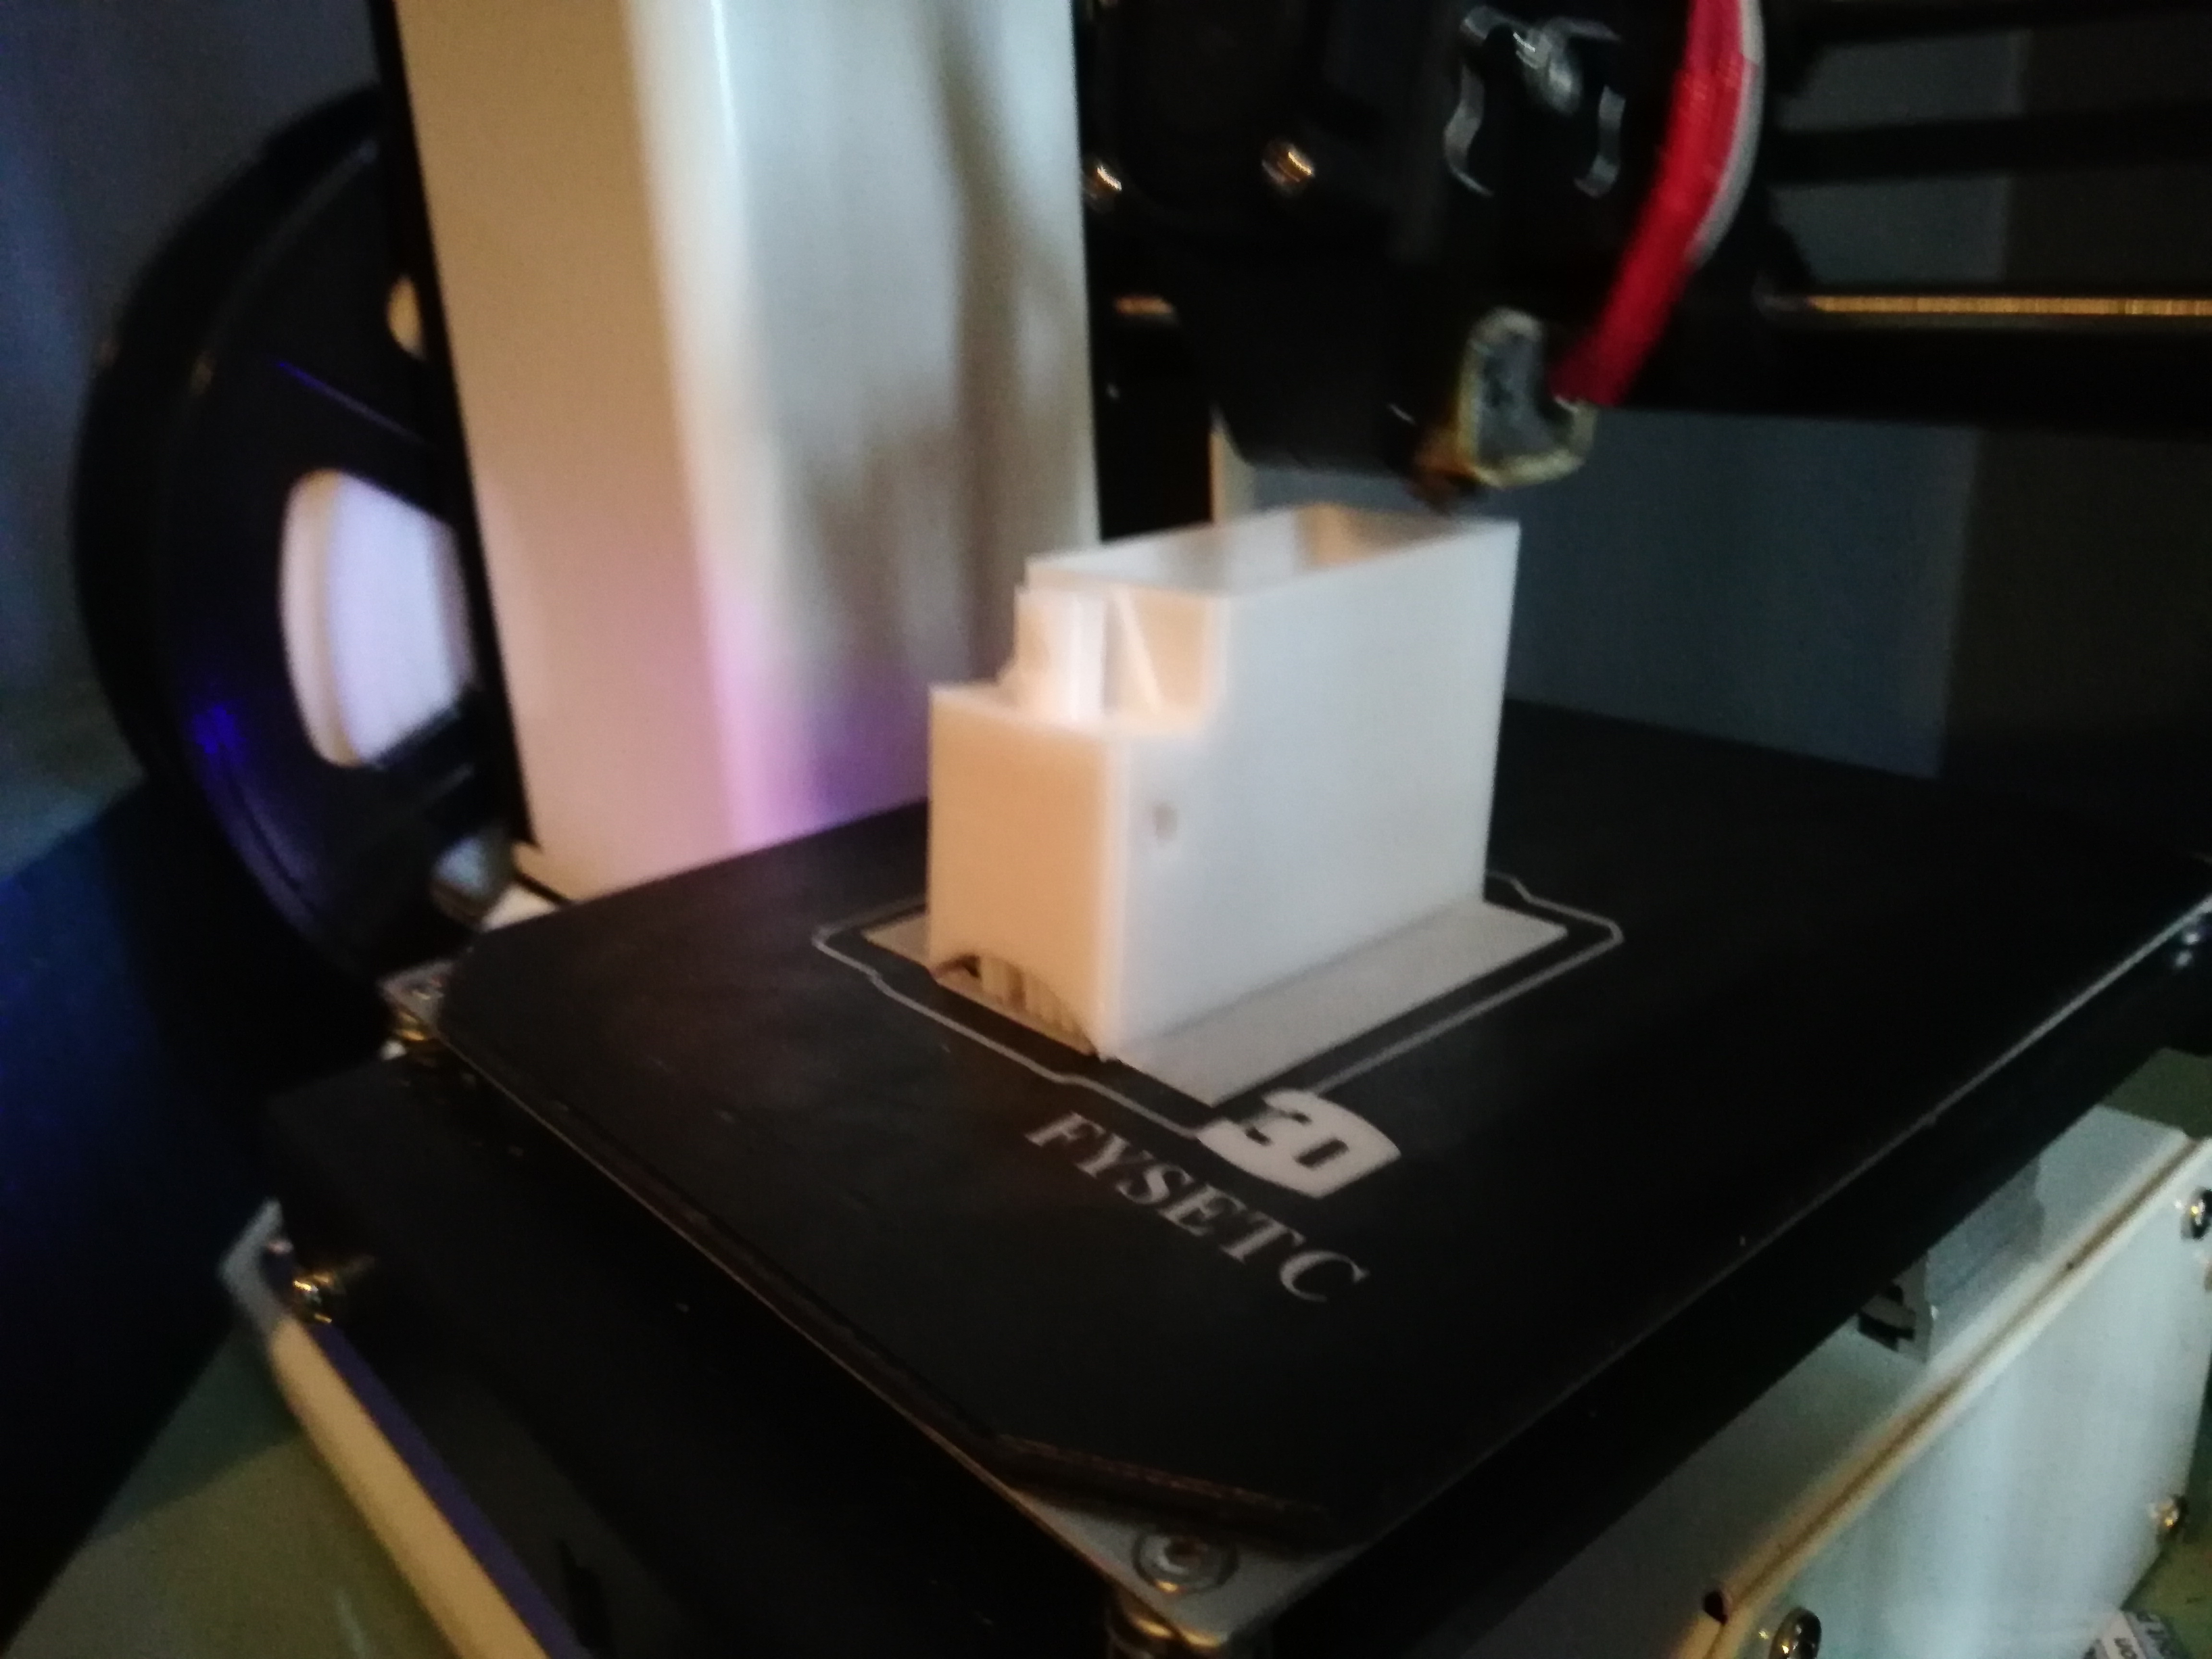
Here is the beginning of my Arduino setup, though I’m also testing it out for the laser tag part. So far so good. I’ll have to figure out how to focus the beam for the IR transmitter. That might end up taking up the scope and I might just drop the idea of the LCD in the scope.

The first part of my blaster is almost done, and then I’ll start trying to figure how the layout for my circuit.
I’ll update when I get a little further along in this project. I also still have more to do on my Ghostbusters proton pack.